
 If the engine makes the car accelerate and the brakes make it slow, steering and alignment are what make it useful in the long, steady driving intervals between those more energetic events. A proper alignment makes the very best use of a vehicle’s tires, for traction and for treadwear, a theme we’ve already begun in this issue, use to control exactly where the driver wants to put the car on the road.
 that absorbs small impacts but should ‘record’ the damage for later inspection. Although it is not specifically an alignment function, they also record leaked fluids and other such evidence for the need to perform engine compartment work.")
Remove the encapsulation panels, keeping in mind that any road grit the car has collected is likely to be on the upper side of them. When you pull all the screws and release the panel, all that stuff could choose you as the best depository on its way to the floor, if you don’t tilt it away. You need to remove the panels to adjust or replace many of the lower suspension components, but even absent the need to change parts, removing them allows you to check for impact damage. The panels are usually a composite material (some are sheetmetal) that absorbs small impacts but should ‘record’ the damage for later inspection. Although it is not specifically an alignment function, they also record leaked fluids and other such evidence for the need to perform engine compartment work.
Mercedes-Benz cars have used a progression of suspension geometries among cars you’re likely to see in your shop, but you’re never likely to see one with an especially simple suspension. These cars have used various multilink independent suspensions since 1937, so you can drop any quickie plans for ‘set-the-toe-and-let-’em-go.’ That’s never a good idea on any car, and if you try it on an independent, multilink Benz, you may create problems that will take somebody a long time to solve, and if he corrects them, he’ll probably keep your customer thereafter.

Right after checking that the car has the right tires and that they are inflated properly, you check vehicle ride height. You usually measure rear ride height from the axle shaft. If you do enough Mercedes-Benz alignments, get one of the more technically sophisticated suspension height measurement devices. This directly and immediately measures the angle of a specific suspension arm against a level. You don’t have to use such a tool, but it can save time on a repeated job – important if you do repeat the work often enough.
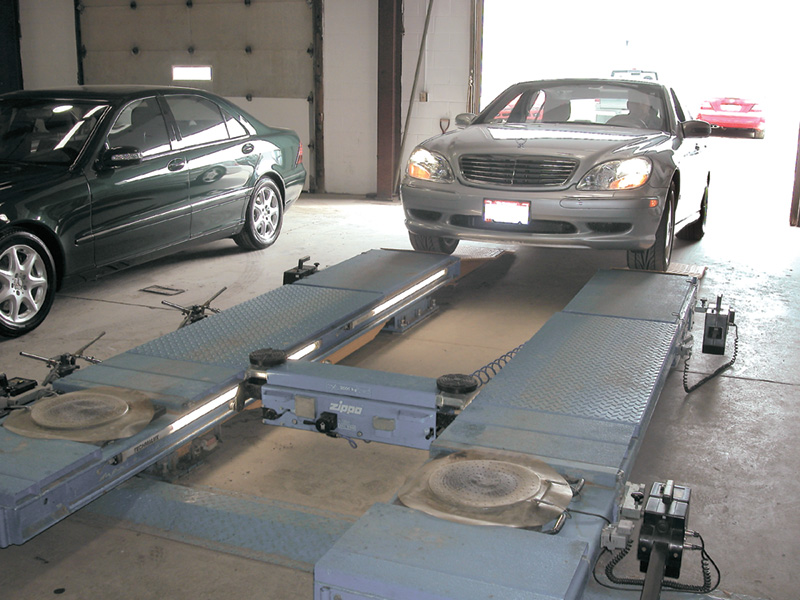
Let’s start at the beginning. Why did the car owner think he or she needed alignment? Some people have their car’s alignment angles checked regularly; others choose to do so when they notice erratic or disappointing tire wear. Still others have an alignment done because of a recommendation from a friend or from the shop service writer. If possible, find out why this car is in your alignment bay. Take the car for an initial roadtest: Perhaps you will know immediately from the way the car drives why it ‘pulls left’ or squeals on turns. If you know why the car is on your rack for an alignment, you have a running start on delivering what the owner wants solved when he or she gets the car back. But what the owner thought was something out of alignment, you may instantly realize is a dragging brake. Let’s assume, however, we’re working only on alignment problems this time.
Once the car is on the alignment rack, the first thing to do is to walk around the vehicle and look at the tires. They should all be the same kind of tire from the same tiremaker, with about the same level of treadwear. In fact, they should be one of the tires specified for that vehicle model by the carmaker, but in any case they should be the same tire all around. If they are different tires, or different size tires from the same tiremaker, just stop. You can’t align that car properly until all the tires match. Don’t try to ‘come close’ or ‘make allowances.’ Get the same tire at each corner.
Once they match, pull out your inflation gauge. Most cars will have the proper inflation specification on the sticker inside the doorframe, glovebox door, fuel filler door or in the owner’s manual. The inflation specification, coupled with the tire specification, determines exactly the configuration of the wheel with respect to the ground. It is not possible to guess the inflation in a tire to a useful level of accuracy just by bopping the rubber with a wooden club or by eyeballing the sidewall. That bounce flex can vary considerably from one type of tire to another. Use your gauge and get the numbers right.
On most models, rear alignment adjustments are made with eccentric bolts through the brackets and bushings. For particular applications, there are select-fit special purpose bolt kits that go in different orientations, so you need not only the information from the alignment machine but you also need to know what kinds of alignment parts are available.
Next, check the ride height. Begin by checking the trunk and the back seat to make sure there’s nothing heavy to throw the vehicle height off, but make sure the tank is full of gasoline. Then do the technical measurements. Exactly where and how to perform this test varies by vehicle and should be described in your alignment machine’s literature or in Mercedes-Benz technical documentation in your shop. Technically sophisticated alignment equipment can measure suspension height remotely and immediately, but even if you are using something older than the latest equipment, you can still find where to measure and confirm that the springs have not sagged and the geometry is suitable for further testing and any adjustment necessary. A suspension-height measurement does not test how far the car’s bellypan is from the pavement, except indirectly; it determines instead that all the suspension members are at the proper angle with respect to one another and to the vehicle unibody. Absent that determination, all the measurements and adjustments you make would be incorrect. A vehicle that fails a suspension height test, of course, has one or more sagged springs. For newer air and hydraulic suspensions, consult your technical manuals. Replace springs in axle pairs, or the ride will be uneven after the swap. If you’re replacing springs, check the shock absorber, too.
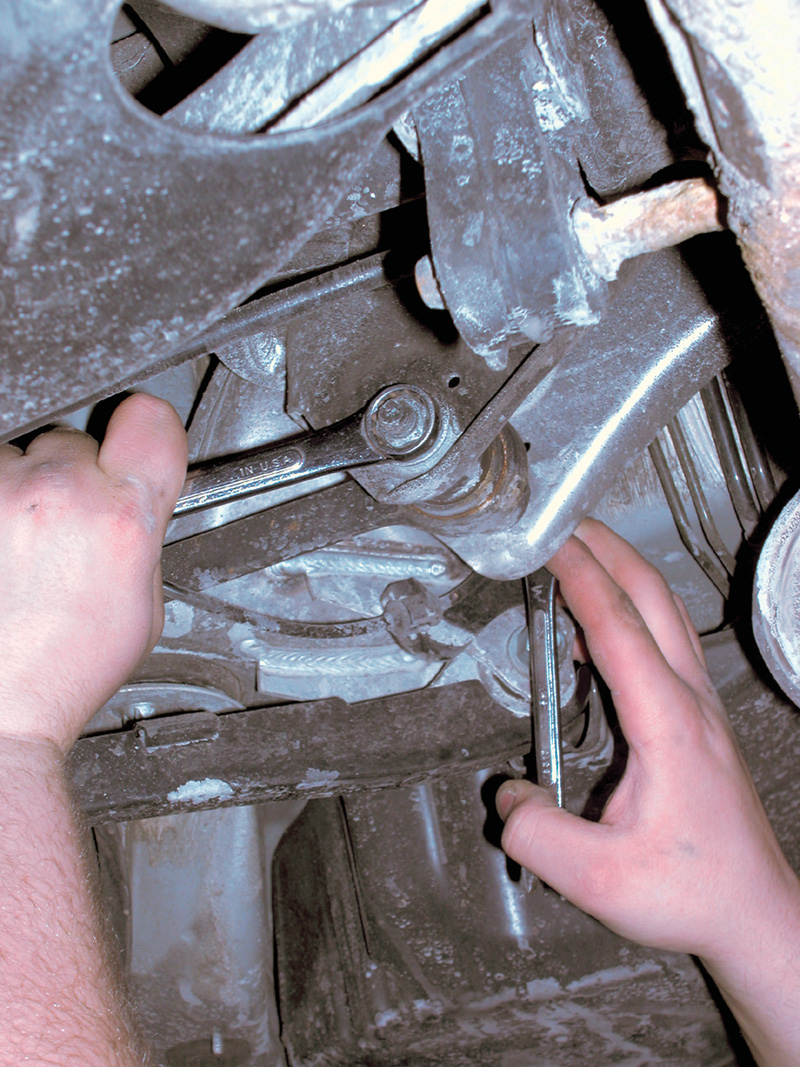
 Before doing any angle measurements or adjustments, go over the suspension components very carefully, making a visual inspection to detect any damage to one or another part. Some kinds of damage, for example a bent front spindle, may only become detectable when you determine the non-adjustable SAI angle is out of specification. If there is impact damage to some part or another, you have to replace that part before you can do an accurate alignment. Keep in mind that impact damage can and often does include damage to wheelrims and other parts caused by driving over an unexpectedly rough railroad crossing or a pothole that pits the road even more deeply than usual. Most alignment equipment can factor out some damage to a wheel, but the car will still not drive correctly with such damage.
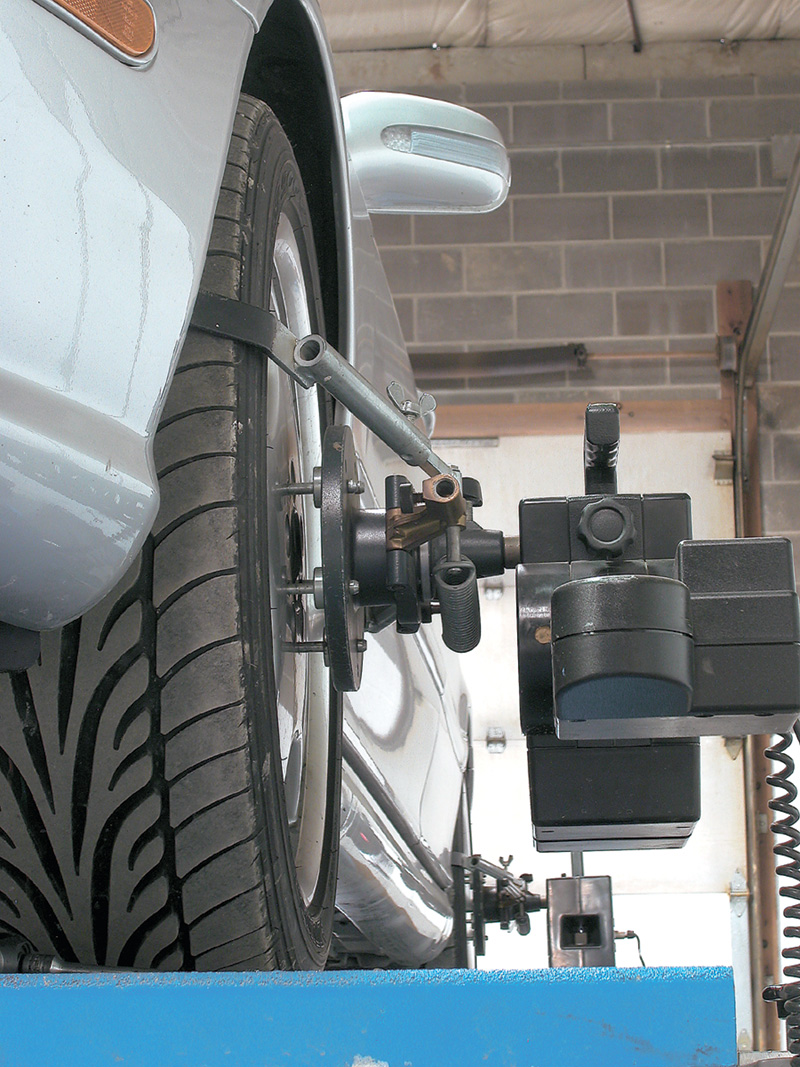
Now set up the alignment machine heads and do the rear alignment tests and any needed adjustments. Why start at the back? Because you align the fronts to the thrust line, which is the average toe of the backs referenced to the vehicle centerline. If you adjust the rear suspension correctly, that should dial in a perfect, zero-degree thrust angle. Do things in the right sequence, and you have fewer things to do!

Mercedes-Benz carries a tool, called a press-toe bar, that looks like a spring-loaded steel shower curtain rod, that correctly pre-loads the front wheels with a force corresponding to the forces acting during normal driving, simulating toe-out. By employing this tool or its equivalent, you can eliminate any looseness from the adjustment points when you set the toe.
Rear alignments on most cars involve checking camber and toe, but keep in mind that the eccentric adjustments may change both at the same time. When you reset an eccentric bolt to change the position of a suspension strut in the back, keep in mind exactly what combination of dimensions you’re modifying. Recall also that on each of the eccentric adjustments involving a rubber bushing that you must have the full weight of the car sitting level on its wheels before you snug the fastener to its final position. Otherwise the bushing will twist with the load and have a reduced useful life. Bushings tend to last a long time on these cars unless they have been soaked with oil.
 but against the headliner and roof. It is critical when using the tool, of course, to toggle off the convenience feature that lifts the steering wheel when the door is opened to make entry and egress easier. Failure to observe this step could allow the rising steering wheel to pop out the windshield, which might be an unwelcome surprise to a customer who dropped off a car for wheel alignment.")
Mercedes-Benz offers a special steering wheel holding tool, unique in that it steadies the wheel not against the seat cushion (which is none too steady an anchor) but against the headliner and roof. It is critical when using the tool, of course, to toggle off the convenience feature that lifts the steering wheel when the door is opened to make entry and egress easier. Failure to observe this step could allow the rising steering wheel to pop out the windshield, which might be an unwelcome surprise to a customer who dropped off a car for wheel alignment.
Some of the later versions of eccentric bolts don’t adjust by turning the eccentric, but by replacing the bolt with another, keyed to the slots on one side or the other of the bracket. The only economical way to do such alignments is to have a complete set of the adjustment eccentric bolts on hand, since it is unlikely you can predict in advance which you’ll need. Having the inventory on hand is a much better time economy than measuring the car’s angles, ordering the component, and then bringing the vehicle back when the parts are on hand.

Alignment work takes a special kind of concentration and builds a familiarity with the characteristic difficulties of each model car. To become good at correctly aligning cars, you have to focus on getting the angle numbers correct exclusively. If you’re working on a vehicle that is new to you and try to rush through it, it will probably take longer to complete than expected, and the job will not be done right. Take your time and learn the cars, the equipment and the special parts and tools. Then you can start cranking them out faster.
If the vehicle uses one of the active suspension systems, be aware of how that works before you pull bolts out of suspension brackets, whether front or rear. These suspensions are active for a minute or so even when the engine is off and the key pulled out, so you’ll have to consult your technical literature to determine how to disable the active suspension while conducting repairs. On some of them, you will not be able to reinstall a bolt through a bushing if you have not observed these steps.
Centering the steering wheel often seems like an almost cosmetic step. After all, the car will run about as well with the wheel off by a couple of degrees, won’t it? Well, actually, no it won’t. For one thing, the layout of the driver’s position was carefully planned by ergonomic designers to insure that the important gauges were all visible through the top of the steering wheel when the car is driving in a straight line. If the steering wheel is off center, that will no longer be so. Second, various traction control systems use a steering wheel position sensor to determine, for instance, how much variation in rolling velocity to allow to the wheels before adopting traction-retaining countermeasures. In a turn, for instance, ABS will allow more variation if the steering wheel is away from center than dead ahead. Third, the steering geometry assumes a specific position, i.e., centered, for straight-ahead driving. That is the only position in which the geometry will afford the correct toe-in specification. Of course, you can change the toe to achieve the right numbers with the wheel offcenter, but that turns out to be even worse. In that case, the tie rods will have the steering toed in too much at every other position. That would cost both steering control and useful life of the tires.


0 Comments