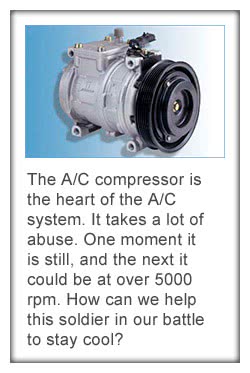
What can we say about the A/C compressor? Believe it or not, it is one of the hardest-working components on the vehicle. Its toughest job is to generate cooling system pressure that provides air conditioning, yet spin at a multitude of speeds ranging from 750 to 7,000 rpm. Think about it: If you turn the A/C on at highway speed, it has to go from zero to several thousand rpm instantly. So, it needs to have proper lubrication as well as the correct refrigerant charge. Mechanically, it needs to have sufficient grip from the belt that drives it.
What am I working on?
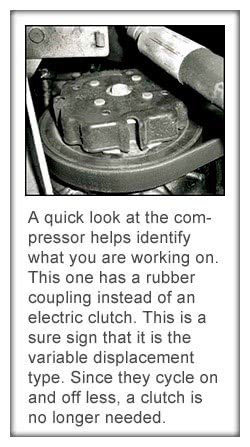
Over the years, BMW has used several manufacturers’ compressors, and different construction types. Within the last two decades they have primarily been Behr, Bosch, Nippondenso (Denso in America) and Seiki-Seiko. In the last decade the company has settled on Nippondenso and Seiki-Seiko. Chances are if you see a Seiki-Seiko compressor, you are probably dealing with the rotary vane type. If you see a Nippondenso compressor, you are dealing with a different animal. These compressors are “swash plate†designs, otherwise known as variable displacement compressors. These vary their output depending on high- and low-side pressures and this needs to be taken into account when using system pressures to diagnose a problem. The Seiki-Seiko compressor is a straightforward compressor design, so conventional diagnostics apply.
Most of the BMWs you will see have IHKA, which is computerized climate control. These systems will have the variable displacement compressor. Since the compressor can vary its output depending on load, it does not need to cycle on and off as much so fuel mileage and emissions are better controlled. How does this swash plate work? Well, the swash plate has all five pistons attached to it. By tilting the plate at more of an angle the piston stroke is increased and more output is produced. If the angle of the plate is reduced, then the piston stroke is also reduced, thus lowering output. What controls the swash plate position? A control valve built into the compressor receives low-side pressure. If the low-side pressure is high, this indicates a high load on the system, and it positions the valve to allow high-side pressure to move the swash plate to maximum stroke (i.e. high output). Once the low-side pressure drops, the control valve is moved to block any high-side pressure from the swash plate and the plate returns to its minimum stroke (i.e. low output). Basically the high-side pressure moves the swash plate in or out and the control valve uses low pressure to determine how much high-side pressure makes it to the swash plate.
The diagnosis
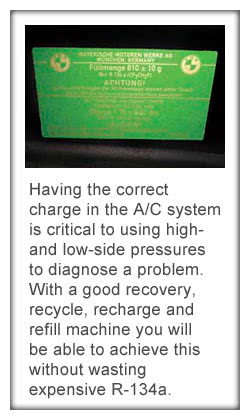
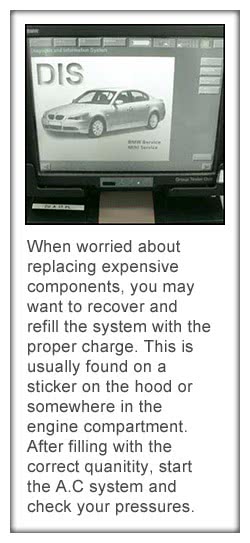
As with any air conditioning system there is a tried-and-true method for diagnosing problems. This article will focus mainly on diagnosing a failed compressor, although other failures will be touched upon. When dealing with any A/C system failure, you are going to need to know two things: Number one, what are the system pressures? And, number two, what kind of refrigerant are you dealing with? With the various blends available to replace R-134 (and R-12 on old systems), every shop that deals with A/C needs to have a refrigerant identifier. The system pressures that we are using to diagnose the vehicle will depend on total capacity, refrigerant quantity and system integrity. Any one of those can throw off your diagnosis. In a worst case scenario, you may have to evacuate the entire system and fill with the proper charge just to begin the diagnosis. You need this known quantity before you can start interpreting pressures.
The next critical step is knowing that the system has the proper refrigerant charge. So many times the low-side is fed the charge until the A/C system starts to blow cold. This may work fine at that rpm and at that ambient temperature, but what about additional rpm and additional condenser cooling with a condenser fan running, or the vehicle at speed? In order to utilize the refrigerant pressures for diagnostics, the correct charge must be added to fill the total volume of the A/C system. Turn on the A/C system and watch the low- and high-side pressures.
A basic overview of interpreting refrigerant pressures should start with the low-side pressure. With the compressor running you should see anywhere from 17 to 23 psi depending on ambient temperature and system load. Going slightly lower than 20 psi is not always a problem but we need to be worried about low-side pressure dropping too low indicating a problem in the system. The high-side pressure can be anywhere from 100 to 250 psi, once again, depending on how hot it is. The hotter the ambient temperature the higher the acceptable pressure, but once again a little over 250 psi is not necessarily a problem. When the pressure starts going high enough to trip a high pressure switch or the reading of the high pressure sensor tells the IHKA computer to shut off the compressor, we now have a problem. The next step is to look at system pressures. Normally when both high- and low-side pressures are low the system is undercharged. If both high- and low-side pressures are abnormally high the system is more than likely overcharged. When pressures are high on the low-side gauge and low on the high-side gauge this usually indicates the orifice tube is ruptured or the expansion valve is stuck open allowing too much high-side pressure into the low-side of the system.
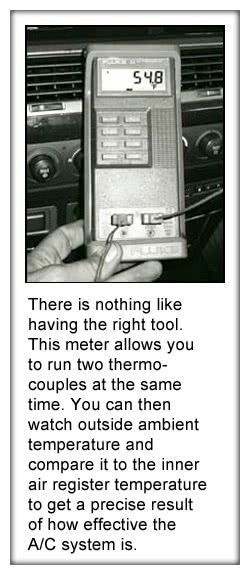
The problem could also be a weak compressor. The compressor may not be able to suck in on the low-side and generate the necessary high-side pressure. If the compressor is a variable displacement unit, see if the pressures change during two different conditions. The first condition is at idle with the doors and windows closed and the A/C system set to “Recirculation.†Note the high- and low-side pressure. Then, open all the doors and you might as well set the mode door to “Outside Air.†You want to watch the low-side pressure as you open the doors. See if the low-side pressure increases with the load and then drops slightly as the compressor changes its displacement. The air temperature coming out of the registers may increase slightly at first and then slowly drop back to where they were.
The prognosis
If the results of your testing lead you toward replacing an A/C compressor, you will find the repair process is more than just the R & R of the compressor. If it is an internal compressor failure, debris from the compressor can get circulated throughout the A/C system. These contaminants need to be removed before they damage the replacement compressor. What needs to be done is to disconnect the A/C lines and use a flushing tool to flush out the evaporator, condenser and each hose leading to and from the compressor. This should be done with a commercially available A/C flush solution. With a system properly flushed there is a strong possibility that you will have removed the refrigerant oil that has settled in each component of the system. On initial start-up compressor damage can occur while it is waiting to be charged. BMW replacement compressors are filled with refrigerant oil to protect them during shipping and initial installation. Just to be safe, you should drain the old compressor and measure the quantity of oil removed and make sure you put at least that amount in the new compressor. You should then rotate the compressor shaft several times to distribute the oil throughout the internals. You can also look up the total refrigerant oil in the system and divide by two. Put half the oil in the compressor and the other half in the receiver/dryer. You should be using PAG oil with a weight of 46 for A/C system lubrication with Seiki-Seiko and Nippondenso compressors, and mineral type oil in the old Bosch and Behr R-12 compressors. Using replacement BMW compressors prevents any problems with installation. Aftermarket compressors are not always direct fit. In some instances, you may have to exchange manifold connections with the old unit to make it fit in the car.
The Mechanical Aspect
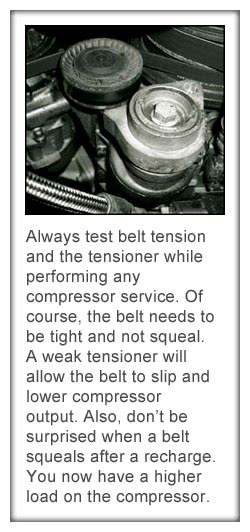
Especially if you noticed a high-pitched squeal as the compressor comes on, you should look at the tightness of the drive belt. With automatic tensioners, you cannot assume the belt is tight enough to drive the compressor without slipping. Watch the belt while someone accelerates the engine as see if the belt “wobbles†under acceleration and deceleration. A small amount of wobble is acceptable, but any more than that and the belt and/or tensioner should be replaced. While you are there you may want to feel the tensioner pulley to see if you feel any binding.


0 Comments