Where stopping power is concerned, BMW has been at the forefront for decades. Take a look at the vehicle tests in any of the car buff magazines and you’ll see that the stopping distances of this company’s products are consistently shorter than those of the competition. This shows a fundamental concern not only for safety, but also for a superior driving experience.
But brakes take a terrific beating in the process of converting inertia into heat, so even the best systems in the world will develop problems and need care at some time in their service lives. Lining and rotor wear and pedal pulsation are chief among these eventualities, so here we will investigate the causes and cures.
Primitive approach
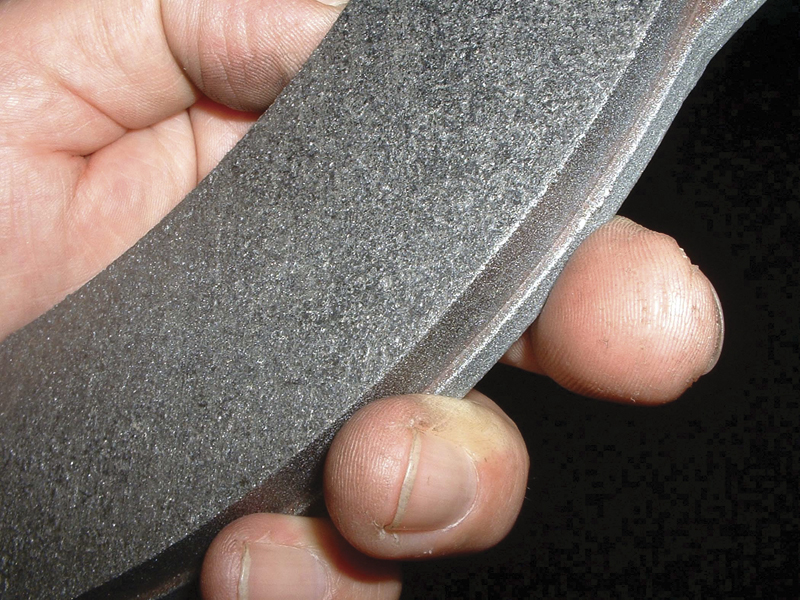
If you were to design a brake system with a very thick, heavy rotor and soft asbestos linings, the discs would probably never wear out, and all that would be needed to keep going forever would be an occasional pad replacement. Of course, that would go against all modern engineering goals. Not only would the brake be dangerously prone to fade, but unsprung weight would be too high for good handling. Also, nobody would want to have asbestos, that dangerous fibrous mineral, around either in a manufacturing plant or a service shop.
No, to get high performance braking you need an aggressive, up-to-date lining recipe and sophisticated metallurgy in the rotor, both matched to the application, and this is the approach BMW engineers have taken. The trick is in balancing lining and rotor wear against stopping power and pedal feel, and compromises come at the expense of wear, which is just as it should be.
Lathes for sale
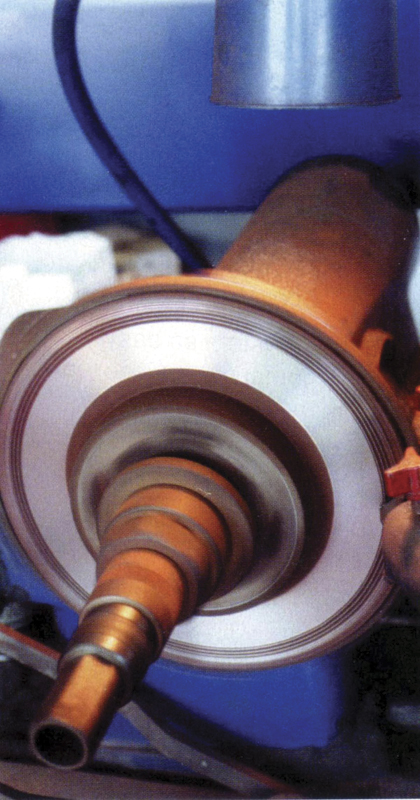
It wasn’t that long ago that it was standard operating procedure in most shops to automatically turn rotors on a lathe during a reline, providing they weren’t down to their legal throw-away thickness. No more, at least among the highest-quality repair facilities. As one successful European car specialist says, “We’ve gotten rid of our brake lathe. The tolerances on late models are so close, any appreciable wear demands that the rotors be replaced.” Also, new discs will be extra insurance against a recurrence of a pulsation complaint simply because they haven’t been cut, so are thicker.
So that leaves replacement, which, besides being fast, amounts to a profitable parts sale for the shop. But how do you choose among the available options? Do you try to save the customer a few dollars, or would you rather feel confident that the job won’t come back to haunt you?
As an independent BMW service shop owner tells us, “We’ve tried premium aftermarket rotors from one of the biggest disc manufacturers in the world, but we got warpage and comebacks. So, we did a little research and found that these parts weighed about two lbs. less than the original equipment discs. When we told the manufacturer about this, they said, essentially, ‘take it or leave it.’ We left it, and now we use only BMW O.E. rotors.”
Bumpy braking
Pedal pulsation is an extremely common condition that tends to repeat. Sure, the car goes out of your shop with smooth braking action, but in a distressingly high percentage of cases, it shows up at your door again within a couple of months, and there’s a good chance the customer will have lost his or her faith in your work.
Greg McConiga, former ASE Technician of the Year, has a theory about why pulsation problems increased when semi-mets supplanted asbestos. He believes it’s related to what happens when you stop at a light. By their very nature, semi-mets conduct heat away from the rotor, whereas asbestos is nothing if not a good insulator. This was intended, but it has an unintended consequence: The area of the disc that’s gripped by the pads cools faster than the metal around it, causing warpage.
A logical question at this point might be, “Shouldn’t floating and sliding single-piston calipers just ride with the runout? What’s making those pulses?”
The answer: When it comes right down to basics, the direct cause of pulsation is DTV (Disc Thickness Variation), which can also be seen as a lack of parallelism between the two sides of a rotor. Wobble causes the rotor to wear unevenly as it hits those abrasive pads in one spot on each side every revolution of the wheel, and the contact areas will end up thinner than the rest of the disc. Some authorities claim that .002 in. of runout can cause about .0004 in. of DTV in 3,000 to 5,000 miles. Typically, thickness variation should be held to .0002 in., although we know brake experts who say it’ll take .0004 to generate a complaint. Either way, you’re going to have to take your time checking for discrepancies this tiny.
Zeroing in
As a diagnostic preliminary, make sure the condition is indeed due to the friction components and not the result of a malfunctioning ABS. The module could misinterpret a bad signal from a damaged or contaminated wheel speed sensor to be a skidding tire, so may pulse the hydraulics. If you take the time to carefully experience the condition, however, your technician’s instincts should allow you to differentiate between the two.
Next, you’ve got to determine whether the pulses are coming from the front or the rear (or both). Commonly, DTV in the front will cause the steering wheel to rock or shudder on light brake applications at low speeds. You’ll feel the side-to-side movement if you hold the wheel with just a few fingers. To find out if the rears are at fault, find an uncrowded street, coast in neutral at about 20-25 mph, and apply the parking brake gradually.
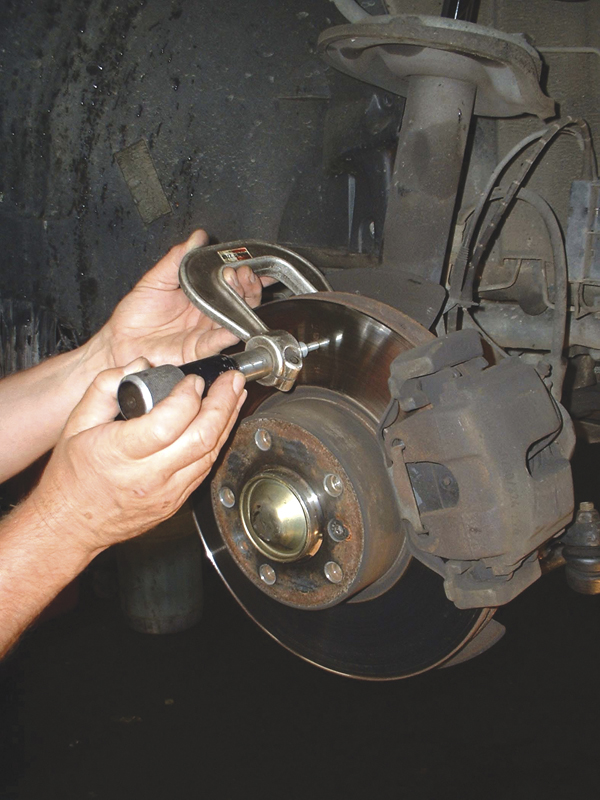
Get the car safely up in the air, but don’t pull the wheels yet. Instead, measure runout on the inside of the rotor with the wheel installed and the lugs torqued, if possible. This will tip you off to real-world runout.

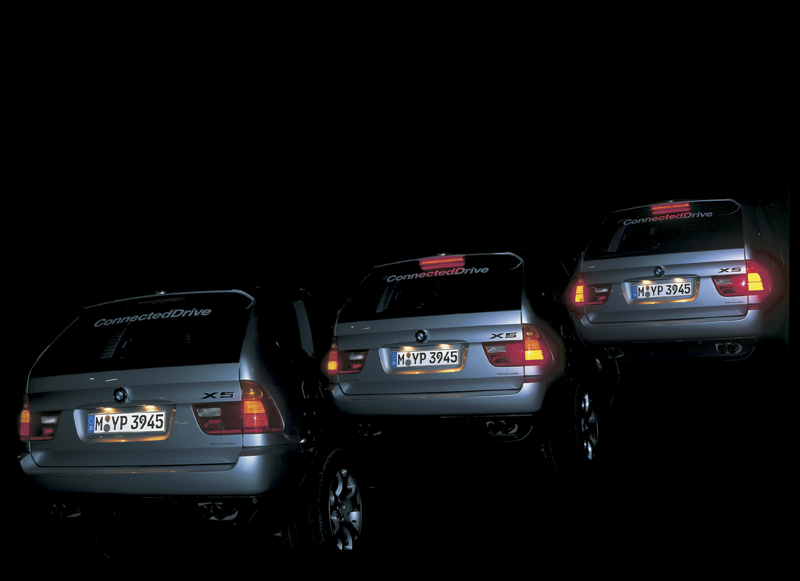
If somebody told you in a normal voice, “The car ahead is stopping,” you’d react at a normal pace, right? But if he shouted it, you’d jam your foot onto the brake pedal instantly. That’s the idea behind the adaptive brake lights found on new selected models, but visually. The main taillight units are outboard, and incorporate three-dimensional LEDs for their tail- and brake lights. Additional tail lamps and the backup light are in a light band across the trunk lid. This set-up lets following drivers know how hard you’re stepping on the pedal, or if the ABS has engaged. Under normal braking, the outboard and 3rd brake lights illuminate as usual. During hard braking or when the ABS is activated, the taillights join the brake lights (at the same lighting intensity as the brake lights) for a significant increase in visual warning. In case of burnout of certain exterior bulbs, a nearby bulb (one normally used for a different function) is “commandeered” automatically until the defective bulb is replaced. The Check Control monitor system alerts the driver to the burned-out bulb.
Â
Â
Potato chips?
Besides ordinary runout, there’s disc flatness, the kind of warpage that makes the rotor resemble a potato chip. With your dial indicator, check for this at points 90 deg. apart and close to the outer edge of the wear surface. Find the high point and mark it “1,” rotate the disc one-quarter turn, mark it “2” and record the reading. Do the same thing twice more to establish points “3” and “4.” The difference between “1” and “3” will be max runout, whereas the biggest deviation from flatness will be between “1” and “2,” “2” and “3,” “3” and “4,” or “1” and “4.”
In the past we were told we could check for flatness with a straightedge and feeler gauges, but most authorities today say that’s apt to be inaccurate and misleading.
Uncovering DTV requires that you pay attention. Measure thickness at eight evenly-spaced points around the disc.
Everything we’ve mentioned so far applies to both front and rear discs. Since rears only account for maybe 20-30% of stopping power, however, they won’t be the cause of as many complaints.
Prevention

There’s a real science involved in formulating lining material to achieve good pedal feel, longevity, etc. If it’s too hard, it’ll amplify and transmit even the tiniest vibrations.
One of the primary statements of the modern version of the Hippocratic Oath that physicians take is, “Never do harm.” The same should be applied to what you do when you’re performing brake service.
Cranking down those lugs with your impact wrench is a case in point. We all know that’s how just about everybody out there in the trenches does it, but it can, and does, cause harm (even the use of torque sticks is suspect because they’re simply not as accurate as a torque wrench). As one veteran brake expert explains it, “What happens is you tighten the first lug to 90 ft. lbs, and that cocks the wheel. Then, you may tighten the second to 90 also, but the wedge effect makes the other one actually closer to 130, which puts an uneven strain on the rotor. After a couple of months, or 1,500 to 4,000 miles, the iron relaxes to match the stress, and you’ve got a pulsation problem. You can avoid this by installing the wheel and tightening the lugs while the car’s on the lift, lowering it, backing them each off half a turn, then torquing them.”
Good point, and we’ll add that you should use the proper tightening pattern, either star or criss-cross, depending on the number of lugs.
Even more important, though, is anything that interferes with the trueness of the rotor mounting. For example, corrosion on the flange that keeps the disc from seating properly, hence introducing runout. In our shop, we use our “whizzer” with abrasive discs and various powered wire brushes to get those flanges as clean as possible before mounting the rotor. If there was no pulsation problem and the disc is to be reused, we index a lug and the rotor “hat” with punch marks, paint, or a tire crayon.
It’s a worthwhile precaution to check runout whenever a new rotor is installed. If it’s less than .002 in., send the car out. If it’s anything more, remove the rotor, rotate it one lug, remount it, and check again. Keep doing this until you arrive at the position with the least wobble.
Finally, please heed to the SIVs ( Service Information Bulletin) and that BMW has issued over the years and always use OEM recommeded parts to avoid customer complaints.Â


0 Comments