OBD II has been with us for 15 years. Improvements have recently been made, but since we commonly work on older vehicles we may still have problems getting monitors to run. What have we learned?

One problem you may encounter trying to run monitors is low engine temperature. This can be the result of a thermostat not maintaining engine temperature at speed. Watch the engine temperature in the data stream while driving.
We’ve all been working with OBD II for almost a decade and a half. In automotive terms, or in the terms of any modern technology, that’s a long time. We’ve learned how to get results with this system over the years. We know what works, and what does not. These “tips†or “tricks†that we’ve developed come from our experience diagnosing Mercedes-Benz vehicles. These procedures range from simple to highly questionable. Any Mercedes-Benz is a sophisticated machine with engine management systems communicating with transmission control, electronic shifter, four-wheel drive, etc., on the Drive CAN. This also shares information with the body and chassis CAN systems. Much of this information is used by engine management to determine when non-continuous monitors should run and pass.
Non-Continuous
Non-Continuous monitors do not run all the time, but only when specific conditions are met during a drive cycle. As the vehicle is being driven, engine management exercises these systems outside of their normal operation. The tests are repeated in the next drive cycle when the conditions are again right. If the test fails again, a DTC is set and the MIL (Malfunction Indicator Lamp) is illuminated. If by chance the problem is temporary, then the monitors are run even with the MIL on. In most cases, when drive-cycle conditions are met, the system needs to pass these tests three times to command the MIL off, but the code is still present. SDS is much more capable of detecting faults in the system than the Generic OBD II protocol is, and it is available for purchase from MBUSA. Now, what is meant by the phrase “when the conditions are right?â€

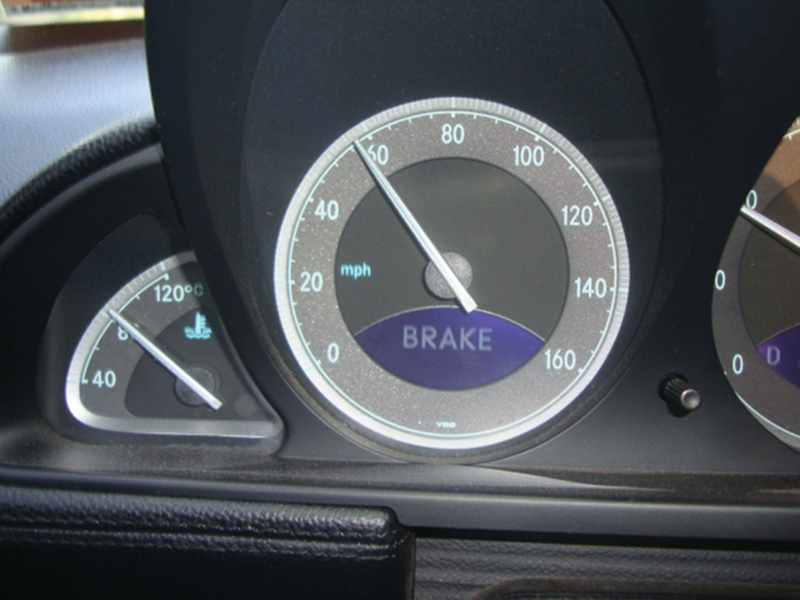
One key thing to remember is keeping the vehicle speed below 60 mph. Anything over that will shut off most monitors, especially that for the O2 sensor. It’s always a good idea to have a driving plan laid out so you can achieve the drive cycle safely.
The Time is Right
While testing a system’s effectiveness, you will need a baseline. If you’re going to monitor the switching rate of an oxygen sensor, then you cannot have the engine rapidly accelerating and decelerating. Throttle application should be smooth and steady or the O2 sensor’s signal voltages will fluctuate and make testing impossible. You should also be driving on a flat road because going up and down hills will change engine load (as measured by the MAF) to a point where the monitor will shut off. A drive cycle is meant to mimic the way normal drivers would operate their vehicles.
If a MAF sensor were to become contaminated, fuel trim readings could be commanded one way or the other. Look for additive and multiplicative fuel trim readings coming close to setting a code. This can interfere with running monitors. Another problem can be engine temperature. If this drops below 175 deg. F., the monitor will be shut off. This can be caused by a thermostat not functioning properly. Watch the coolant temperature sensor signal on your scan tool while driving down the road and verify that engine temperature is hot enough.

If your fuel trims are approaching their limits, it may be more difficult to run the O2 sensor and catalytic converter monitors. A small vacuum leak or MAF contamination can slow the running of a monitor without being severe enough to set a code.
Another conditions that needs to be met is vehicle speed. It must be kept below 60 mph, or the O2 monitor will shut off. This can prove difficult since Interstate speed limits can be as high as 70, and you might have faster traffic tailgating you. In rural and residential areas, the posted limit may be between 25 and 35mph, which is too slow to monitor 02 sensor function. In other words, the “conditions†have to be correct for the monitor to run. Most Mercedes-Benz vehicles get their speed input reading from the ABS/ASR/ESP chassis CAN. If you have DTCs in these systems, you will need to correct them first. Another sensor reading that can inhibit monitors is that of the air temperature sensor. Verify that it is functioning correctly. This reading often comes from an ambient temperature sensor used by either the AAC, or the instrument cluster.

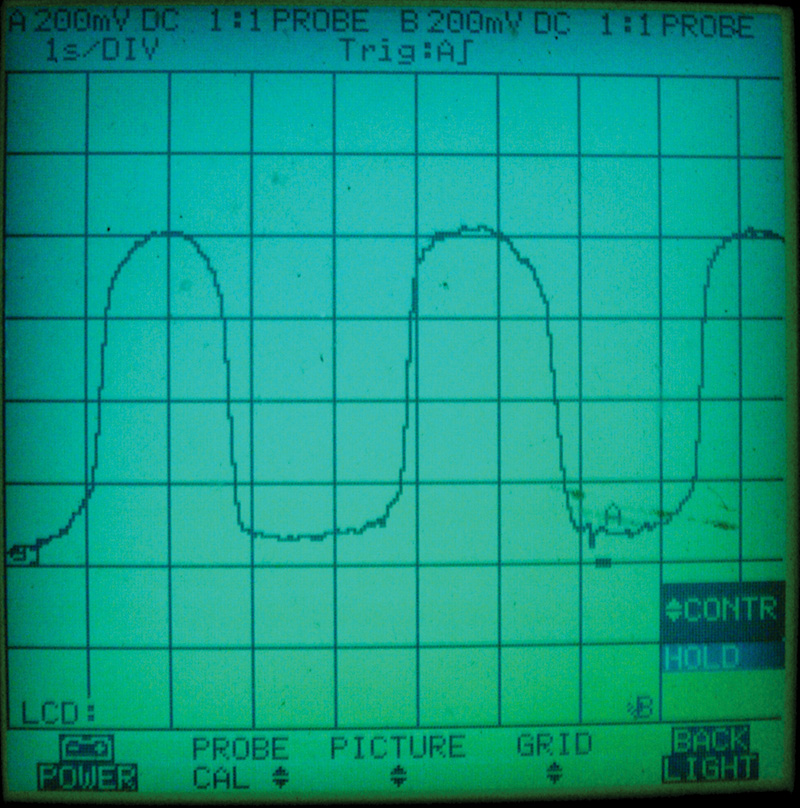
You may have to scope an O2 sensor to look at the activity of the signal. Evaluating its rise time and switch rate will let you determine whether or not the oxygen sensor is responding quickly and accurately.
By The Book
Mercedes-Benz drive-cycle test procedures can be used to help accelerate the process. For example, to help run the O2 heater diagnostics, warm up the engine past 80 deg. Celsius. Shut it off, restart it, and rev to between 2,000 and 2,500 rpm for two minutes. Come back down to idle speed and let it idle for six minutes with all accessories off. To continue with the O2 sensor signal, test drive for three minutes at 43 mph. To move on to the catalyst, drive the vehicle for another three minutes between 48-54 mph. When you are done, do not shut off the engine. The next step is the air/fuel mixture self-adjustment. Simply let the vehicle idle for another three minutes with no accessories on and get ready for the next test, that of the EGR monitor. Drive the vehicle moderately up to 2,000 rpm and release the throttle till engine speed drops to 1,100rpm.
You should now shut the engine off and repeat the EGR test. At this point, get engine temperature down to below 40 deg C. You can either wait for the engine to cool down, use cooling fans, or connect a sensor simulator to the coolant temperature sensor pigtail. You need to start the air injection diagnostics below 40 deg. C. Start the engine, bring it up to 1,400 rpm, and hold it there until engine temperature is at least 70 deg. C. You can drive the vehicle to achieve this temperature range. Bring it back down to idle for six seconds, then shut it off. You’re going to have to repeat this procedure, including the cool-down period.
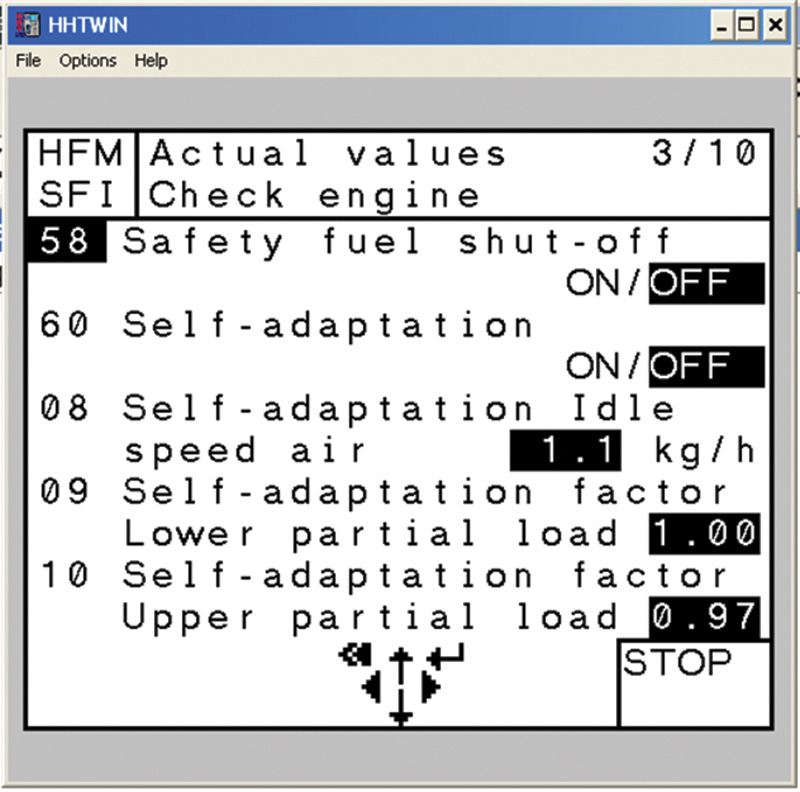
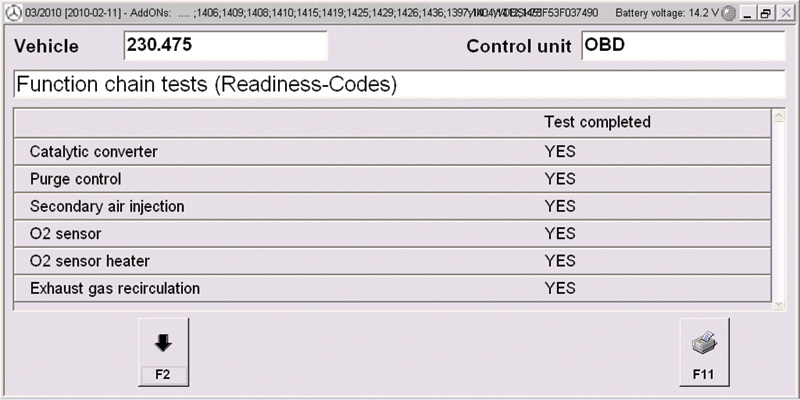
To run the final EVAP monitor, make sure the fuel tank is between 1/4 and 3/4 full. Try to keep engine temperature below 100 deg. C., and air temperature below 45 deg. C. Allow the engine to idle for 20 minutes, then drive the vehicle for 20 minutes. Shut off the engine and repeat the process. Each monitor needs to run the test twice for a passing grade. Using your SDS software, you can go into “Actual Values,†select “Completed Tests,†and review the monitors that have run and passed, and hopefully move on to your next job.

O2 sensors are checked by watching their signal voltage. The catalytic converter monitor compares the rear sensor signal voltage to that of the front sensor. The EVAP monitor looks at the fuel tank pressure sensor signal, and the EGR monitor looks at MAP sensor voltage with the valve closed, then with it open. You can observe all of these with your SDS software under Completed Tests.


0 Comments