It’s simple: Retarding the valve timing allows an engine to make more power at low rpm, while advancing it gives more power at high rpm. How can we get the best of both worlds?
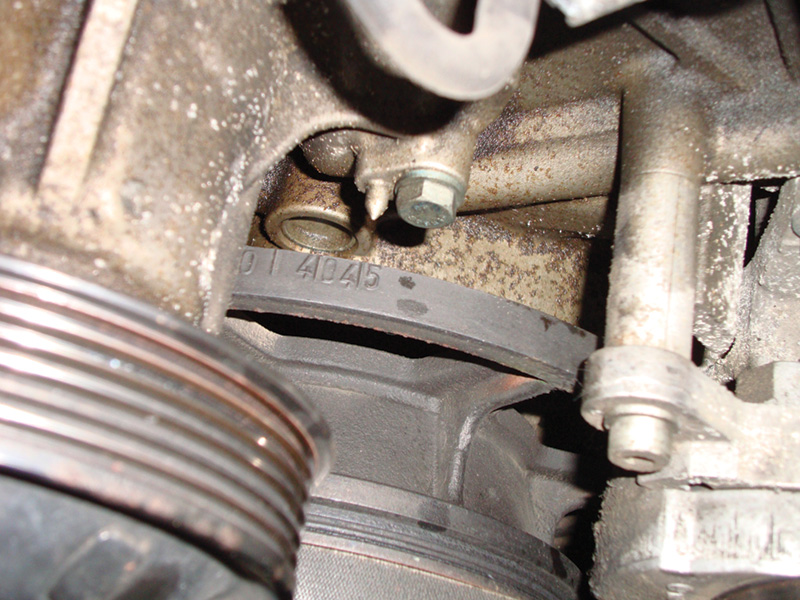
The first step is to look at the procedure for timing chain R & R in WIS with your paid subscription to Startekinfo. Set up the crankshaft where they have you set up valve timing. This way if the chain falls off you can always retime the engine.
Think of an engine as an air pump. The more air it can move at a given rpm, the more power it will produce, and this is determined by the position and lift of its camshaft lobes. The trouble is, camshaft timing and lift that’s ideal for optimum horsepower output at high rpm makes for a rough idle, excessive emissions, and poor low-end torque. So, how do you engineer for high-performance throughout the range of operation, the best of both worlds?
Mercedes-Benz Variable Valve Timing has been with us for almost 20 years. It has evolved through a few stages, but has remained basically the same on the 1XX series engines. On these engines, only intake valve timing advanced for increased top-end power. With the 2XX series engines, both intake and exhaust valve timing are varied for increase performance. In both cases, Mercedes-Benz has engineered a system that uses switched oil pressure to move the camshaft actuator toward the advanced position. Timing chain direction and/or spring tension within the actuator returns it to the retarded position when oil pressure drops, depending on the application. This means when dealing with any variable valve timing issue oil level, pressure, and quality all need to be checked before any other tests are performed.
First Things First
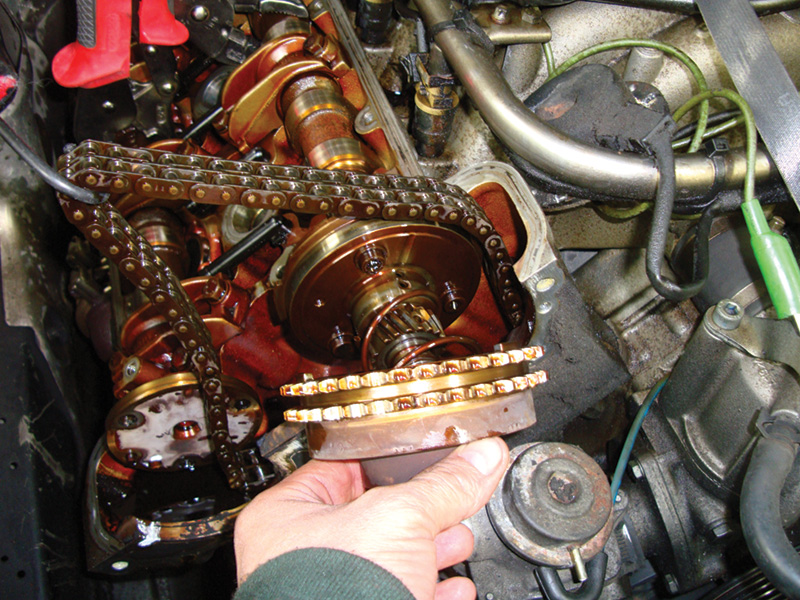
After relocating the alternator and removing the tensioner, you can remove the exhaust sprocket and unbolt the adjuster unit from the intake cam. Be careful to support the chain so it does not fall into the engine and disengage the crankshaft sprocket.
The systems works by energizing an electromagnetic coil mounted in the camshaft timing case cover. The PCM grounds the coil that already has ignition-on power. With the coil energized a cup bolted to the end of the camshaft is pulled forward. This causes the oil flow to stop and pressure to build up, which in turn causes the actuator to rotate the cam sprocket relative to the camshaft, thus advancing the timing. Since the oil trapped in the actuator isn’t circulating, conventional oil can overheat, form sludge, and reduce lubrication. This can cause an actuator to stick and/or fail. Synthetic oils have a higher burn point so they can withstand these higher temperatures. Mercedes-Benz recommends that you use synthetic oil even on older models that may not have used it originally.
Testing, Testing And More Testing
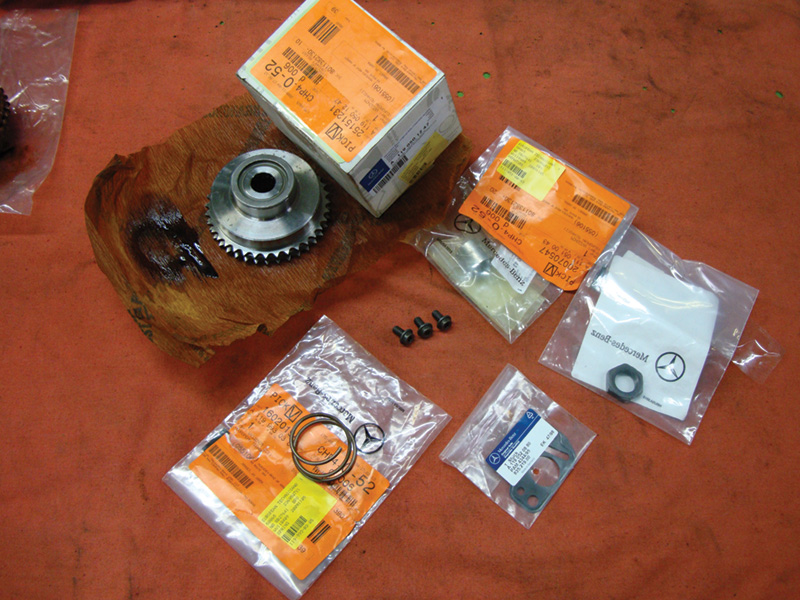
When changing the camshaft adjuster unit, you should also replace the return spring. You will also need to get new mounting hardware and properly torque it down so there will be no issues in the future. Since you had to remove the tensioner, you should include a new gasket.
You can use your SDS (available for purchase from Mercedes-Benz) to actuate and test the variable valve timing system. There is a test under “Actuations†with steps to follow. Essentially, you will be asked to accelerate the engine and start the test. The PCM will activate the variable valve timing solenoid and watch the cam position sensor signal change relative to the crankshaft position sensor. You can use an oscilloscope to watch these waveform patterns while the test is being performed. Typically, Mercedes-Benz uses an AC pulse generator for its crankshaft position sensor. It is a three-wire sensor with an AC signal, signal return, and a shielded ground. What are you looking for?
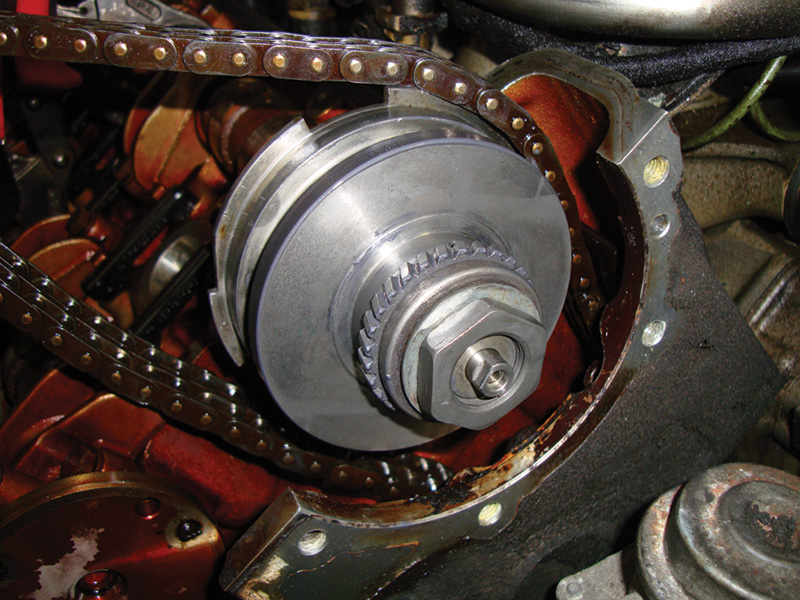
First, you attach the cam adjuster inner plate to the mount with new bolts. Then, install the spring. You could use the old nut to temporarily hold the assembly together while you add the outer cam sprocket.
Put your scope on the signal line and you will see an AC “Sine†wave as the slotted ring gear of the flywheel passes by the sensor. There is a missing tooth in the slotted gear to indicate TDC to the PCM. The camshaft position sensor is usually the Hall-effect type. This is also a three-wire sensor, but it has a five-volt reference, signal voltage, and ground. A square wave is generated on the signal line of the sensor as the shutter wheel of the camshaft passes by. Just as the PCM monitors the signals of the cam sensor and the crank sensor, you can do the same while activating the solenoid yourself, or using the SDS to do it.
Now We Have To Work
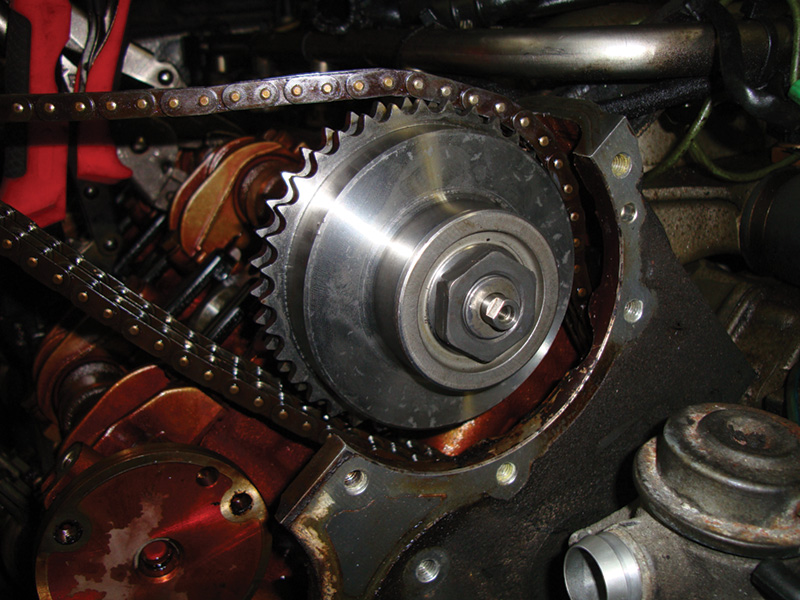
Hold the assembly together and remove the camshaft adjuster mounting nut. Then, install the new nut with the large washer that holds the assembly together. This nut must have the proper torque applied to it, which you can get from WIS in Startekinfo.
If you have diagnosed a sticking actuator, it is going to have to be replaced. If it were to fail and physically come apart, it would lead to severe engine damage. You can replace the actuator without removing the entire front timing cover. It is recommended that you look at the timing chain, sprockets, guides and tensioner to see if they need to be replaced as well. Then it is worthwhile to remove the timing cover and related components. If you are only replacing an actuator, you must be careful not to allow a shaft to spin with the chain off. This would alter the valve timing and cause the engine to run rough or allow the valves to contact the pistons.
The first step is to rotate the crankshaft to TDC. This will allow you to retime the engine if something moves or comes off during the service. Then, pull off the valve covers. You may want to provide your own paint marks and/or install the same guide pins used to secure the cam sprockets while doing a timing belt job. This will help when you reinstall everything and keep the timing the same. You may have to remove the alternator (or at least take off the top mounting bolt and tilt it back), and remove the tensioner from the side of the timing cover. With slack on the chain you can now rotate the passenger side exhaust cam sprocket until either of the intake cam sprockets can be unbolted and removed from the camshafts.
You will need to use a wrench to keep the camshaft from rotating while taking off the cam sprocket. When installing the new sprocket, you will have to collapse the actuator if it has a return spring before bolting it. Once the actuator is installed and properly torqued, you can check to see if the valve timing is correct by rotating the engine by hand two crankshaft revolutions. With the engine reassembled, you can use the SDS to recheck the variable valve timing system and verify your repair. Also verify that the correct oil viscosity and type is being used. This will help prevent future problems and provide your customers with the reliability they expect from their Mercedes-Benz vehicles, and that will keep them coming back to you for service work.


0 Comments