Problems? The racing and restoration world is just chock-full of them.
Have you ever nearly bled out from a thousand tiny cuts suffered while stuffing stainless braided hoses into their respective fittings?
Or ended up red-faced and panting like a ditch digger with a short-handled shovel while trying to shove socketless barbed fittings together? Or chased a leaking flare fitting — tightening it up until you split the line, forcing you to make it up all over again? Well, have we got tools for you this month!
I was introduced to the Koul Tool lineup by a friend and racing partner over two years ago. Anyone who has spent any time making up custom stainless –AN lines for race cars knows just how painful the process gets. Those tiny diagonally woven stainless steel wires spring out of shape once cut and they can slice you to pieces if you’re handling them during assembly. Of all the jobs I learned to do, making up hoses was the one I most dreaded because I knew that by the time I finished a full set of lines for the fuel, water, and oil system I was going to be covered in Band-Aids and in need of a transfusion. This year I decided to call Koul Tools and get my own tooling, and I was pleasantly surprised to end up talking with the owner and inventor, Dick Raczuk.
Mr. Raczuk is a long time hot rodder, inventor, and car and motorcycle guy. He’s the man who was behind two companies you’ve likely heard of: Kerker Motorcycle Exhaust Systems, and Kendick Engineering go-kart headers and exhaust. I called in to just purchase the –AN hose assembly tools, but once we started chatting I realized that he also had tools for the socketless press-on hose as well as the Surseat tooling for steel line flare lapping. Since I work on both race cars and also perform restoration work, I ended up buying all of it — and I’ve used it all with outstanding results.
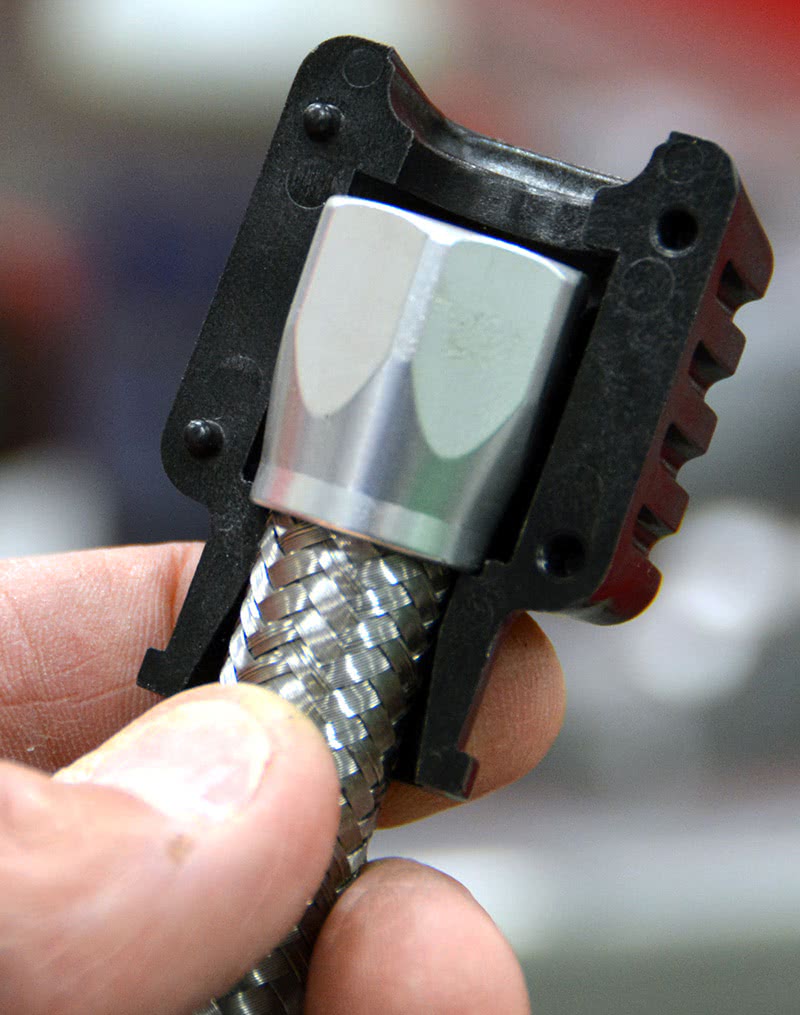
The glass-filled nylon –AN hose assembly tool holds the socket portion of the fitting and the mouth of the tool forms a long, smoothly-tapered cone that forms a lead or transition into the base of the socket. A tiny bit of lube wiped into the funnel before inserting the hose can help as you twist the hose into the mouth of the tool and into the socket up to the point where the threads start. Once done, just mark the hose to make sure it doesn’t back out of the socket as you tighten up the fitting end of the assembly and you’re good to go. Look! No blood! I’m telling you, these things are the best thing since sliced bread (Note to self: Don’t say “sliced†in this story again… brings back bad memories).
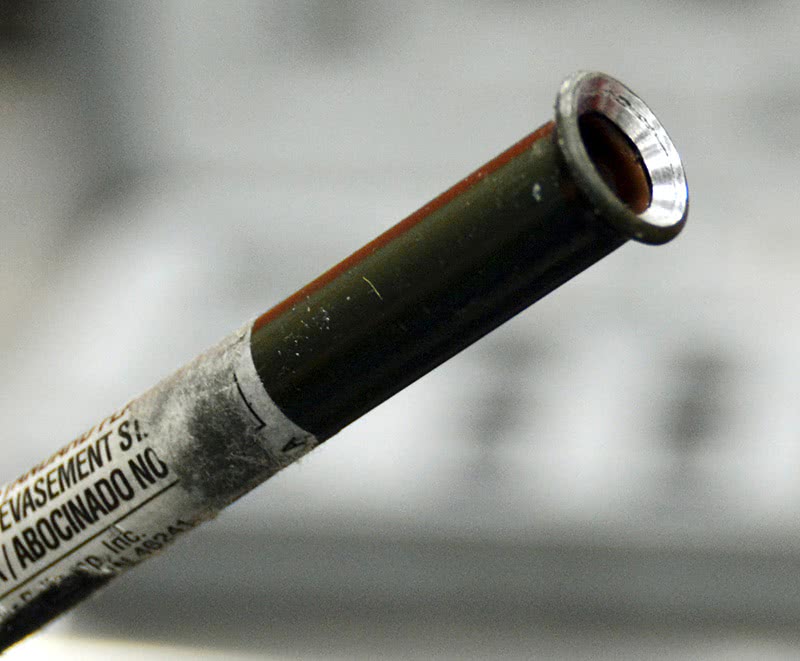
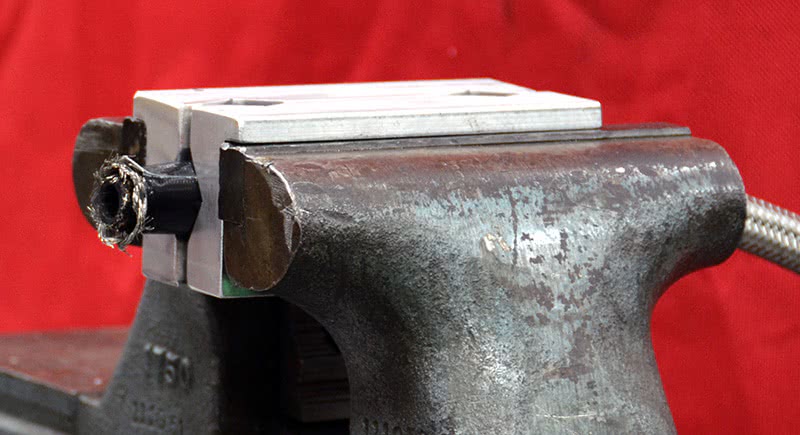
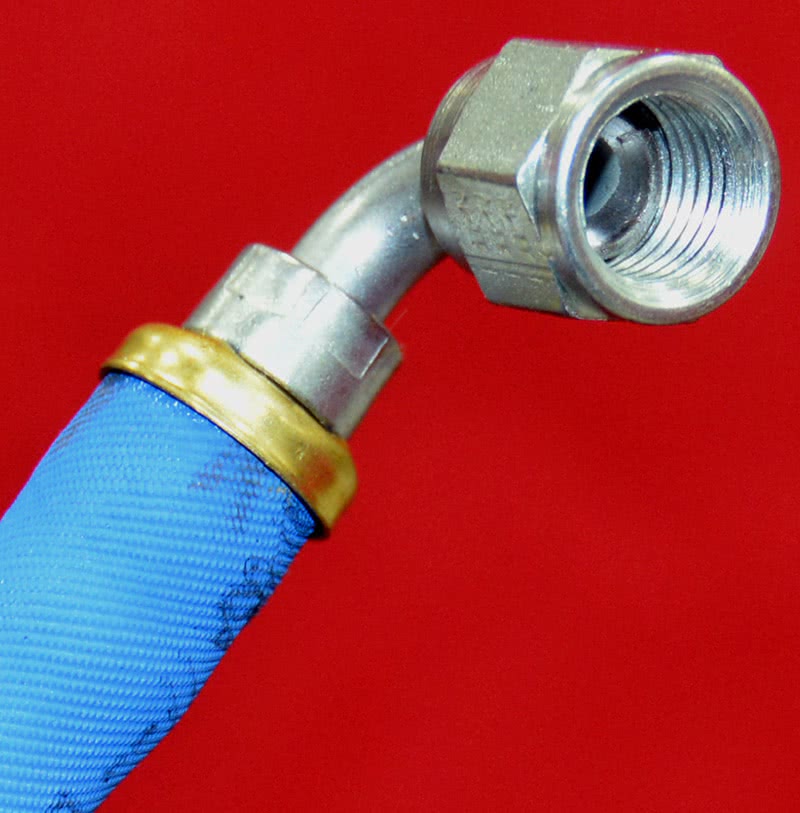
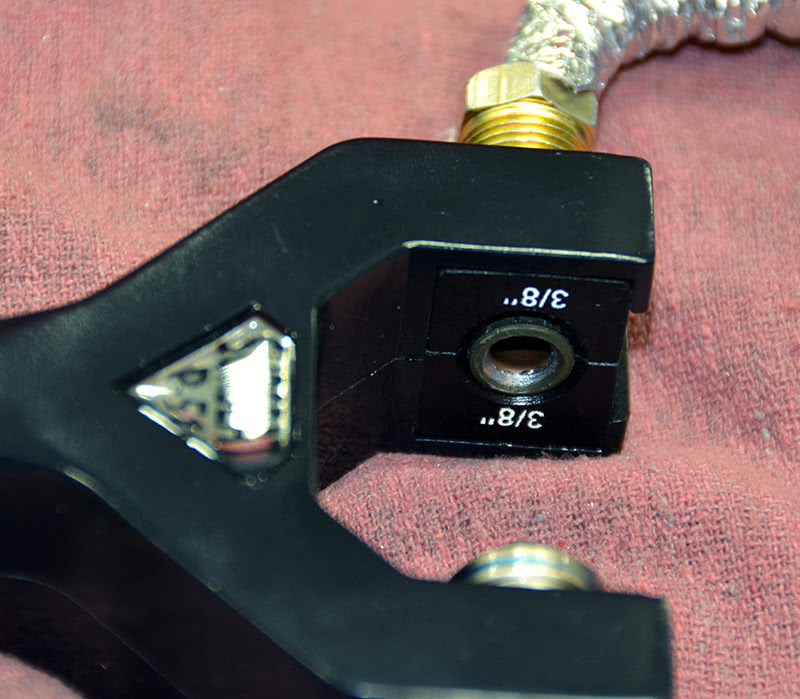
The seating area is smooth and nicely dressed. There are some forming marks left on the surface where the line folds over and doubles, but this normally doesn’t keep you from getting a good seal.
Keep an eye on your flare tooling and replace any part of the forming tooling that shows damage because it’ll transfer damage to the tubing as you make the flare. I’ve lapped all my flares on several projects now and I’ve not had a leaking assembly since I started using it.
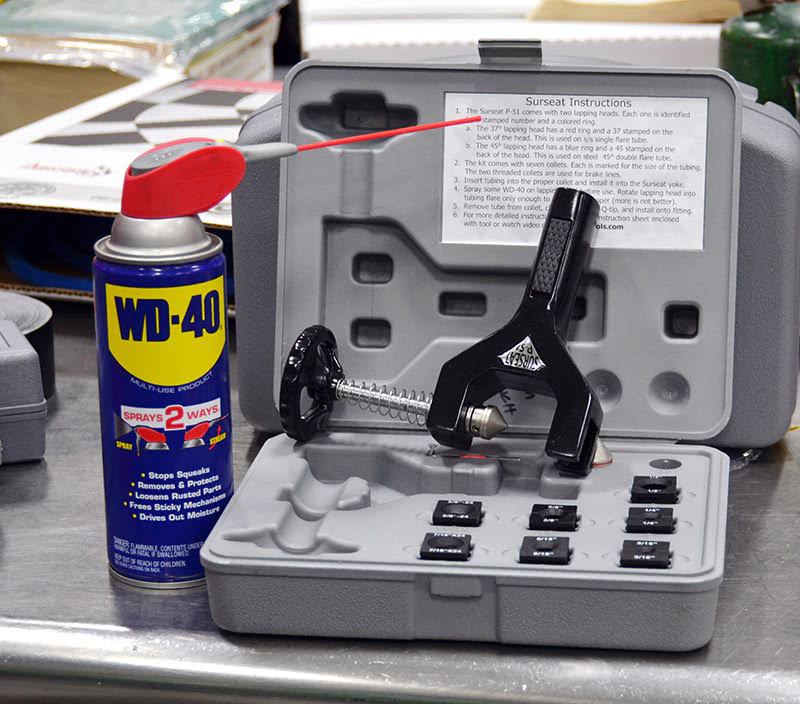
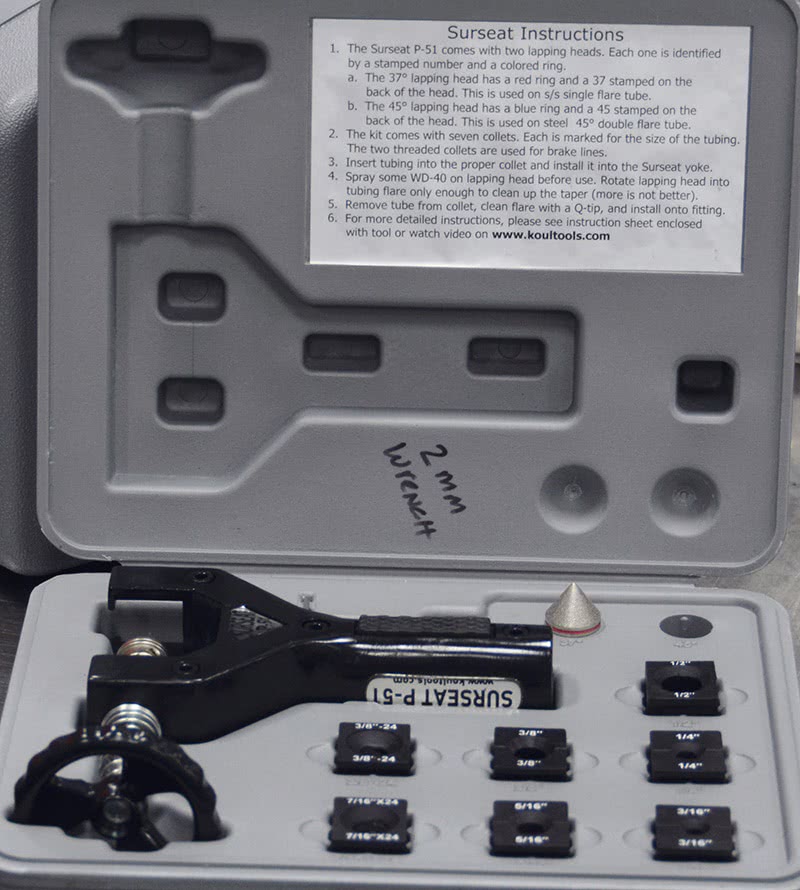
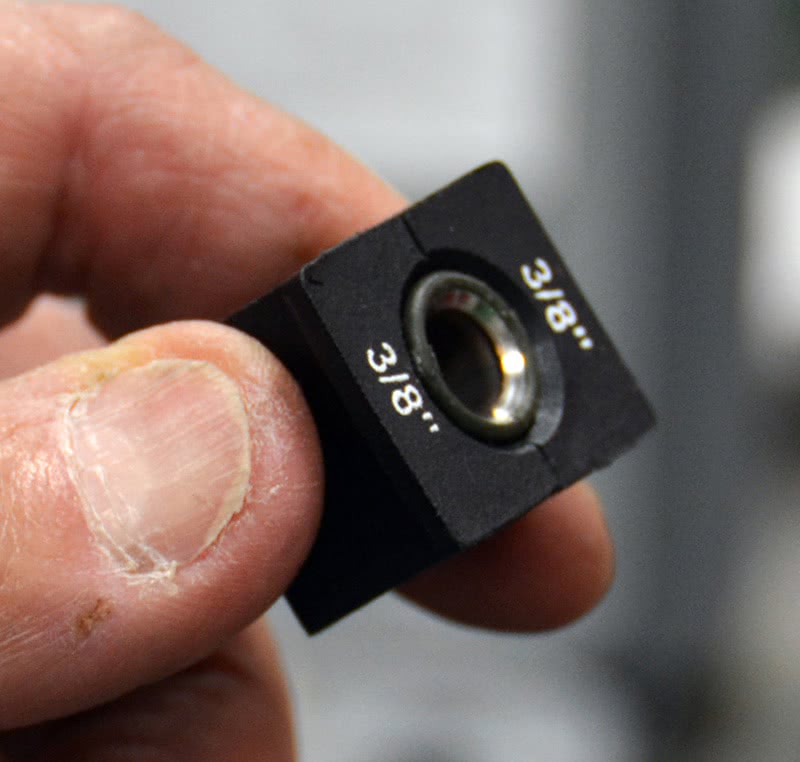
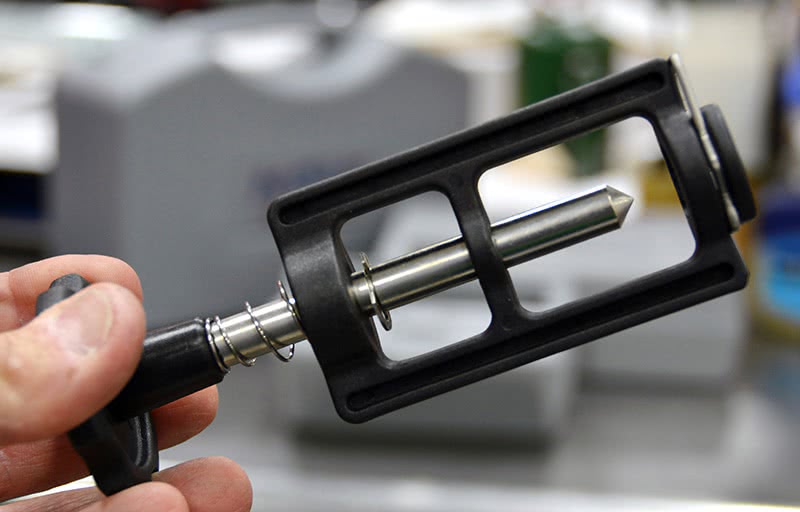
The lapping pilot on the P-51 Surseat is removable and comes with a 37 degree for AN and JIC fittings and a 45 degree face for SAE fittings. The diamond abrasive that is bonded to the pilot face should last a lifetime with proper care.
Like all fine lapping surfaces the diamond abrasive can load up with use and you absolutely must use WD-40 on it every time you use it to keep the surface open. If it loads up you might not be able to clean it enough to make it work for you again.
Using WD-40 good practice for any lapping tool, because if kept clean they last much longer and produce a much cleaner and smoother surface.
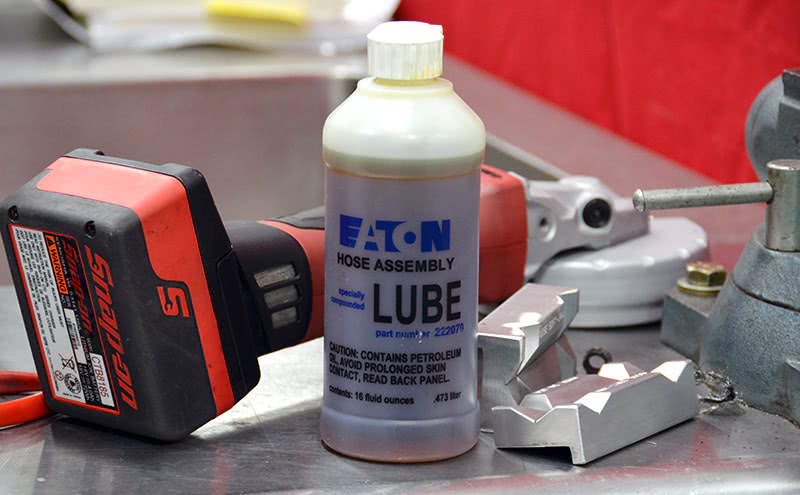
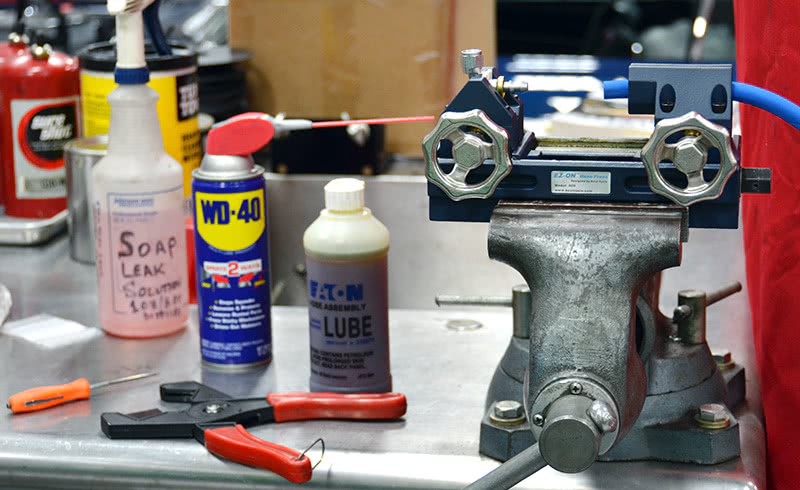
For those using the new socketless hoses on applications like water and transmission fluid coolers, the EZ-On hose press is another must-have. Assembling the special hose over those barbed fittings is all but impossible without the hose press — Arnold Schwartzeneggar on his best day couldn’t do it. Even with the tool, it’s important to have a compatible hose lubricant to aid in assembly. I found mine at the same vendor that sold me the hose and fittings I needed, and since a tiny bit is all you need I’m guessing I’ll be leaving it to my kids (just one more thing they’ll inherit, look at, and say, “What the heck is this??â€)
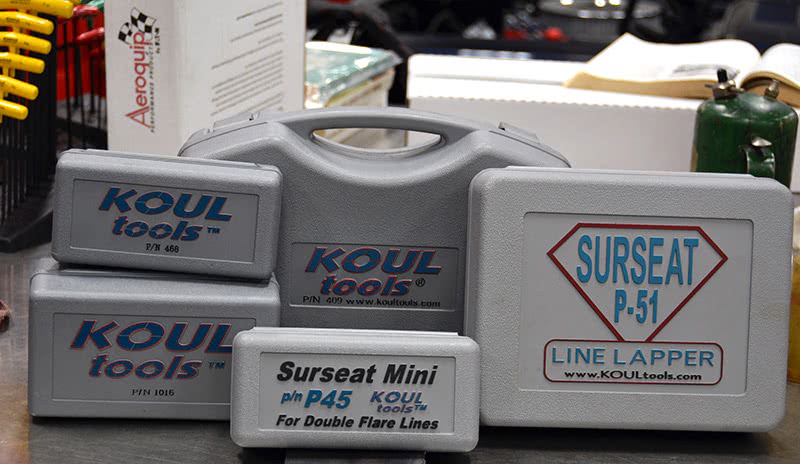
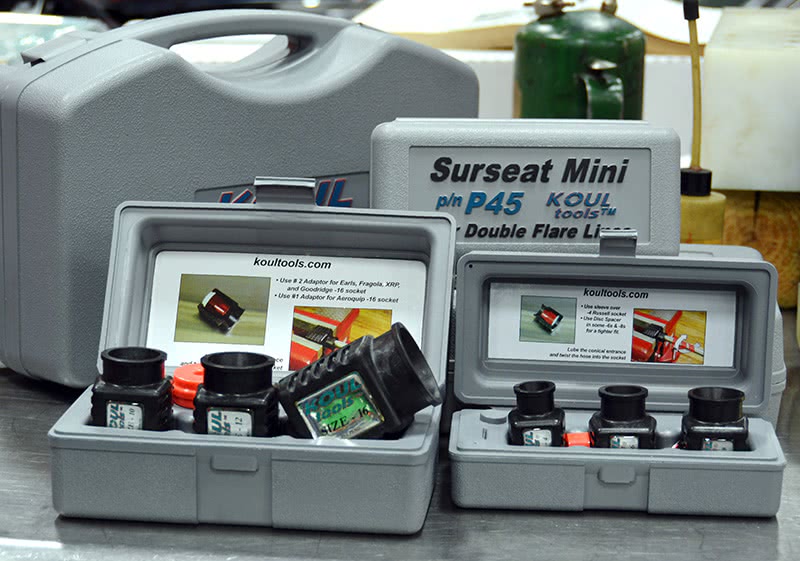
The last little bit of brilliance coming out of Koul Tools is the Surseat steel line lapping tool kits. There are two of them that I ended up purchasing, one that works on the car with the brake lines, and the other, larger tool better suited to off-car work done before reassembly. The lapping pilot is covered with a diamond abrasive and works quickly to smooth up the 45 degree steel fitting virtually eliminating leaks. I use it on all my fuel, power steering, transmission, and brake lines. The little bit of time invested has paid off because it’s worked perfectly every time — zero leaks. Just make sure you read the directions on all of the Koul Tools, because they have some very helpful instructions on how to get the most out them without damaging either the tool or the parts. For example, they recommend using WD-40 on the abrasive pilot of the Surseat to keep it from loading up (that’s actually good advice on any diamond abrasive tool). I’ve done the same with a spring chamfer tool from PAC and it really helps tool life.
The smoothly tapered lead in the Koul –AN hose assembly tool guides the cut end right into the socket end of the fitting with very little pressure, effort or blood (a very important consideration for the squeamish among us!) A wipe of lube and a twisting motion makes the whole process a bit easier.
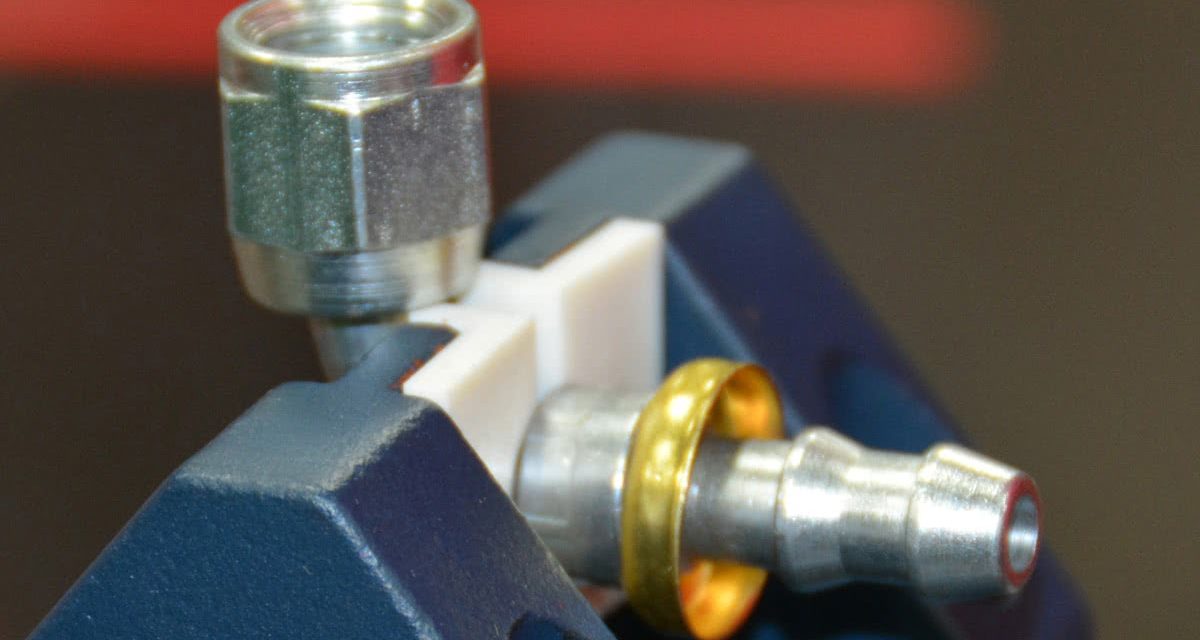
The biggest problem is that you often end up with the hose pushed in too far and you have to back it out slightly to expose the base of the socket threads. This fitting shown in the photo is a special ferrule type with a long lead that extends down into the hose, used on the pressure side of the power steering system. It has a Teflon liner in it, so when fully assembled this particular socket and fitting ended up lightly touching.
On a standard –AN socket and fitting assembly there’s normally a bit of clearance between the socket and the fitting end… they don’t have to be driven all the way together to prevent leaks, in fact, it’s not recommended that you drive the fitting in that deep. Moderate hand pressure is really all that’s needed because the tapered end of the fitting exerts increasing pressure as it’s screwed into the socket and you can overtighten them deforming, splitting and crushing the hose causing a leak.
If you’re like me and the idea of committing self-sacrifice isn’t appealing to you, or if you just want to tip the odds of a successful repair more in your favor, surf on over to http://koultools.com and check out the lineup and the on-line videos. Or, call 928-854-6706. You never know, Dick himself might pick up! If he does (and he’s got time), you’ll have to ask him about his hot rodding career — he’s got some great stories to share! All just part of what makes our world such a koul place!
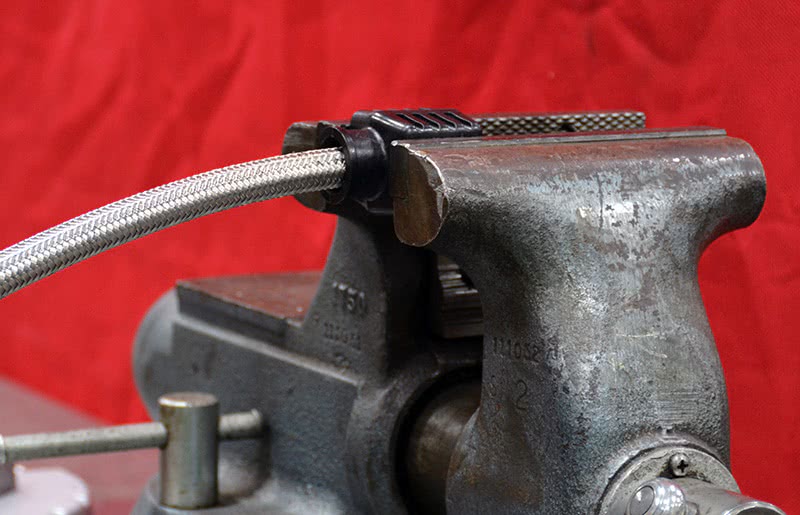
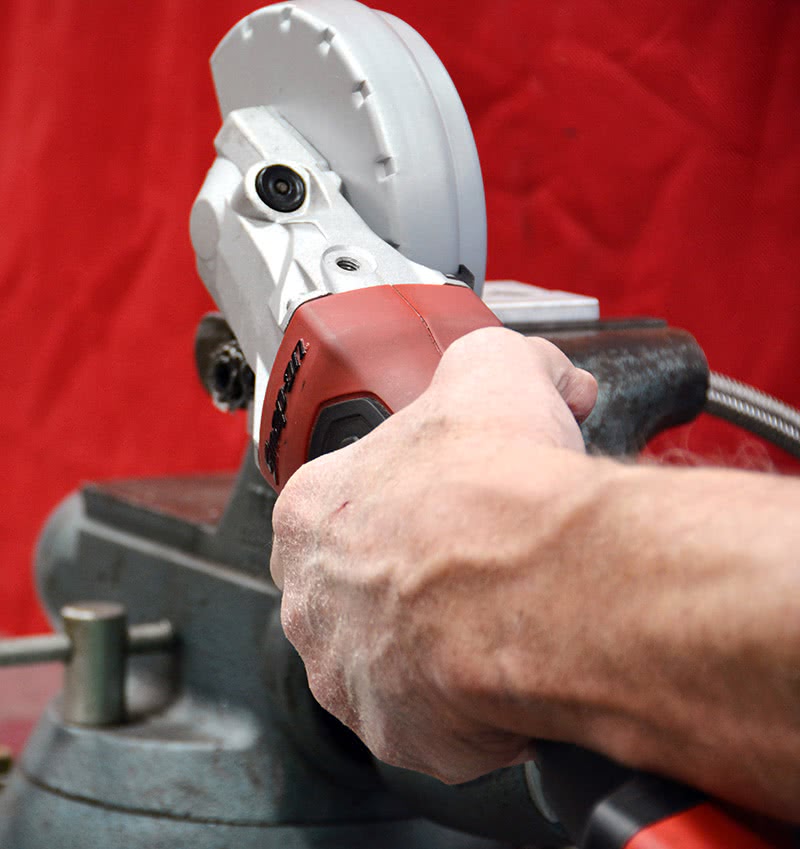
If you don’t have a large pair of hose cutters capable of cutting through braided stainless hose you can use a thin cut off wheel. Just tape off the outside of the hose and cut through the taped portion to keep the ends from fraying up, then use compressed air and a solvent (I like alcohol personally and it doubles as an antiseptic!) to clean the hose out before installing the end. It’s not as clean as using a cutter, but it takes a pretty robust tool to cleanly cut through that stainless braided wire! It’s as tough as it is to prevent rub-through under the extreme conditions found in motorsports. In fact, you need to think about your hose routing for two reasons… one to protect the hose, and two, to protect anything the hose comes in contact with because that braid will act like a saw when it’s rattling and vibrating as the engine runs and over time you can wear through softer materials like aluminum. Eaton makes specifically formulated hose assembly oil that I use although I’m sure that other lubes would work just fine. I use what they recommend because some additives cause swelling or softening of rubber and I don’t have the time or inclination to become knowledgeable in the chemistry involved. They make it… it works… why go off in the weeds for no discernible benefit? Soft jaws are an absolute necessity… and a pair of sharp wire cutters can help trim up any wild wire ends that won’t be tamed. I also use and recommend the thinnest possible cut off wheel you can find. I think this one measures about .045â€. A thin wheel produces a faster, cleaner cut and you’ll lose less material to the cuts you make.The socket end fits into the tool’s female hex receiver and the halves assembled so that the aligning pins engaged and the assembly is then clamped in a vise so that the socket portion can’t spin.
There are spacers provided with each tool to space the socket back firmly against the taper if the socket design requires it. Once the hose is seated up into the socket, the tool is removed, the hose depth is set in the socket to just below where the threaded portion of the socket starts, the hose is marked or taped even with the bottom of the socket so you can ensure that the hose doesn’t walk out of the socket as the tapered end of the fitting is installed and the socket threads, fitting and hose is lubricated and screwed together. Aligning the soft jaws off the end of the vise jaws so that the soft jaws float will allow them to hold both the socket and the hose making it harder for the hose to push out of the socket as the fitting is screwed in. Motorsports requires so much field modification and assembly that while it’s tempting to just order up pre-assembled hoses you quickly learn that it’s just not practical. It might LOOK like a 45 degree fitting with work, until you try to stuff it in there and you have to change to a ninety or a one-twenty to get it all to fit. For moderate pressures and temperatures the socketless hose systems work great… with temperature rating from -45 to +300 degrees and a pressure rating of 250 PSI and sizes from -04 to -12 it’s rated for fuel, water, lubes and air and vacuum rated up to 28 in Hg (18 in. Hg for the -10 and -12 sizes.) The specially designed barbs and hose require no clamps, and once assembled you have to cut them apart if you want to change them. A drop of hose assembly oil and the EZ On Hose press makes putting these hoses together a snap. If you’ve ever tried putting them together without this tool once I guarantee you won’t cheerfully try it again. There’s a reason the assembly doesn’t leak up to 250 pounds and it’s not because the hose and barb don’t aggressively engage! I use these on nearly all my transmission coolers and anywhere I can where I have to plumb for water, lube system, fuel, air or vacuum. Very quick, very convenient, less expensive than either the braided stainless and the Aramid or Kevlar braided offerings and if you don’t need that kind of pressure and temperature rated hoses and the -12 size limitation works I’d suggest you look at using it. It’ll save you time and money.This is another tool I wish I would have thought of. Over the years I’ve chased all kinds of leaks on flare fittings. I ended up using a tool I had for chamfering valve spring ends a few times when I got in the trick bag with leaking flare lines but the results were inconsistent and I often was forced into redoing the entire line… a real pain in the hindparts if you’re talking a brake line that winds its way from the front to the back through a half dozen obstructions. There are two tools and I bought them both. One, the P-45 Mini is built to fit into tight places and lap 3/16†and ¼†lines on the car. The P-51 line lapper will lap 45 degree and 37 degree flared lines up to ½â€. Even though the P-51 is a bit larger, it’s well designed and should get into most tight spots although the split adapter is a little fussier than the collets supplied with the P-45 and you might need a helping hand from time to time to use where space is limited. Once mounted, a quick spray with WD-40 on the diamond lapping face and a half dozen quick turns and the flare surface is smooth and polished. I can tell you this; it’s a lot quicker and a lot better to do this before assemble as preventative medicine that afterwards when you’re tempted to crank the fitting in tighter resulting in a split flare and a damaged seat in the female end of the assembly! Don’t ask me how I know this….My first exposure to the Koul product line up was the –AN braided stainless steel hose assembly tools. Like many, my first experience with these kinds of lines left my shop looking more like a murder scene than a garage and, being the quick study that I am, I decided that if I had any hope of surviving another go-around with these engineered terror devices I’d have to find a better way to put them together. Thankfully, my friends are smarter than I am and they gave me a heads up about Koul Tools. Dick Raczuk has applied his considerable talents to producing a line of tools and equipment that are purpose built to fix real world every day race and fabrication shop problems. If you’re a fabricator, restoration shop, race engine builder or racing hobbyist you need to surf over to the Koul Tools website and do a little shopping. They are great people making a great product and they deserve your support.