You can only do this with the proper information and the best fixtures and equipment.
Three Dimensional Measurement
A head-on collision at 30 miles per hour may typically result in the engine compartment being compressed by approximately 30-40 percent, while the passenger compartment is reduced by only 1-2 percent of its length. Engineers design a vehicle’s structural components to absorb collision energy, but also to divert some energy around and away from the passenger compartment. For example, a hard frontal impact often causes secondary and hidden damage including buckles in the roof area and upward distortion of some rear structural components.
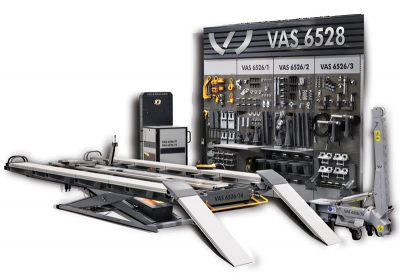
Your pre-repair damage analysis must find everywhere that excess energy was re-directed to on the vehicle. That requires three-dimensional (3D) measurements — length, height from datum plane and width from centerline, plus access to factory specifications for comparison. Volkswagen-approved professional measuring and collision alignment (damage repair) systems from Car-O-Liner, Celette and Spanesi all use dimensional specifications from either OEM information or data bases built from real-world measurements of new (known-good) vehicles.
A Volkswagen Position Statement on Unibody Alignment and Repair states: “Collision repairs to correct structural damage and body panel replacement should only be conducted on VWoA-approved straightening and measuring equipment. Any and all welded structural panels, parts, pieces and components must only be replaced while properly mounted to VWoA approved straightening and measuring equipment.â€
OEM Information
The fact that OEM dimensional specifications are current may save you from relying too much on past experience. This is important because new Insurance Institute for Highway Safety (IIHS) safety specifications often lead to rapid vehicle structural changes. To prevent poor performance in IIHS crash tests, OEM engineers may modify a given model’s structural design as quickly as within the same year that new IIHS safety specs are published. They may add new components or reinforce structural elements to either absorb or redirect crash energy.
You must do three-dimensional measuring to ensure that you identify any damage to these new components. You cannot rely on past experience with a given model to point you to hidden damage. It is no longer the same model under the skin, and that means there may be damage outcomes that your experience would fail to predict.
Another reason you must check the OEM information before planning a pull is that the measurement may have unusual parameters. For example, the point-to-point length may be different if two different variations of a given component are allowed on the same vehicle model. If Version A is specified to be 1.85 mm longer than version B, that certainly affects your pull.
In another example, the tolerance around a measuring point may be tighter on one side of the point than the other. If a point-to-point distance cannot exceed a certain length, but is allowed to be slightly shorter, the tolerances may be +0 for the maximum, and -1.40 mm for the minimum. For a hypothetical component length of 210 mm, the specification may be expressed as 210.0 +0/-1.40 mm. These examples may not occur often, but when they do you need to know before you pull.
Measurement Accuracy
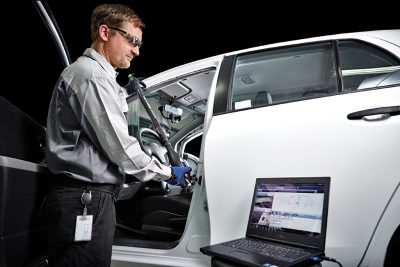
A well-known collision repair instructor has reported that he often would start his hands-on class by asking several technicians to manually measure a point-to-point dimension on a structural component of a vehicle. Even with a measuring tape or a tram gauge, different technicians in his class would often fail to record the distance between two points as exactly the same amount. Sometimes, the same technician would record different dimensions in repeat measurements of the same point-to-point location.
Twenty-five or thirty years ago you could hold a tape measure to a point on a vehicle and assume, without looking between your thumb and forefinger that the mark on the tape was within the desired tolerance around the point. The tip of your thumb covered about 1/4 inch of the tape, or just over 6 mm, which was close enough for the +/-3 mm tolerance that was standard at the time.
Many point-to-point dimensions involving Volkswagen structural components today have tolerances of +/- 2.0 mm or less. That 4 mm range equals 5/32 inch, or approximately 1/6th inch, which is a fifty percent reduction. Add the fact that you have to measure in three dimensions in order to locate the correct position of a measuring point, and you triple the potential for error.
Measurement Speed
A thorough analysis will assess the vehicle front, middle and rear looking for out-of-specification measurements that affect structural integrity, suspension and steering, body panel fit, and safety sensor positioning. Even if we are confident in our ability to measure accurately, we cannot perform the great number of measurements needed anywhere near as fast as computerized measuring systems.
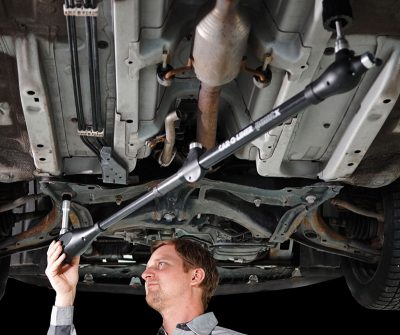
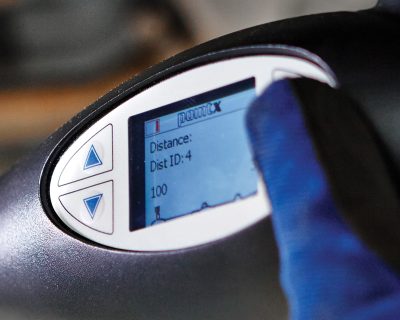
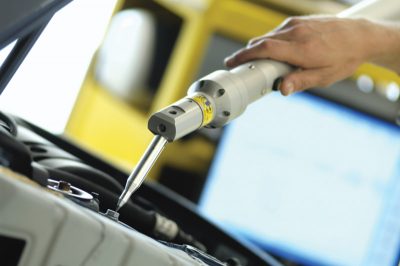
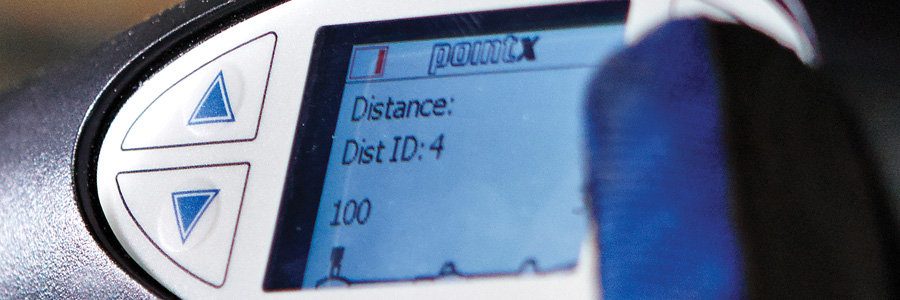
Even the old tram gauge is now computerized. The Volkswagen-approved PointX Diagnostic Tool from Car-O-Liner uses laser technology to measure length, and an electronic inclinometer to calculate height.
Enter the vehicle year, make and model, the VIN, and other model-specific information, and PointX will ensure that you access the correct data sheet and vehicle specifications. Tell the system whether you are measuring the vehicle on wheels or on a support, and whether the engine is in or out of the vehicle. Go to “Select Reference Point†in the PointX measuring tool menu. Select two symmetrical measuring points from the database, one on each side of the vehicle, from an area that on the actual vehicle is undamaged and accessible for later measurement. This centers (calibrates) the tool so the software knows where the vehicle is relative to the laser and inclinometer. You are now ready to measure.
A magnetized tip on one end of the tool snaps into the reference point. Place the other end, called a measuring adapter, on the point you want to measure. The magnetized end remains locked onto the reference point, allowing you to swivel the measuring adapter 360 degrees horizontally to whatever point you need to measure next.
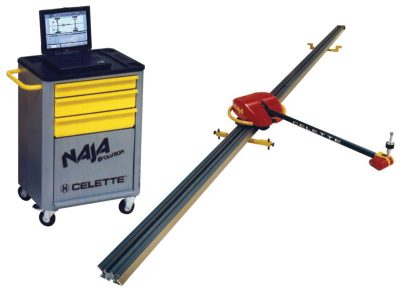
3D Point Measuring Systems
Point systems use a base that sits under the vehicle, plus an arm that touches or points to a specific location on the vehicle. The arm may be hard wired or wireless.
The arm transmits the location data to the measuring system’s computer, which is typically located in a separate base unit. The base can be bolted to the floor or portable so the arm can be moved to reach any point on the vehicle. Articulated probes or overhead hanging frames allow the measuring arm to reach points located along the upper body and roof.
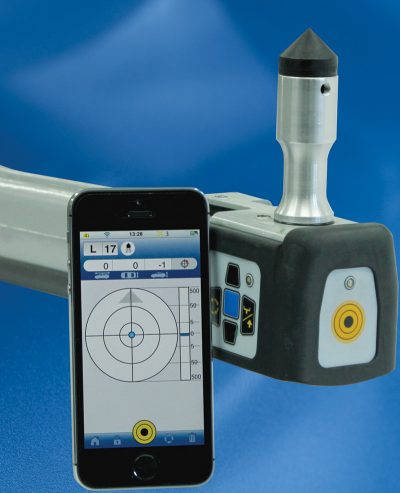
The computer software calculates the distance between the location on the vehicle and the base and, using geometry, determines the distance between the reference point and the measured point. It then compares that distance to specifications in the database for the vehicle. If the measured point is not in the correct position on the vehicle, the software shows how much and in which direction to pull. Similarly to the PointX tool, 3D point measuring systems can make live measurements as you pull, and send the data in real time to the computer so you can see them on the display.
Volkswagen has approved several different choices of state-of-the art systems for measuring collision damage. What’s your choice?
Download PDF


0 Comments