These suggestions and solutions for technical problems come from service bulletins published by Mercedes-Benz, selected and rewritten for independent repair shops. Your Mercedes-Benz parts source can obtain any designated by parts number.
Early full-load upshifts. Downshifts delayed.
 Model 124 with transmissions 722.3 /4 /5
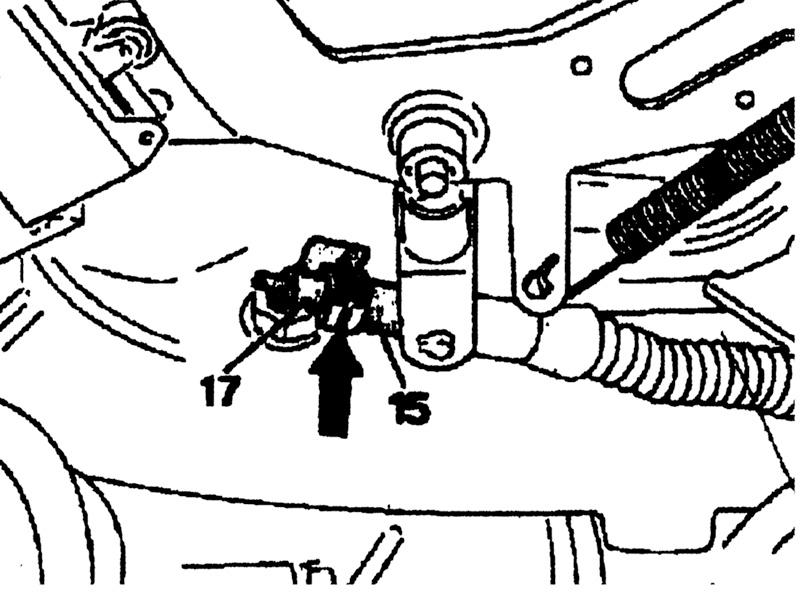
If the control pressure slide valve travel is insufficient, you can get just these symptoms. To set the adjustment correctly, make sure the accelerator lever on the throttle valve housing or the fuel injection pump rests against the full-load stop with the pedal fully depressed but not to the kickdown position.
On some vehicles with engine 102, the adjusting screw is too loose and does not maintain the adjustment. On them, pull off the accordion boot from the control pressure cable and press the cylindrical extension of the knurled adjusting nut together until the nut is hard to turn or works like a clicking detent when turned.
AF27.60-U-3101A
 Transmission noise when coasting or in reverse
Models 124, 126 and 129
Check the service bulletin number below for exact application. Unusual transmission noises on the vehicles affected may come from wear at the thrust bearing of clutch K1. The first indications of this is grinding audible when coasting or in reverse. Remove the transmission pan and check for steel shavings. Replace the transmission if you find any.
If not remove the valve body and large intermediate plate. Replace the transmission if you find steel shavings on the intermediate plate. Flush the torque converter and transmission lines anytime you find such shavings.
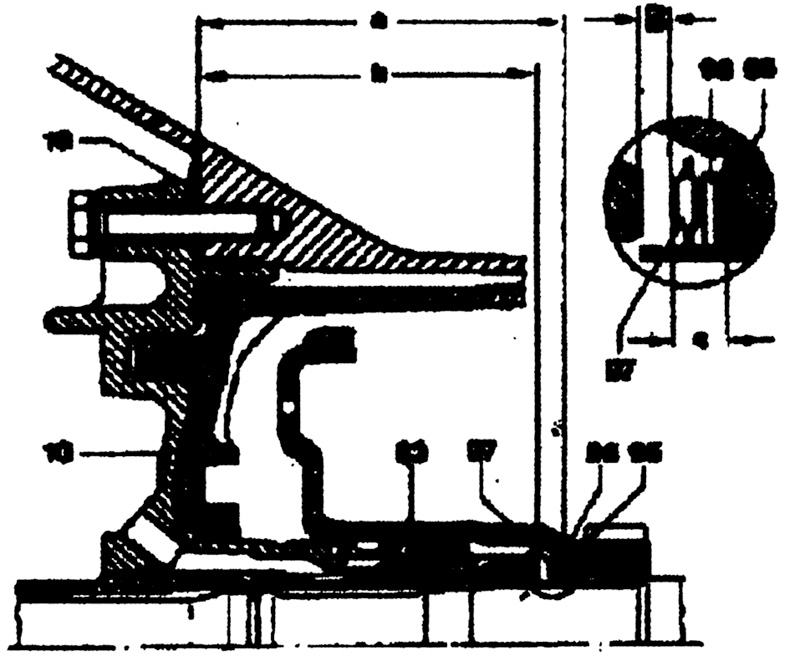
In the absence of shavings, remove the transmission, remove the front cover and replace the thrust washer and compensating shim. Measure the axial play of clutch K1 and correct if needed (see job 27-640, step 83). Flush the torque converter and coolant lines clean. If you find steel shavings in the cleaning fluid (usually kerosene), replace the torque converter.
AF27.00-U-1102AG
 Oil leakage at top front cover
Engines 103, 104, 120
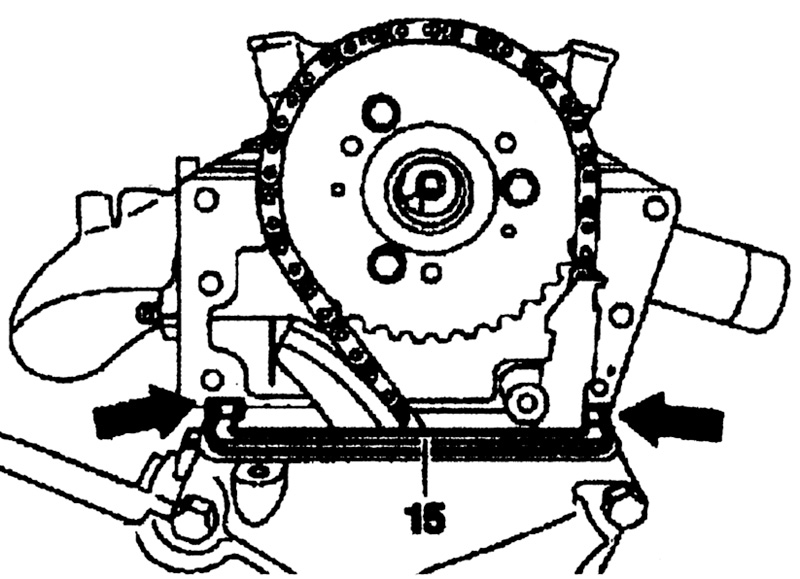
If oil leaks where the five parts meet between the cylinder heads gasket and the cover gasket, remove the top front cover and its gasket. Apply one drop of Loctite 5900 sealant to the right and left ends once they‚re entirely oil-free. This fills the gap between the cylinder head gasket and the cover gasket. This repair can‚t work if the parts are not entirely free of oil!
Dry the new cover gasket and insert it into an oil-dry groove in the timing case. Don‚t use sealant here. Lubricate the top of the gasket lightly with oil so the front cover can slide over it without damage to the gasket. Apply a thin layer of Loctite 5900 to the surfaces of the front cover that contact the cylinder head.
Press all parts joined with Loctite together for ten minutes or you can‚t be confident of the leaktightness of your repair. Should this repair fail, the next step requires replacement of the cylinder head gasket.
AF01.40-U-4040CU


0 Comments