These suggestions and solutions for technical problems come from service bulletins and other technical sources at Mercedes-Benz. They are selected and rewritten for independent repair shops. Your Genuine Mercedes-Benz Parts source can obtain any item designated by a part number. This issue of Factory Service Bulletins focuses on brake bleeding on vehicles with ASR.
Brake Bleeding with ASR

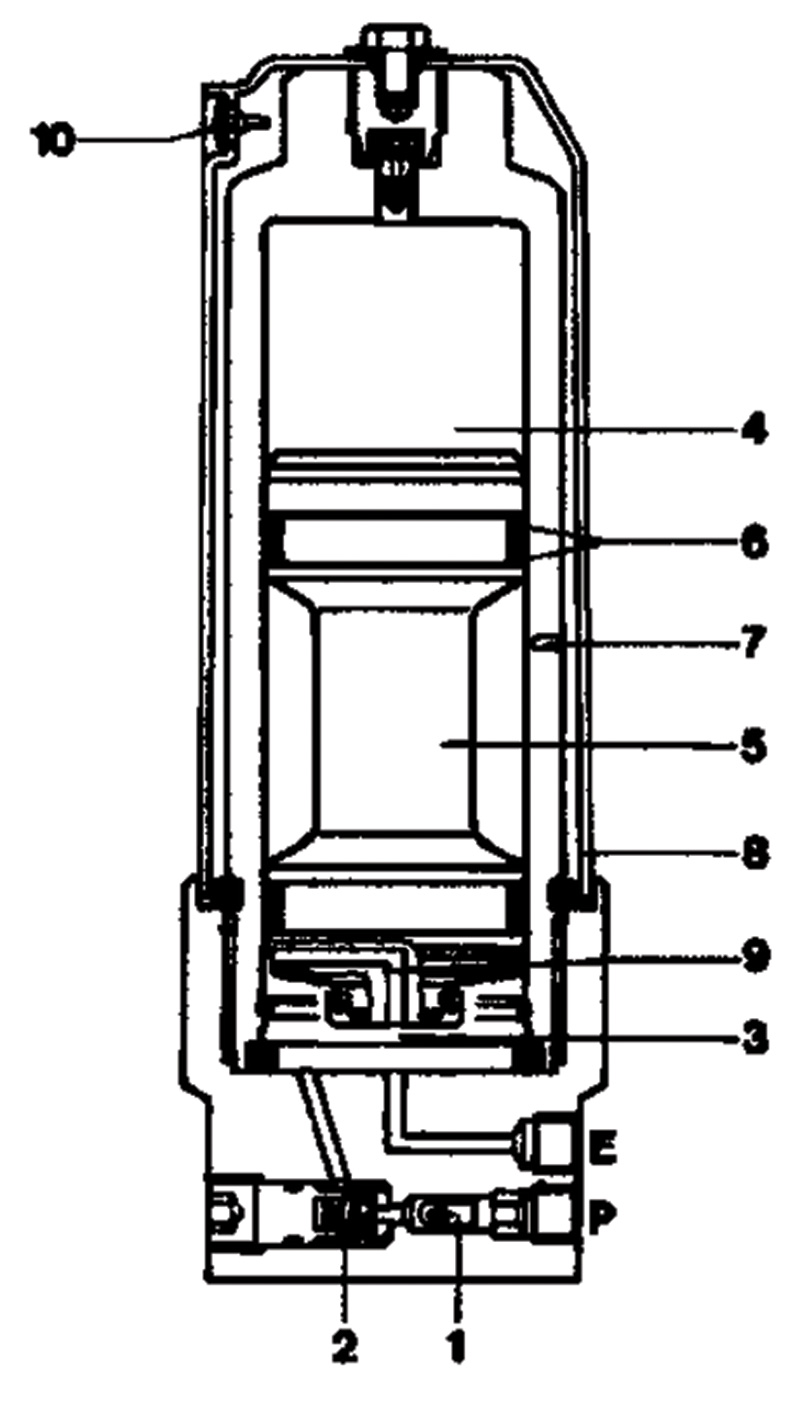
There is brake fluid under high pressure in the pressure reservoir, fluid that won’t come out by just bleeding the brakes through the wheel calipers. You have to bleed the reservoir itself and flush the pressurizing pump to get all the fluid out.
Brake bleeding for ASR proceeds just like brake bleeding with ABS, and like that system bleeding is most often needed to flush the fluid. It’s not that brake fluid has a shorter useful life with the traction control systems; it’s that there are very expensive machined components in the hydraulic circuit, components lubricated internally only by the brake fluid. You can buy many drums of brake fluid for less than the cost of the simplest of the hydraulic units on any of the traction control systems, so there’s no economy in stretching the calendar for a fluid flush. Earlier vehicles with ASR called for a full fluid flush every year or 12,000 miles, “preferably in the Spring†(at StarTuned we assume this is because the risk of contaminated brake fluid grows with the temperature, so flushing just before the year warms is a good choice). Later cars (after April of 1991) stretched this to every two years or 24,000 miles. But to wait more miles or a longer time than that is to risk easily avoidable damage to very valuable equipment.
There is brake fluid under high pressure in the pressure reservoir, fluid that won’t come out by just bleeding the brakes through the wheel calipers. You have to bleed the reservoir itself and flush the pressurizing pump to get all the fluid out.
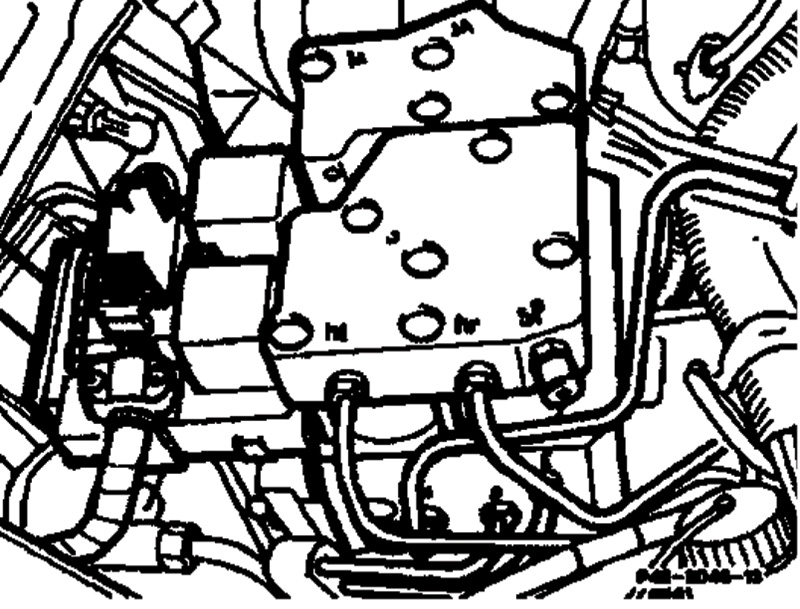
Here’s the brake-bleeding procedure for a vehicle with ASR: First, with the ignition off, release any pressure at the reservoir. Do so by opening the bleeder marked “SP†on the hydraulic control unit. Open this bleeder at least one full turn and leave it open until the fluid-flow stops. Then close it. As with all brake bleeding, use a hose to direct the flow of waste oil into a container to protect the vehicle paint.

ASR systems using a pressure reservoir (not all!) have a bleeder marked “SP†on the hydraulic unit. Step One in flushing the brake fluid is to open that bleeder one full turn until all the brake fluid stops flowing.
Next, with a vacuum pump (or even a turkey baster, permanently retired from the kitchen) draw the master cylinder fluid level down to within 10 mm of the bottom of the reservoir. Don’t draw the fluid any lower than this, or you risk introducing air into the system, and then your flush procedure will be unnecessarily complicated to pump the air through and out. Connect a pressure bleeder to the master cylinder reservoir (or top it up with clean fluid, if you prefer to bleed using the pedal and an assistant). Mercedes-Benz technical information suggests a fluid volume of 80 cc’s per caliper if there is no air to flush from the system and 500 cc’s per if there is. Considering the replacement cost of the mechanical and electrical hydraulic-circuit components, you may want to incline to the latter figure in either case.
Once clear, new fluid flows from each caliper bleeder, confirm that the reservoir holds enough fluid, reopen the bleeder marked “SP†on the hydraulic control unit (protective hose still connected) and start the engine. The pressurizing pump will try to fill the pressure reservoir. This can’t happen with the bleeder open, of course, so let the fluid run until it is also clear, new fluid entirely without bubbles. Don’t let the master cylinder bottle run empty! Finally, close the bleeder and allow the pump to complete filling the pressure reservoir. When the pump shuts off, turn off the engine, disconnect the power bleeder and top the master cylinder up to the indicated level. Double-check that the vent aperture in the master cylinder reservoir cap is clear.
126 (but others similar)

The oil level float switch is a grounding device. If the oil level falls below the minimum, it connects its electric circuit to ground, turning on the warning lamp on the dash. It could fail by either constantly grounding the circuit or never grounding it. Proper function occurs when the oil activates the sensor.
If the oil level lamp comes on with the engine running but the correct oil level, especially when making left turns, there are several possible causes. If you’ve already opened up the crankcase as we’ve described in our article on oil pan gasket replacement, it might be worthwhile making these checks just for insurance (you don’t want the lamp on after you’ve done the gasket job, and you certainly don’t want to wonder whether you did something to trigger the problem).
The oil level float switch is a grounding device. If the oil level falls below the minimum, it connects its electric circuit to ground, turning on the warning lamp on the dash. It could fail by either constantly grounding the circuit or never grounding it. Proper function occurs when the oil activates the sensor.
One possible cause could be a defective oil level float switch itself. Check that with your ohmmeter, measuring between the pin of the oil level switch and ground. If you find a resistance above 0.10 Ohms, you’ve found a nonfunctional oil level switch. If not, move on to the next step.
The wire from the oil level float sensor switch to the instrument panel transits terminal 5 of the 15-pole connector at the back of the instrument cluster. If this circuit is shorted or open-circuited, the oil level sensing system cannot function accurately.

The wire from the oil level float sensor switch to the instrument panel transits terminal 5 of the 15-pole connector at the back of the instrument cluster. If this circuit is shorted or open-circuited, the oil level sensing system cannot function accurately.
To check the continuity of the sensor wire, remove the instrument cluster. You’ll recall the technique to do this from our article on heater cores, in which we removed the instrument cluster. Special hooks disengage it from the instrument panel, and you then have access to the electrical connector. Using your Ohmmeter, measure between the terminal of the wire at the float level sensor and terminal 5 of the 15-pole connector at the back of the instrument panel. If the reading is above 0.10 Ohm, you’ve found an open-circuited wire. If there is secure continuity from sensor to instrument panel and if you know from the previous test that the switch itself is working properly, the only remaining possibility is a problem with the instrument panel itself.
Testing ASR Function
Here’s how to confirm the ASR system is properly working on a two-wheel-drive vehicle. Lift the rear wheels (or preferably the whole vehicle on a hoist for safety) and secure the car so it cannot move. Make certain no people, tools, shop equipment or other objects are close to the drivewheels or driveshaft. Connect an exhaust tube to channel the exhaust outside the shop.
Start the engine and put the car in drive. Push the accelerator pedal to the floor gradually. You should hear and feel the brake activation slow the wheels immediately after they start to turn. The engine rpm should not rise above about 1000 rpm. You’ll also hear the high-pressure pump running. Be prepared to rapidly cease this test should the system not function properly. The engine management system should not let the engine rise above redline, but that would still be too high a wheel and tire speed for safety in the confines of a shop. Once you’ve confirmed that the system is working properly – or that it isn’t – terminate this test.
The same considerations account for why the Mercedes-Benz technical information includes the precaution in several places that you should never tow an ASR-equipped vehicle with the front wheels raised, the drivewheels on the ground and the engine running. While we at StarTuned have to throw in the towel in the attempt to think of a reason why anyone would want to tow a car in that way, it is certainly clear that he’d destroy the tires, brakes and other components if he did.
Sorting Out Problems
This could help expedite an ASR diagnosis: If the ASR light comes on while driving and stays on until the ignition is turned off, but the accelerator pedal feels and functions normally, you’ve most probably found a failed pressure pump (either return/pressure or the charging pump), a bad pressure reservoir or a leak in the hydraulic circuits. If the ASR light comes on under the same circumstances, but the accelerator pedal is harder to push and the engine power output is noticeably reduced, the problem is more likely in the electronic accelerator system rather than in ASR.


0 Comments