
by Greg McConiga
Whether you call it biting the bullet, or making the commitment, if you’re going to build high-performance engines you’re going to have to invest in tools.
The problem with learning how to do more things in this field is that learning more requires more tooling to support what you’re learning to do. When you start out just doing commercial engine repair, common hand tools, a torque wrench, a straight edge, a dial indicator, and a few specialty tools such as valve spring and ring compressors will get the job done. But the more you learn about high-performance engine building, and the more you know how to do, the more tools you’ll need to support your activities.
I’ve mentioned in previous HOT ROD Professional articles that there’s just not a lot about racing and performance work that’s cheap — and tools are no different. When you progress to a certain level, nearly everything you buy will be a thousand bucks or more. I tell you this only because you need to know that you’ll have to allow for a savings and purchase model that will support your career trajectory. No point in knowing how to do it if you don’t have the tools and equipment to be able to do it. Here, in no particular order, I’ll just share some of the things I’ve accumulated over time so you can get an idea of what’s involved in tooling up.

There are a number of manufacturers making cylinder leak-down testers, or CLTs. Most are not very accurate or repeatable. I’ve used or owned quite a few and most will only tell you if you’ve got a big hole in the cylinder somewhere — which is important, I’ll grant you that. But if you’re a nit-picking knucklehead like me, you’ll want to have a CLT that will accurately track and repeat so you can precisely monitor the engine’s state of health. This Buxton unit reads in tenths of a percent and repeats nearly perfectly.

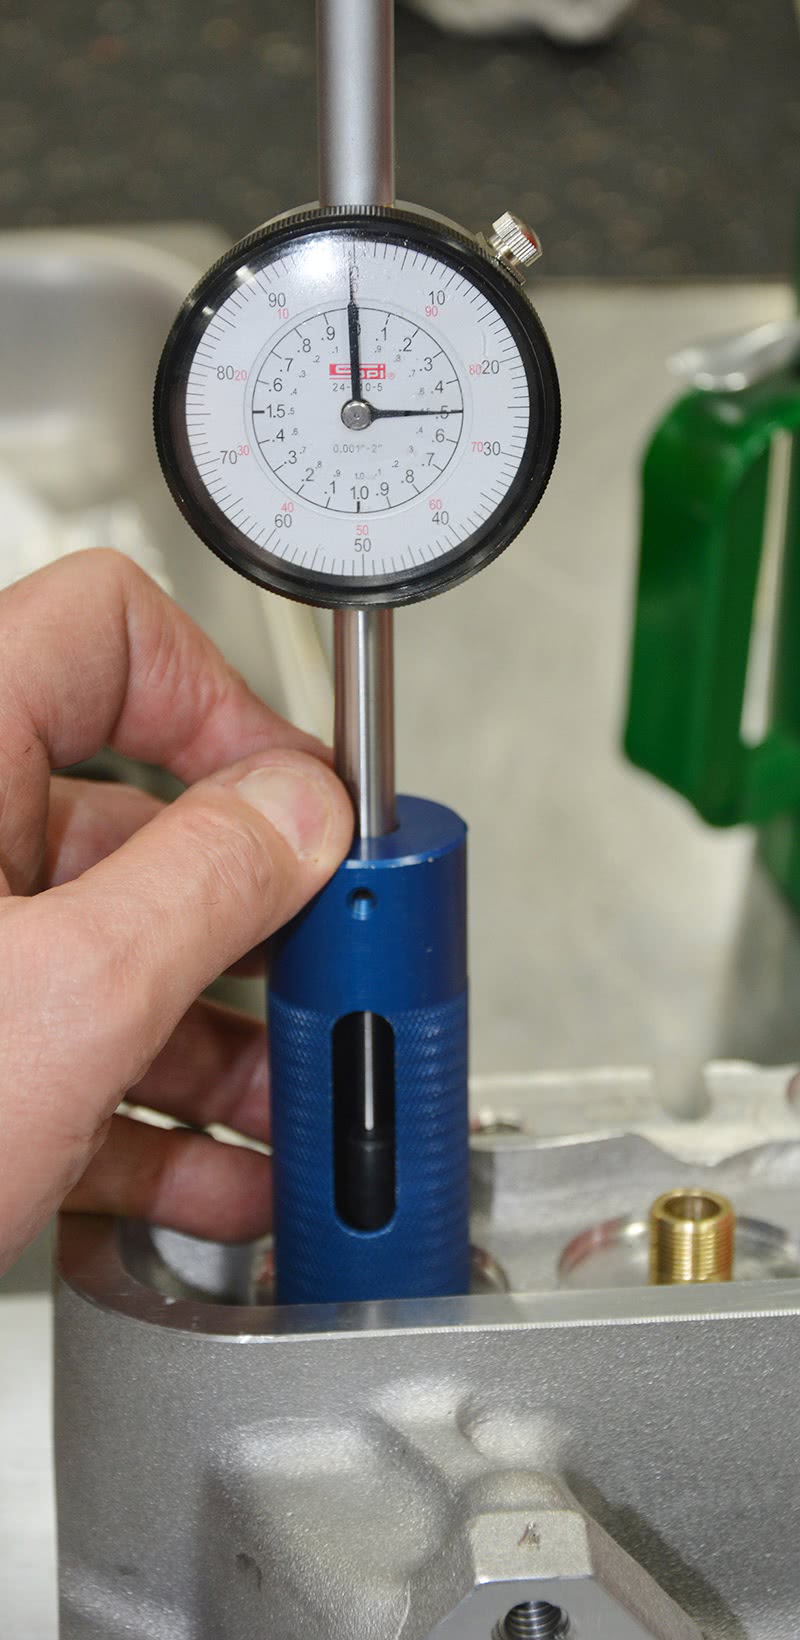
One thing I’ve learned to do is develop my own bobweight values for balancing. I’ve discovered that sometimes folks get in a hurry and don’t get things just right. With this set-up, there’s no question.

Owning micrometers is one thing, knowing that they’re accurate is another. You must have a set of standards that you can use for calibration. Use your standards to check your micrometers every time before use. Standards are also very handy for learning proper micrometer “feel.†I’ve seen a lot of guys over-tighten micrometers while measuring.
|
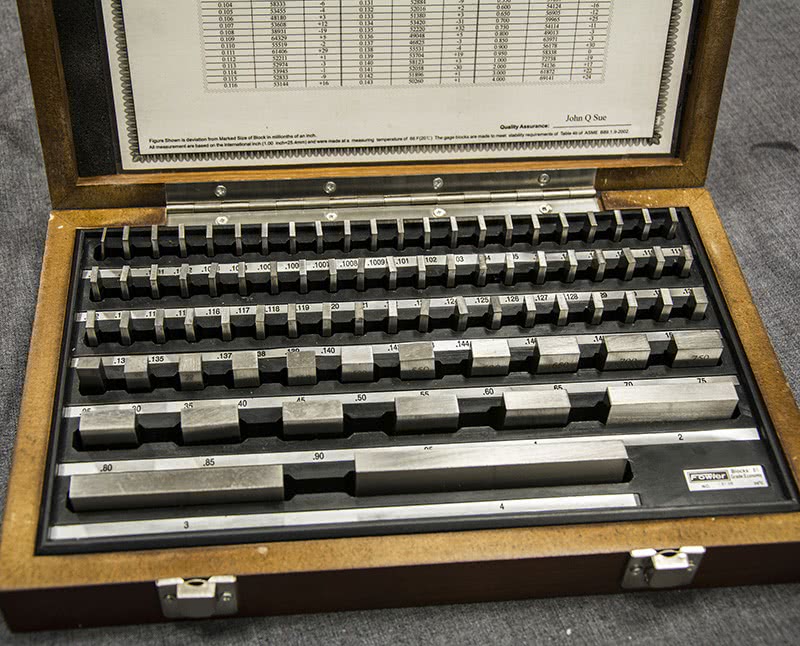
Another set of standards I use is a machinist’s gage block set [Editor’s Note: Yes, we know how to spell G-A-U-G-E, but the short version of the word has gained currency in the world of high performance]. Gage blocks, 1-2-3 and 2-4-6 blocks, machinist’s parallels and pin gage sets (not shown) are incredibly handy to have around for setting up tools and equipment. Parallels not only are used on the mill, but because they are precision-ground to width, length and thickness, they can be used for layout work. |


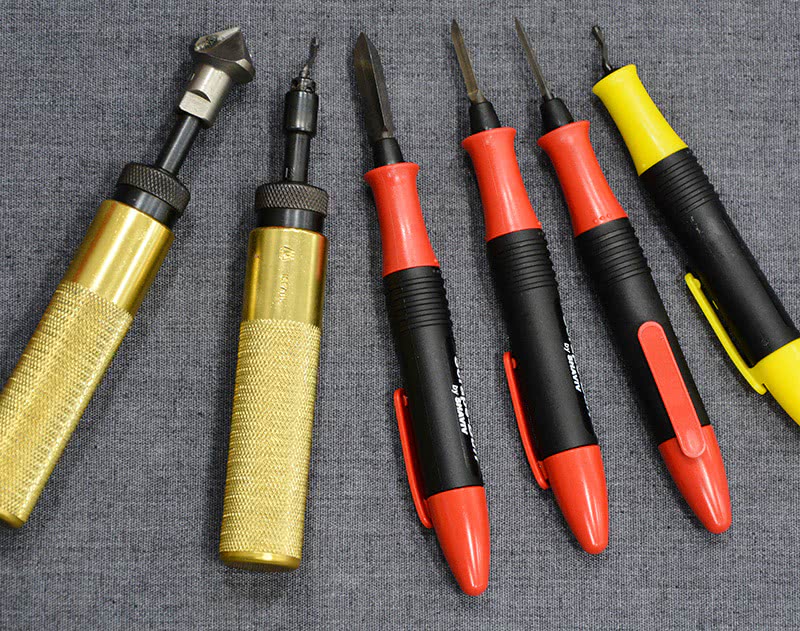
Test springs can be used for some of your mock up, but do not use them for your final measurements. You must have full spring load for accurate cam degreeing, net valve lift measurement, and push rod length selection. Low pressure springs just don’t duplicate the distortion that the valve springs cause. You’ll also see a set of marking tools used to track the center of the lifter bore onto the cam lobe — a good thing to check when you run roller cams.

Just like you must have micrometer standards, you must also have a test spring for your valve spring testers. You can’t know if your test results are good unless you can certify that your equipment is accurate! Failing to certify your measuring tools is a cardinal sin.
|
|
|
|


These stepped aluminum rings, along with 1500-grit wet/dry and a piece of plate glass are just the ticket for lightly polishing the sides of the rings. They aren’t always flat. The goal isn’t to make them flat — the engine will fix that — but you do want them slick and smooth so they can move in the groove while under load.

This is one handy son-of-a-gun. I use it for running the fasteners up to torque three to five times before final assembly (to polish the threads on the bolt and in the hole for more uniform stretch) and I use it to help me separate doweled caps from the rods (loosen the fasteners, clamp just the cap, and wiggle the rod loose). I even use it to help with piston and rod assembly. I took the T-bar handle off of it and put the speed wheel on in its place, and it’s lightning fast now.
|
|


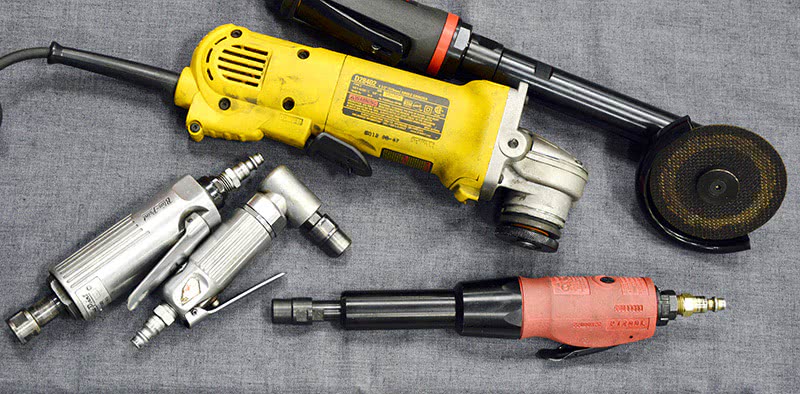
You’ll find that ordering the right bolt length isn’t always possible. A .030 in. cut-off wheel and a flap disc mounted on a grinder along with a standard grinding wheel and wire wheel is invaluable.

A crank stand makes cleaning, measuring, and crank preparation much, much easier. And it can’t fall over if it’s stored on a crank stand. Don’t ask me how I know these things.
|
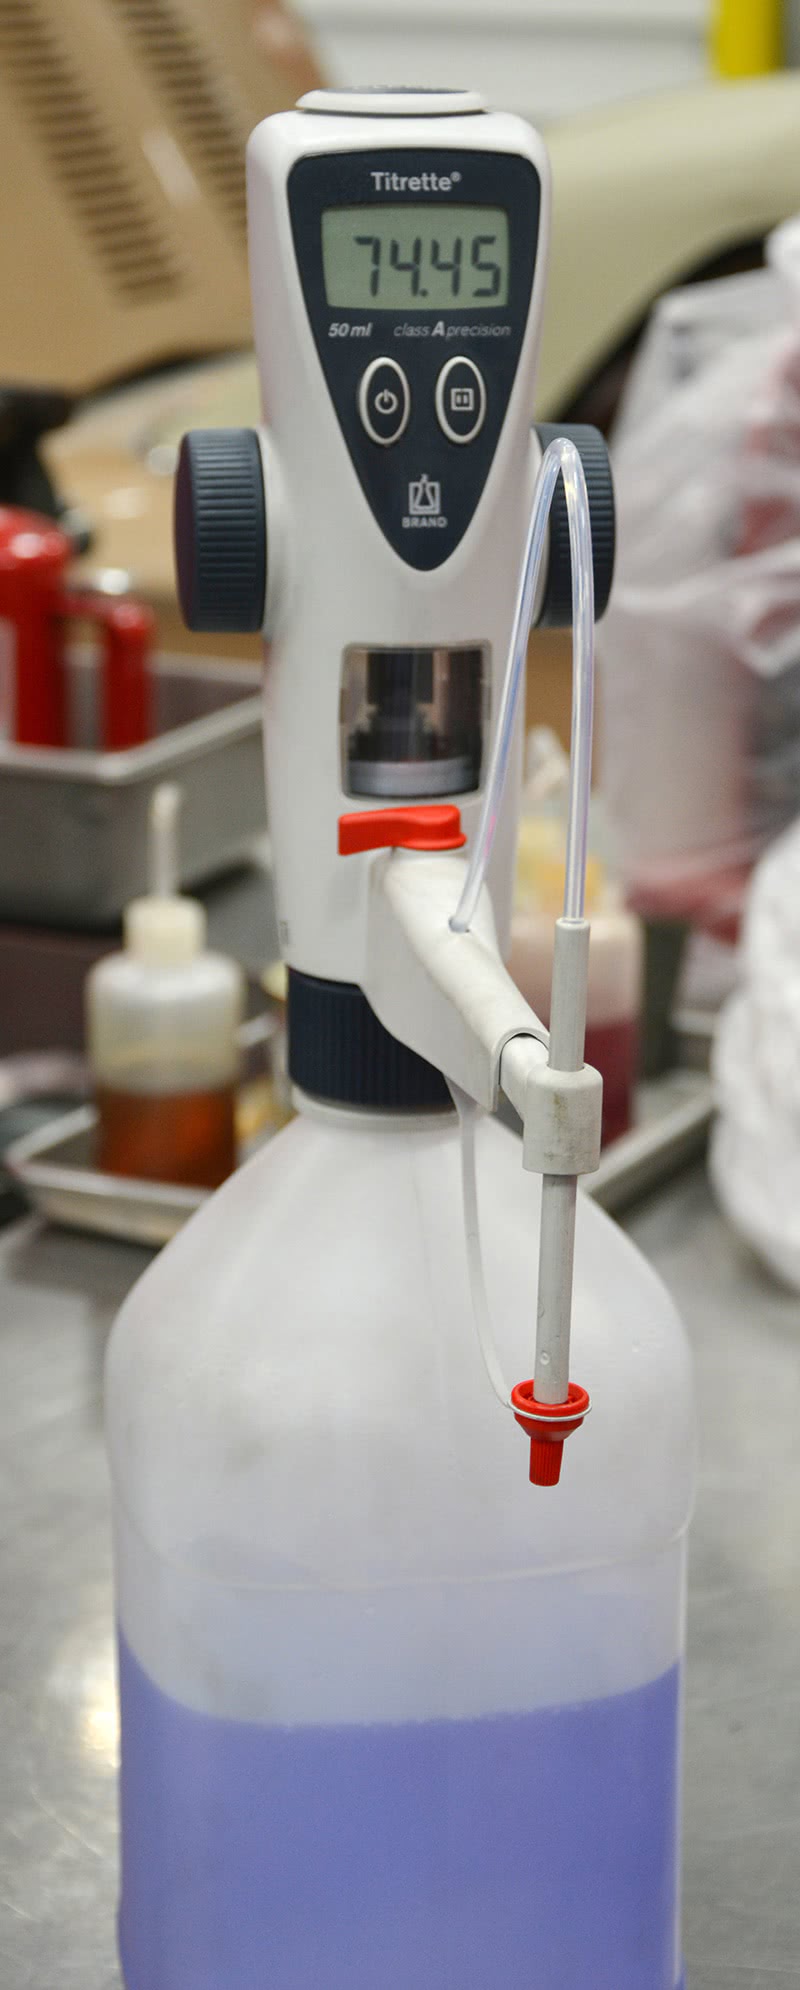
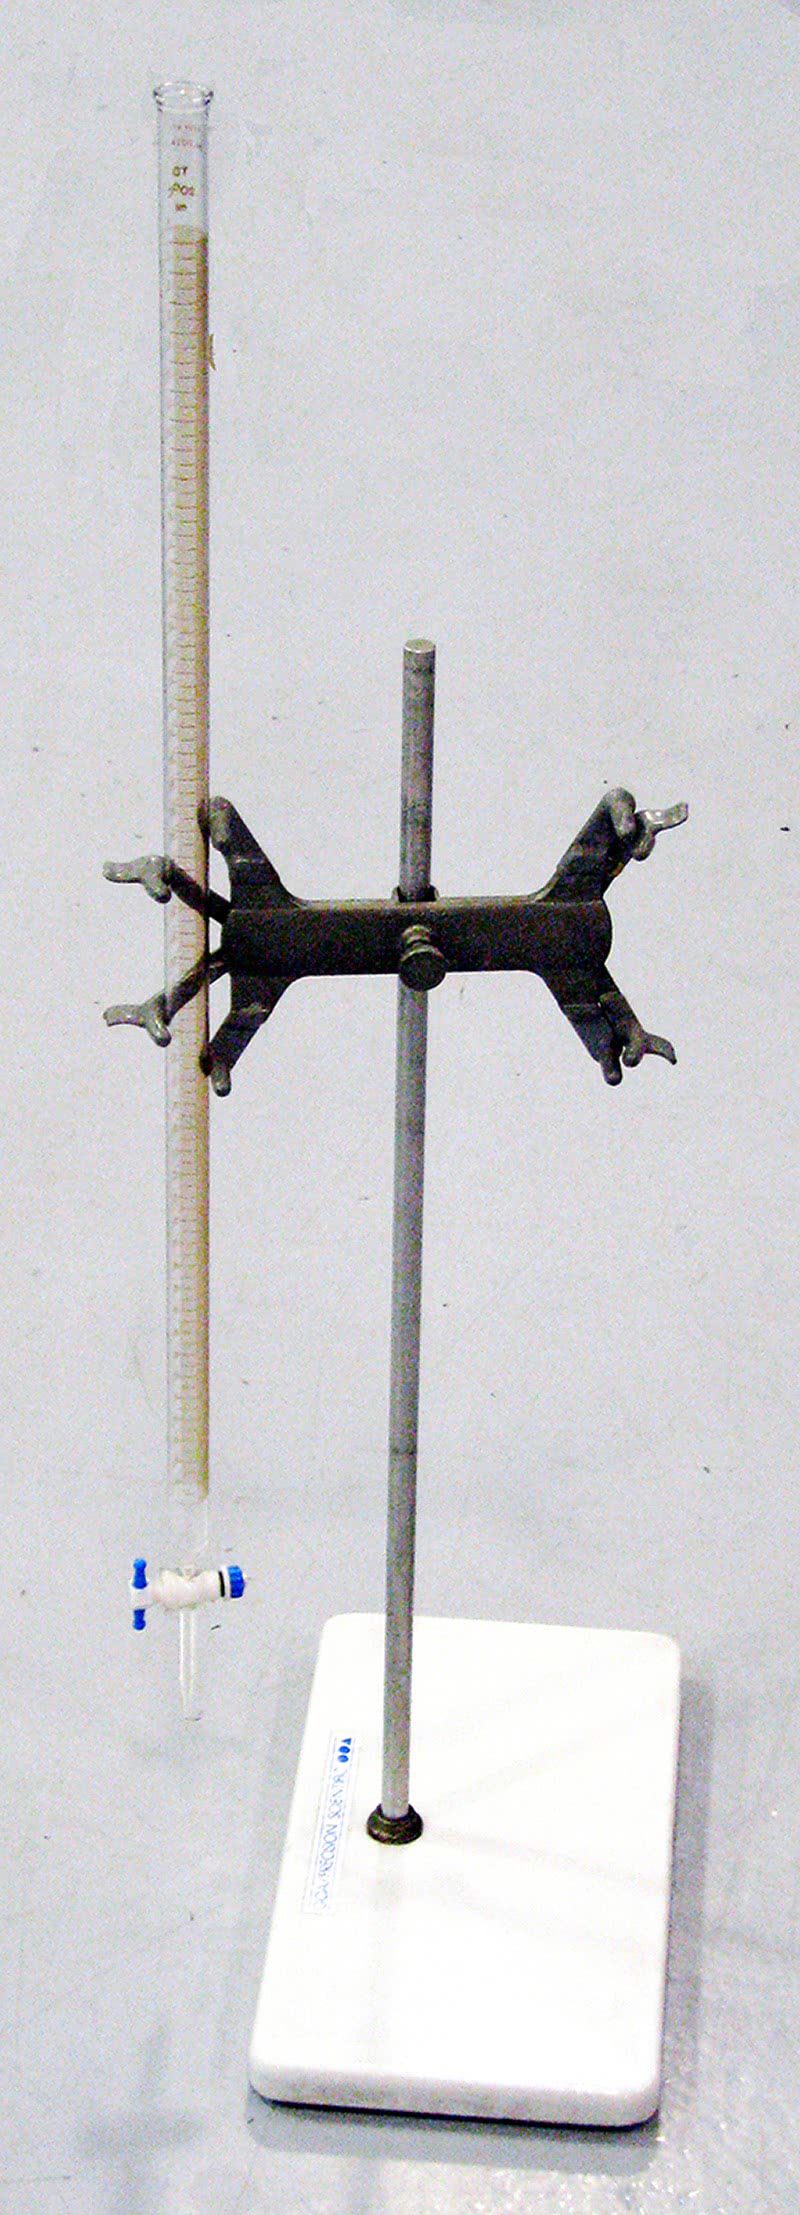
Two approaches to the same job. A glass burette can certainly still be used, but the modern technology of an electronic burette is hard to beat. The electronic unit reads in hundredths of a cc, whereas the glass burette reads to the nearest two-tenths of a cc. Not that that level of resolution is really critical, but the time to fill and use the glass burette can be. With the electronic unit, once it’s purged you simple rotate the hand wheel and it dispenses and measures your fluid. Remember, if you use the old-school burette you read the level at the bottom edge of the curved line (called the meniscus) formed by the fluid in the tube. Windshield washer fluid works best for cc work. It’s mostly alcohol (and flammable — don’t forget that!), and it’s brightly colored for visibility. I use a little silicone paste on the chamber and the cc plate to keep stubborn bubbles from sticking to the surfaces. |

Vee-blocks are indispensable for holding things, such as this camshaft, and for holding round stock in mills and vises. Any time you want to secure a round piece to work on it you must have three points of contact: Two in the Vee-block and one on the opposite jaw will do the trick in the mill or vise.

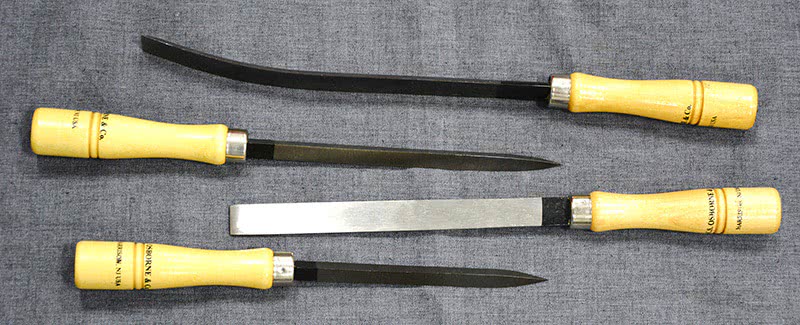
You’ll need a selection from about 180 grit all the way up to 2,000 grit for doing engine work. Roll cloth, de-burring cones, sanding blocks, split rods and sanding rolls in different grits and shapes are all things you’ll use every day. Remember to thoroughly clean everything after using abrasives or else you’ll be replacing bearings.

For holding round stock and for use with a hand drill when you’re trying to start a hole straight, a bench block is worth its weight in gold. The holes in the block correspond to common centering drills, which have a smooth shank. I’ve also used pieces of angle iron as drill guides — a piece of one-inch angle iron, squarely cut on both ends, and in various lengths between an inch and three inches makes a pretty handy drill guide. Just rest the angle iron on the object you’re drilling and sight along the two planes formed by the angle to get the drill square to the surface.


0 Comments