One of the benefits of owning a Mercedes-Benz has always been longevity. But after many years of flawless service, there is a chance that head gasket failure will occur. The value of a Mercedes-Benz makes it worth repairing.
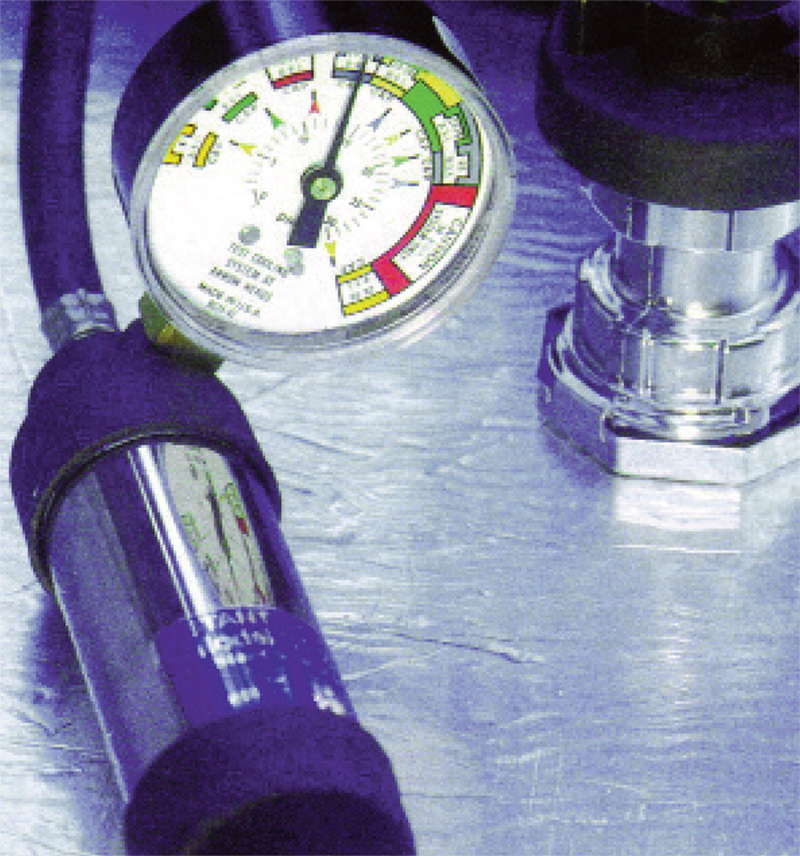
Pressure testing the cooling system may force coolant through a leaking cylinder head gasket. With a boroscope you can see into the cylinder and observe if there is any coolant seepage.
Aside from swapping an entire engine and/or transmission, replacing cylinder head gaskets is probably one of the more time-consuming jobs you perform. Looking at labor times, a typical cylinder head R&R procedure can take 10 to 15 hours for a straight four or six, and up to 25 hours for a V8 or V12. The job represents a significant investment on the part of the customer. So, when you diagnose a failed head gasket you need to be confident that this will address the customer’s concerns. Some failures are straightforward, but on the more difficult ones you need methods to verify your suspicions. Here, we’ll look at how head gaskets fail, symptoms of failure, and foolproof testing methods, and review some important procedural points.
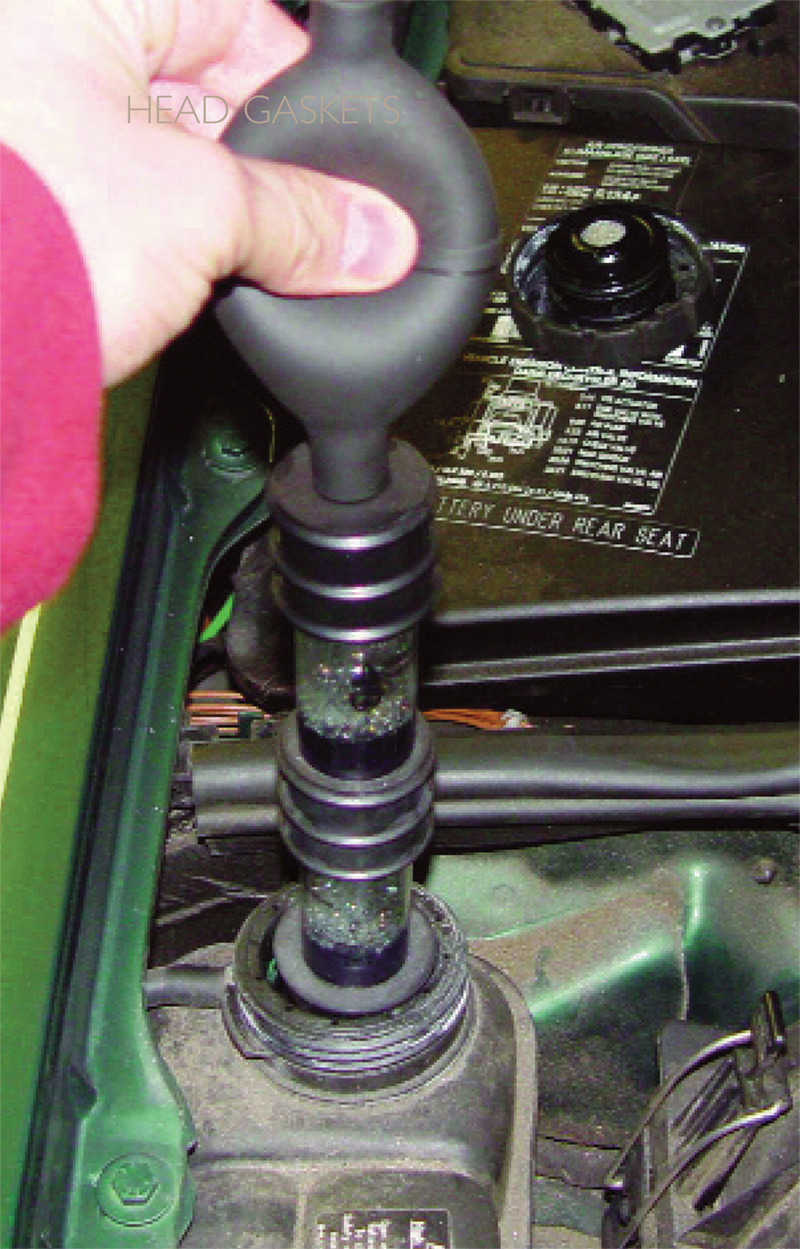
Using a combustion gas leak detector will allow you to determine if there’s a leak between the combustion chamber and the cooling system. Don’t forget to drain some coolant out of the system to build up sufficient combustion gas.
How Head Gaskets Fail
Head gasket failures can occur in several different ways. The fluids that pass through the gasket are either oil or coolant. Pressurized oil is sent through the gasket on its way to lubricate the valve train. It then drains back through the cylinder head into the crankcase. Coolant also passes through the cylinder head passages and the block to keep these components cool. As with any gasket, the one between the head and the block is meant to seal fluids in. The oil pressure passing through the head and the oil draining back to the block needs to be contained by the gasket. Any external leak of oil would be considered a head gasket failure. By the same token, any external coolant leak would also be a head gasket failure.
Not all leaks have to be external. The failures that are not visible are often the ones that have to be diagnosed. They require more in-depth testing. Head gaskets may fail with the oil pressure supply line breaching its gasket and entering the cooling passage. Oil pressure is usually higher than cooling system pressure, so oil is forced into the cooling system. If the oil return passage leaks, you may end up with coolant in the crankcase. Another instance is a high-pressure oil system leaks into the combustion chamber.
Probably the most tell-tale sign of a bad head gasket is coolant entering the combustion chamber. This problem causes many symptoms from high pressure in the cooling system resulting in blown hoses and leaks to steam exiting the exhaust. Technicians naturally think of this situation first when head gasket failure is mentioned, but as already mentioned this is not the only type of failure. So, other than visible leaks or steam, what are the symptoms that indicate head gasket failure?
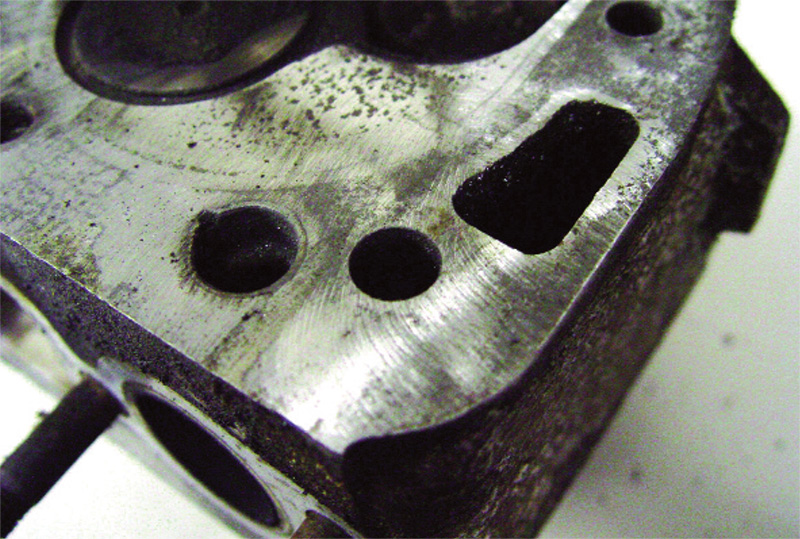
Here we can see the swirl marks left by surface conditioning discs. If you stay in one portion of the cylinder head too long you can create a dip that the head gasket may not be able to seal. So, clean the cylinder head by hand using suitable scrapers.
Tipoffs
We have discussed engine oil in the coolant and coolant in the oil. Another common-sense item is the coolant level. Very often we add coolant, check for external leaks and move on. Well, the coolant had to go somewhere so further investigation is warranted. Did an overheating problem cause the low coolant condition, or did a low coolant condition cause the overheating?
Overheating is one of the major symptoms of head gasket issues, especially if you do not see any signs of external coolant loss. If you do have a leak, you may need to look deeper anyway. Sometimes a leak is just a leak, but excessive pressure in the cooling system will promote and enlarge leaks. Of course, there are many possible reasons for overheating, but it’s always a good idea to test for head gasket failure before (or even after) cooling system repairs. After all, if the overheating was severe enough it may have warped the cylinder head casting(s).
If your customer’s concern is an erratic temperature gauge, this may be another symptom. Combustion gases getting into the cooling system can collect at a high point, and if it so happens that this is where the CTS (Coolant Temperature Sensor) is located, the sensor may be exposed to gases instead of liquid. This could cause the sensor to change its resistance value, hence its signal, rapidly, and be an early indication that something is wrong with the cooling system.
Finally, a driveability problem may be an issue that has more to do with engine temperature than the fuel injection and ignition systems. Cylinder misfires can be caused by coolant leaking into a combustion chamber. Mercedes-Benz engines are known around the world as some of best, but lack of proper maintenance, use of low-octane fuels and long periods of time in stop and go traffic can contribute to premature failure of various components, such as the head gasket.
Testing, Testing, Testing,…
Here is where it may get ugly. You have a vehicle come in that’s running a little roughly. Maybe the Malfunction Indicator Lamp (MIL) is flashing, indicating a misfire, or there’s a message in the instrument cluster message center indicating that the PCM has detected a problem. You evaluate the service records and see that a tune-up may not have been performed in quite a while. Maybe the customer has forgotten about the 60,000-mile service, or has just been resetting the “ASSYST†warning system, which indicates the need for maintenance. Whatever the reason, you inform the customer that maintenance service is due, and you perform the tune-up. A considerable amount of money must be spent, but this is a Mercedes-Benz and the customer clearly sees that the vehicle is worth the required investment. The problem occurs when the symptom comes back. Now, your reputation is damaged, and you have to dig a little deeper.
You may have tested the coil by checking its output with a spark tester (HEI type), or replaced it anyway. You could change the position of the coil (in coil-over-plug configurations) and see if the problem moves. If not, you may perform a “fuel pressure drop†test on the injector and/or changed its location as well only to find the problem is still in the same cylinder. Providing it is not a defective new spark plug (what are the odds of that?), the problem must be in the cylinder. A compression test may indicate an acceptable amount of pressure, but a leak-down test may tell you a bit more. Low compression on two adjacent cylinders typically means the gasket between them has failed. Through a process of elimination, you have determined all other components are performing as they should, but you still have a misfire. You need to look at the possibility of coolant leaking into the combustion chamber.
Pressure testing the cooling system is a good way to find leaks, including leaks into the combustion chamber. Head gaskets survive admirably under tough conditions. They need to seal when the engine is both cold and hot. So, it is a good idea to test under both conditions. A head gasket may leak when cold, but not when hot, and the opposite is also true. If you pressure test the system and get noticeable white “smoke†(actually steam) out of the tailpipe, one or more cylinders are leaking coolant into the combustion chamber. If you have a boroscope that allows you to look into the spark plug holes, you may be able to actually see the leak while the system is pressurized. Using Star Diagnosis, or an approved scan tool, you can look at misfire data. This may help indicate what cylinders are the likely culprits.
If the symptoms are minor, finding a head gasket leak will be more difficult. The best way to test for a small compression leak is to use a “chemical block tester.†This contains a chemical solution in a multiple diaphragm syringe. Gases in the cooling system are drawn into the tool and mixed with the solution. If combustion gases are present, these chemicals change color. To get an accurate reading you need to drain approximately one half to one full gallon of coolant from the system, depending on its total volume. This allows a sufficient quantity of gases to build up in the coolant reservoir and the radiator for the leak detector to work. Overlooking this step is likely to lead to false readings and an erroneous diagnosis.
Now For the Hard Work
Once you have determined that coolant is indeed getting into the combustion chamber, it’s time to start the disassembly phase. At this point it would be wise to inform the customer that although it looks like the head gasket has failed, there could be other causes such as a cracked block or cylinder head. There is no way of knowing until disassembly has been completed and the various components checked for cracks.
Depending on the age of the vehicle, this may also be an opportunity to renew various engine components. The cylinder heads themselves could be exchanged for units refurbished by Mercedes-Benz. If you are equipped to rebuild the cylinder heads, you can perform the task yourself. Even if you do not have the equipment to cut the valves and valve seats, you can remove the valves and lap them in. Cylinder head gasket sets typically include valve guide seals, so replace them by all means. Timing chains need to be removed in order to perform the head gasket job, so a new tensioner would be a good idea. Replacing the timing chain itself would be advantageous from a labor saving standpoint.
After removing the timing chain, and the intake and exhaust systems, (sometimes it’s easier to remove the cylinder head with the exhaust and/or intake manifolds still attached), we can then unscrew the head bolts. With aluminum cylinder heads, Mercedes-Benz recommends that you crack each bolt loose in four stages of about 90 deg. each. This prevents any warping of the head, especially on a warm motor. Once the bolts are out, the casting is still “glued†to the block by the seal of the head gasket. You need to find a safe point to pry the cylinder head from the block, then you can safely lift off the cylinder head assembly.
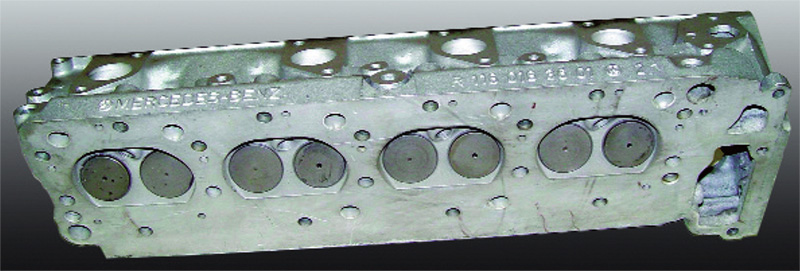
After cleaning, measure the surface straightness of the cylinder head mating
surface. In this case it was necessary to mill the cylinder head, and the head
thickness was sufficient to do so. This creates a near ideal surface for the head
gasket to seal against.
Getting Cleaned Up
Cleaning the cylinder head gasket surface properly is critical. Aluminum is so soft, it’s easy to ruin a head casting with electric or pneumatic tools in a matter of seconds. Do not use Scotch Brite pads on your “whizzer†tool as they will cause gouges and undulations, and leave abrasives behind that can actually damage bearings. Ditto for the sealing surface of the block.
Soaking the head in a distillate solution causes the gasket remnants to soften for easier removal. The use of a properly sharpened gasket scraper, free of gouges itself, will remove most of the material left on the head.
Next, accurate measurements must be taken for surface flatness and irregularities. These measurements, along with the overall thickness of the cylinder head, will determine if the casting simply needs to be cleaned, or must be milled or replaced. Hold a straight edge tool against the block and cylinder head in multiple positions and measure the depth of any gaps with a feeler gauge. If excessive “waves†or “ripples†are found, the head or block must be milled to assure a good seal.
You should also be concerned with the head bolts. Since torque-to-yield bolts are used (meaning they stretch), Mercedes-Benz has included a specification on head bolt length. If the head bolt has stretched beyond this spec, then the possibility exists that the bolt will bottom out in the block and the head bolt will not apply the necessary clamping force to the cylinder head allowing it to warp when the engine gets up to operating temperature. Or, the bolt may simply snap, which would result in a time-consuming extraction job.
Look at the two cylinder head bolt holes on this 190 model and you can see that the one on the lower right is cleaner than the one on the left. Do not use a tap to clean bolt hole threads. You will remove too much material. Use thread cleaners or chasers and you will have a secure mating of the thread surfaces.
Reassembly
Now is the time to choose what kind of gasket you’re going to use to reassemble the engine. Remember, genuine Mercedes-Benz replacement parts use the same design, materials and construction as the original — and look how long it lasted. The cost is competitive with aftermarket brands that simply can’t come up to Mercedes-Benz standards. This is not a job you want to do over again.
According to Mercedes-Benz WIS-net (accessible through a paid subscription to www.startekinfo.com) document AH01.30-P-1000-06V, there are two different dimensions in the compression ring of the cylinder head gasket for the 112 and 113 engines found in the 210 chassis. They are distinguished by one or two notches found on the outside of the timing chain passage of the gasket. If the smaller dimension is used in the larger application the piston may contact the gasket and create a knocking noise at idle. Does the aftermarket head gasket supplier make this distinction?
After returning any dowels to the engine block that were removed for cleaning, locate the head gasket properly and carefully lower the cylinder head into place. Of course, the cylinder head bolts must have the proper torque applied in four stages to ensure the casting is pulled down evenly and the gasket receives uniform clamping force. Follow the published service procedure carefully. The same process applies to any other large gasket surface such as the intake and exhaust manifolds. Install the timing chain according to service procedures outlined in WIS. Rotate the crankshaft a few times to verify that the timing chain is installed properly. You can finally connect auxiliary devices and components, fill with fluids and check for leaks.Â


0 Comments