
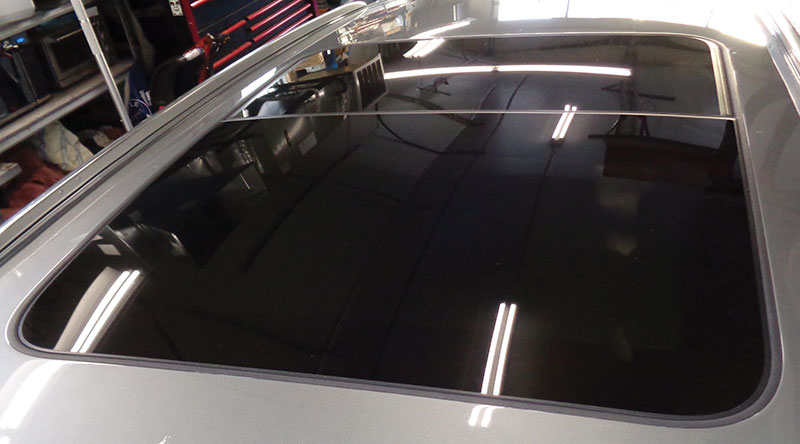
Sunroofs have become standard equipment on all Audis. Many models also offer a larger, panoramic option. And, in addition to a panoramic size, motorized sun shades are available to increase comfort.
On models with a motorized sun shade, a seperate motor with attached control unit (J394) controls this feature. It is located at the rear of the sunroof assembly. The primary sunroof control unit (J245) is integrated into the drive motor at the front of the sunroof assembly.
Safety Features
On Audi vehicles that support LIN bus communication, a diagnostic line is connected to the control unit. This allows some diagnosis and fault tracing for the sunroof system.
Anti-trap protection is an included safety feature as well. This works the same as normal passenger power window protection. If the sunroof motor detects that increased motor force is required, it reverses motor direction. This eliminates risking injury to a passenger.
If there is damage to the sunroof system, this may also engage pinch protection. If a sunroof engages pinch protection, it often loses its motor adaptation and must be reset. This procedure also needs to be done after disconnecting the battery, or doing repairs or adjustments to the sunroof system.
The sunroof control unit memorizes certain endstops in the sunroof system. Without re-learning the sunroof positions, damage to components can occur. Resetting the sunroof is a simple procedure. On models with motorized lower sun shades, these will be adapted as well during the re-adaptation process.
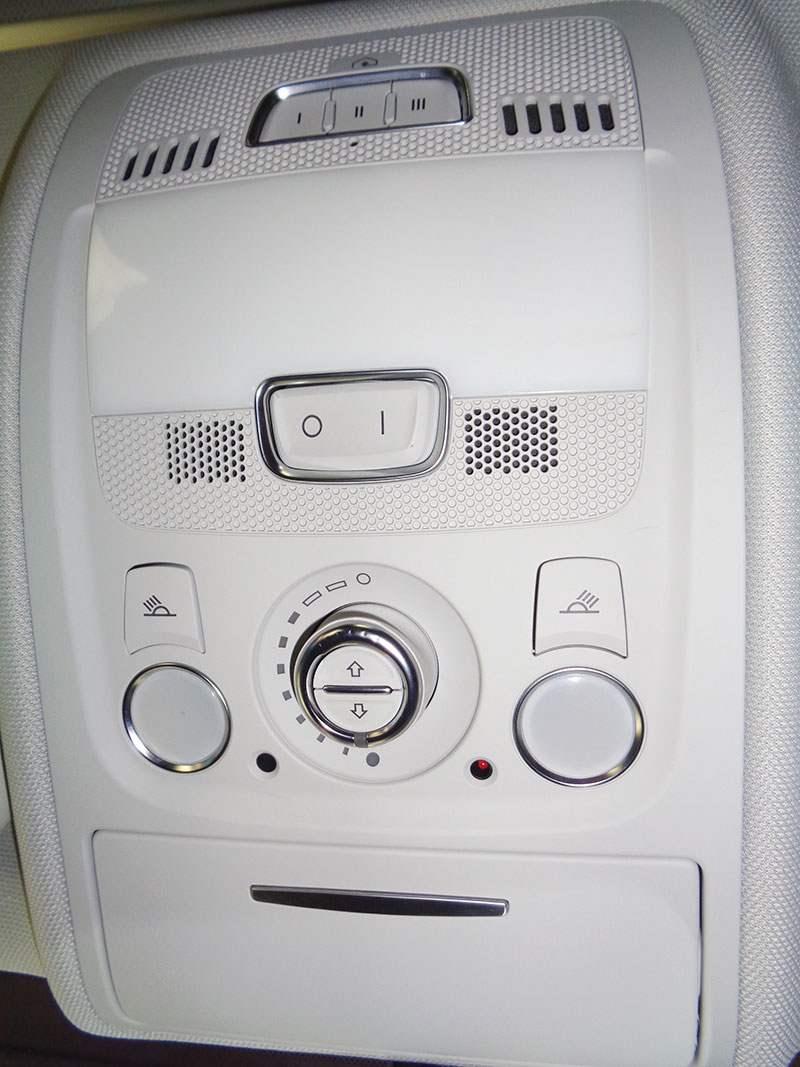
With the ignition on and all doors closed, make sure the sunroof switch is in its home position. Next, if equipped, press and hold the sun blind close switch. Continue holding the close button during the entire reset procedure. During this process, the shade closes fully and then slides about halfway open. Continuing to hold the button the entire time is the only critical step in this procedure.
The glass sunroof must be adapted as well after the sun shade adaptation. For the sunroof, pull and hold down on the sunroof switch dial. Continue holding during the entire process. Releasing the control button early terminates the adaptation, and it will have to be restarted. The sunroof glass will fully close, fully tilt, and then retract along its entire length. The reset procedure generally takes about 30 seconds to complete. Once re-adapted, the sunroof will have one-touch convenience features available, and, if repairs are completed, full sunroof operation.
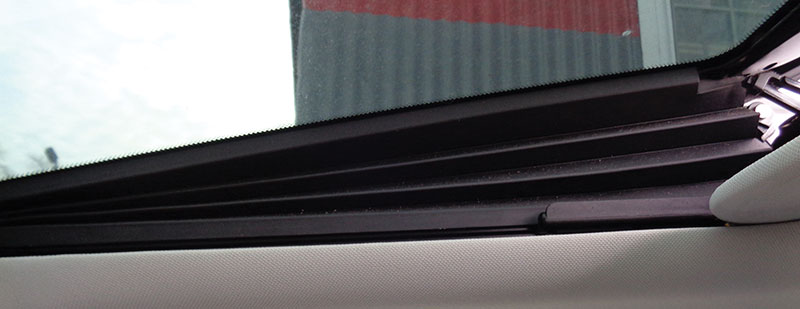
The sunroof glass must be positioned well to function properly. A misaligned sunroof glass can cause water leaks, noise, and friction in the system, causing anti-trap activation. If the leading edge of the sunroof glass is too high, wind noise becomes a problem. Adjustment of the glass is fairly straightforward. First, set the sunroof to vent position. This allows greater access to the rubber gaiter. This needs to be separated from the glass carefully to access the mounting screws. Be careful. The rubber is quite thin and easy to tear while removing.
The rubber gaiter is a necessary addition to the sunroof for diverting rain water and minimizing noise. Once the gaiter is removed, lower the sunroof back to closed position. The front edge of the sunroof glass should be slightly lower than flush; 1mm below the roof edge is a safe position. At the rear of the sunroof, the edge should be flush or slightly higher than the roofline. This sounds counterintuitive, but mounting the glass slightly lower in the front helps decrease noise and drag. After adjusting the glass position, don’t forget to tilt the glass again and reinstall the gaiters on the glass.
Drain Tubes
The most common reason to work on an Audi sunroof is to check and clear the drain tubes. A common misconception is that sunroofs are “waterproof†and impervious to the elements. This is, unfortunately, not true, and periodic maintenance is necessary for all vehicles with sunroofs. Rain water drips in along the sides and particularly along the front edge of the sunroof assembly. This water is diverted to drain tubes at each corner and drained down the A-pillar in the front and the C-pillar in the rear of the vehicle.
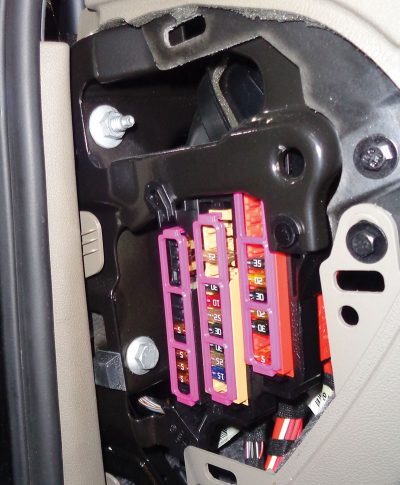
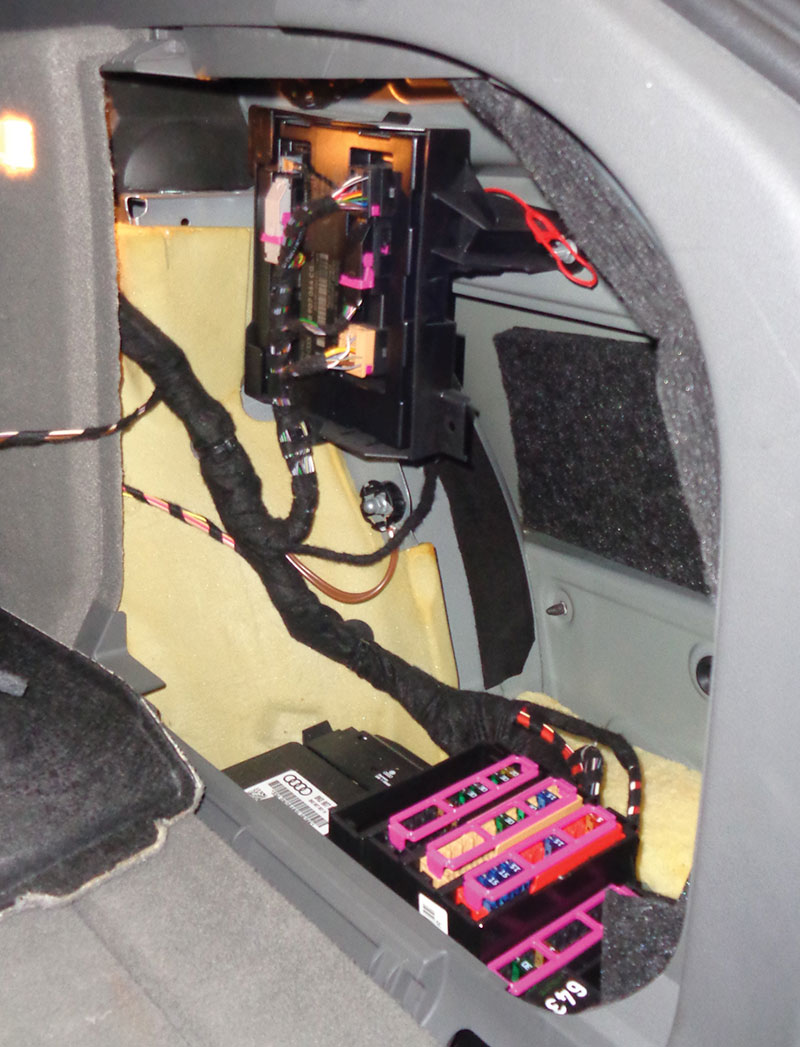
Depending on where the Audi is driven and parked, plant matter, pollen, etc. tend to collect in drain locations. If left unchecked, this can block a drain tube completely, causing water intrusion into the cabin of the car. Water leaking down the A-pillar can be a problem on many Audi models, as a fuse block is located at the base of the A-pillar.
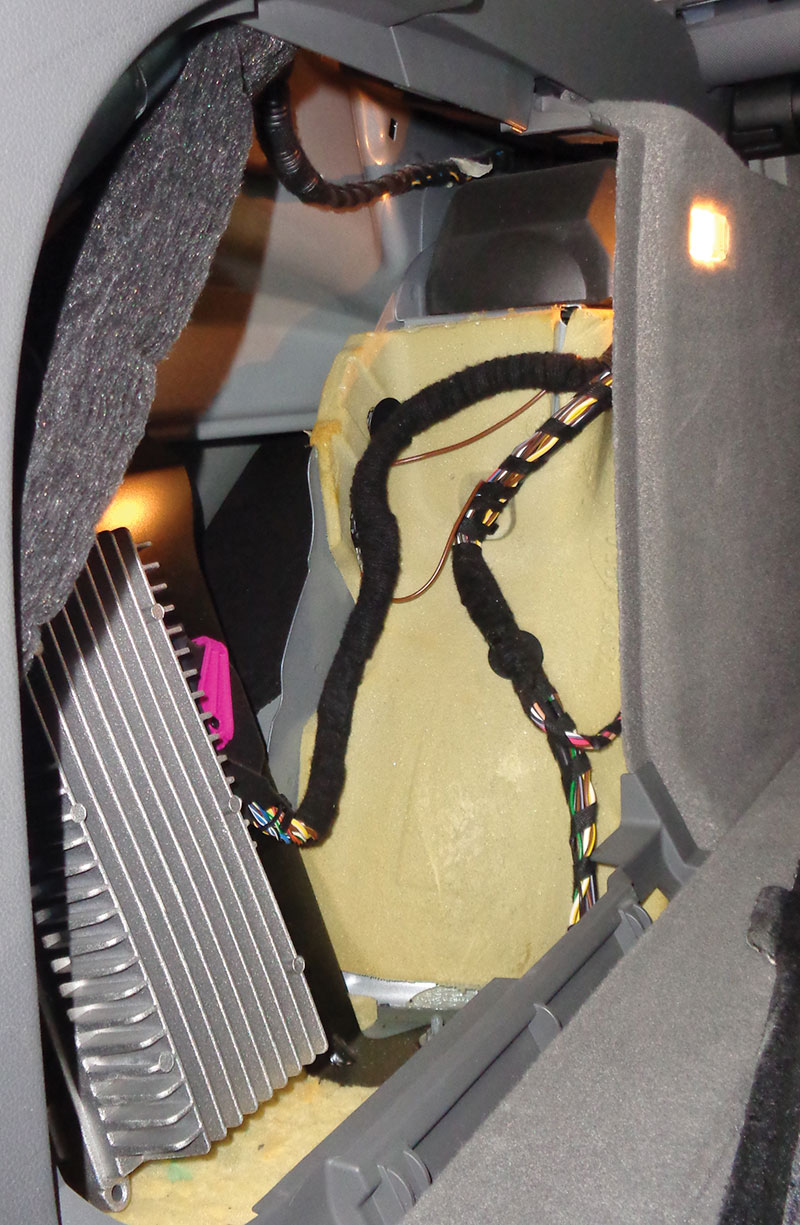
Problems with the rear sunroof drains are less common but can still be an issue, particularly with Avant models. If a rear sunroof drain becomes blocked, the most common outcome is water damage to modules located in the lower rear corners of the Audi. These are not cheap!
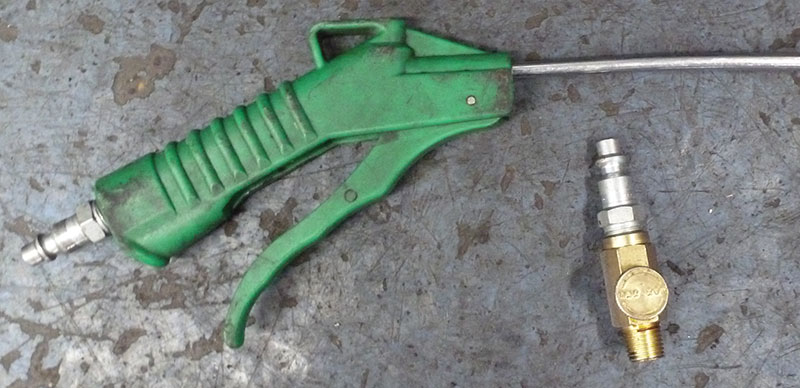
If a blockage at the sunroof drains is suspected, a quick visual inspection can help determine the blockage. A great way to check drain tube function is to pour water directly into the sunroof drain channel. A small amount of warm water is recommended to help soften blockages and aid in flushing out debris. Always be careful to only pour water into the drain area. Otherwise, you can pour water directly into the cabin.
Often overlooked, the drain tube itself may cause issues with water ingress. The junction at the corners of the sunroof may shrink or swell and allow water to escape past the drain tube. This may appear to just be a clogged drain so further inspection will be necessary. Drain tubes can be removed and resealed, but it is best to replace them once damage to the sealing end has occurred.
Periodic sunroof maintenance should be a recommended service to customers. Keeping water out of the cabin is critical for both vehicle electronics and driver comfort.


0 Comments