
Modern Audi engines are built to extremely tight tolerances. This is important to minimize excessive wear on components as well as keep the engine properly sealed. A poorly sealed engine will leak oil, which can create a multitude of issues. When oil leaks are left unchecked, damage to additional components sets in.
Engine oil degrades rubber and plastic components. This degradation usually results in swelling of the rubber, causing leaks. Generally, coolant hoses, drive belts, and rubber breather lines take the brunt of the damage from oil contamination. This is why it’s critical to locate and repair engine oil leaks before they begin to damage additional components.
When diagnosing an oil leak, as with most engine oil leaks, it’s best to start at the top and work your way down. A leaking cam cover or valve cover are relatively common areas to form a leak on Audi engines. These leaks will work their way down the engine, slowly following the path of least resistance to the lowest point on the engine.
Most Audi V-6 engines still use a rubber gasket to seal the valve cover assemblies. These are usually easy to replace if found to be leaking. Just be careful when disconnecting the breather lines from the valve cover during disassembly. These become extremely fragile from both heat and oil exposure and are easily damaged. If performing repairs on a higher-mileage Audi, it’s wise to include these lines in the repair estimate as they are almost guaranteed to break during removal.
Also, note many older Audi models may be equipped with timing chain tensioner gaskets and camshaft plugs at the back of the cylinder head. These gaskets and rubber plugs harden with age and begin to leak oil directly onto the exhaust, which will definitely produce smoke and smell.
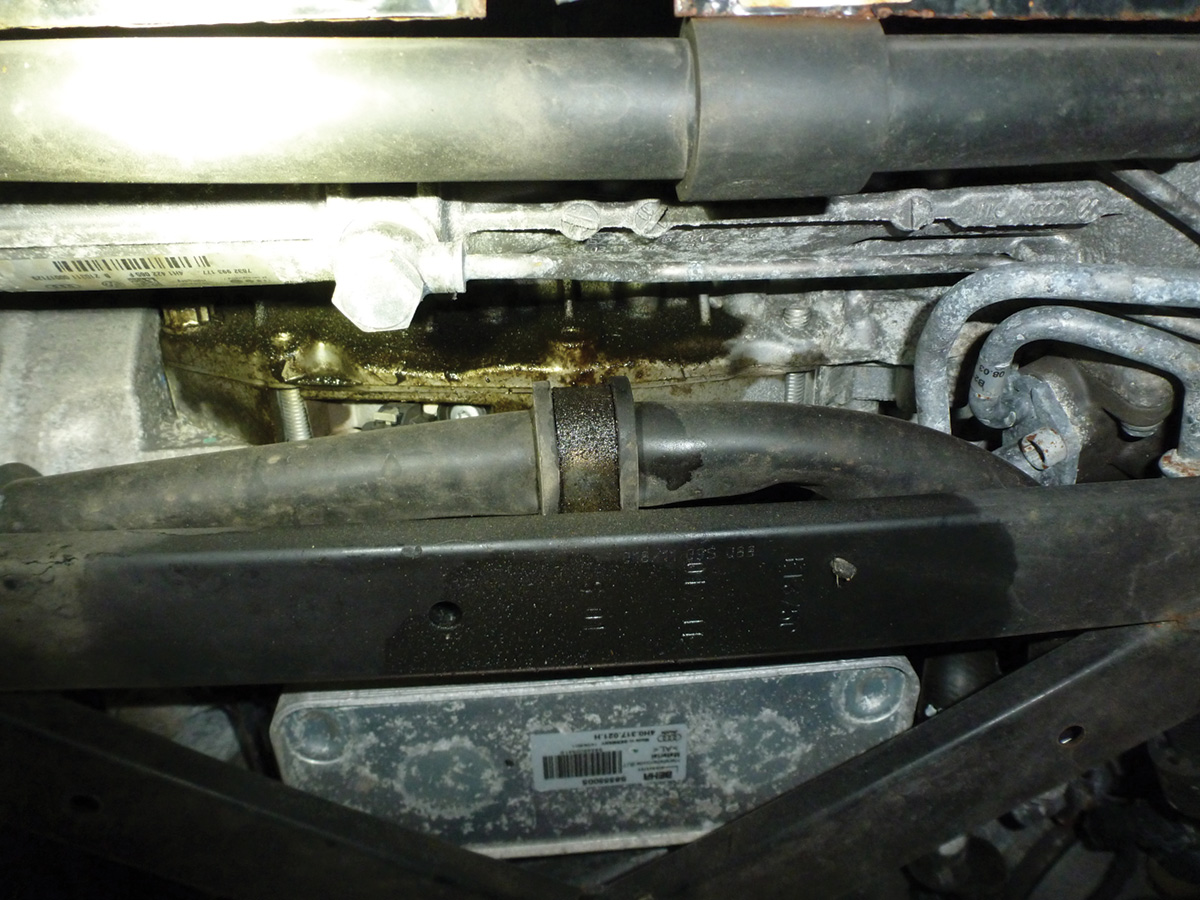
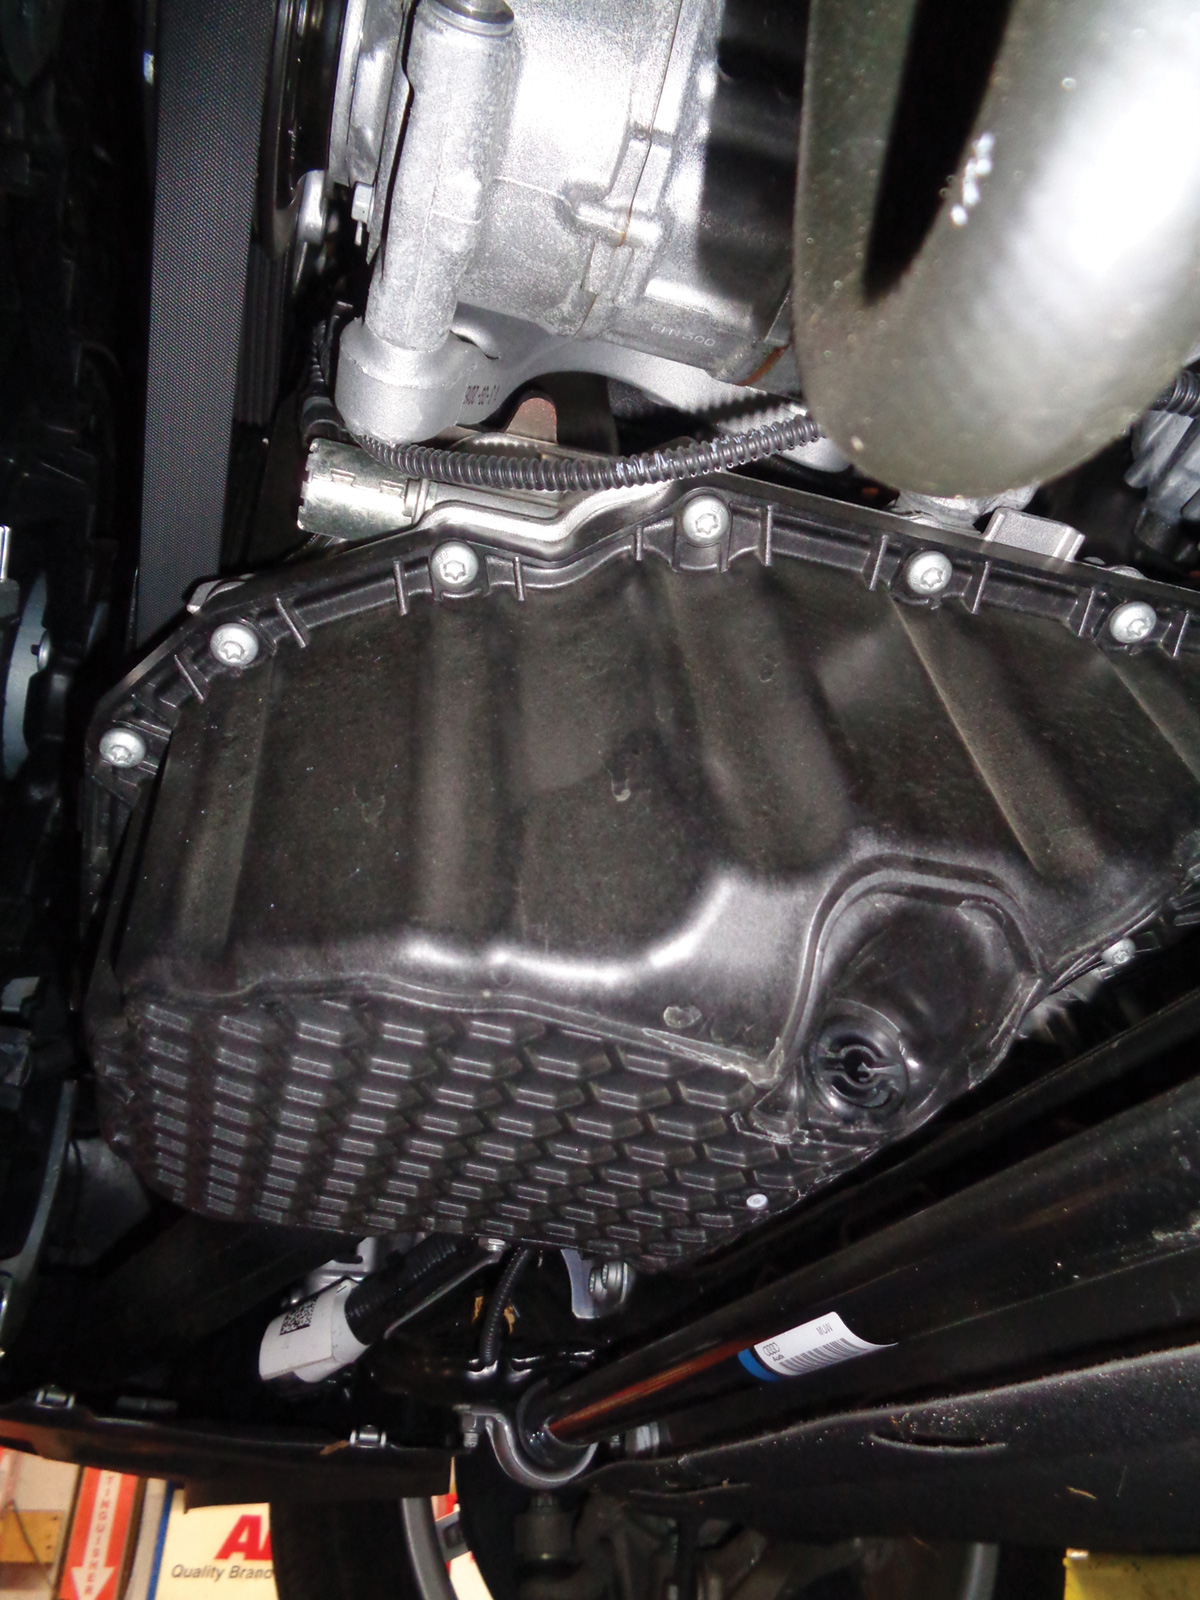
Audi has moved the engine timing chains to the transmission side of the engine on V-6 models. This setup includes upper timing covers on both banks of the engine. These upper timing covers commonly leak, which drip engine oil down the back of the engine and onto the exhaust. These leaks may appear to be from a rear main seal or oil pan if not properly identified. It’s also worth noting the V-6 engines have a larger lower timing cover that seals the lower half of the engine. This lower cover does leak from time to time as it primarily relies on a chemical sealant that eventually degrades.
Re-sealing the lower timing cover is a huge job. Drivetrain removal is the best way to re-seal the lower timing cover, if necessary. The most efficient way of doing this job is with a hydraulic table assembly. It’s possible to lower the engine/transmission sub-frame assembly as one unit in a matter of hours when using a table to assist.
Audi V-6 upper timing covers don’t use a standard rubber gasket to seal to the cylinder head. A chemical gasket is used instead. It can be troublesome to slide the cover on during reassembly without smearing the sealant. Patience is key. It’s also critical to not bend the timing covers during removal. Slowly easing a razor blade around the cover to break the sealant bond is the safest method for removal without bending the covers.
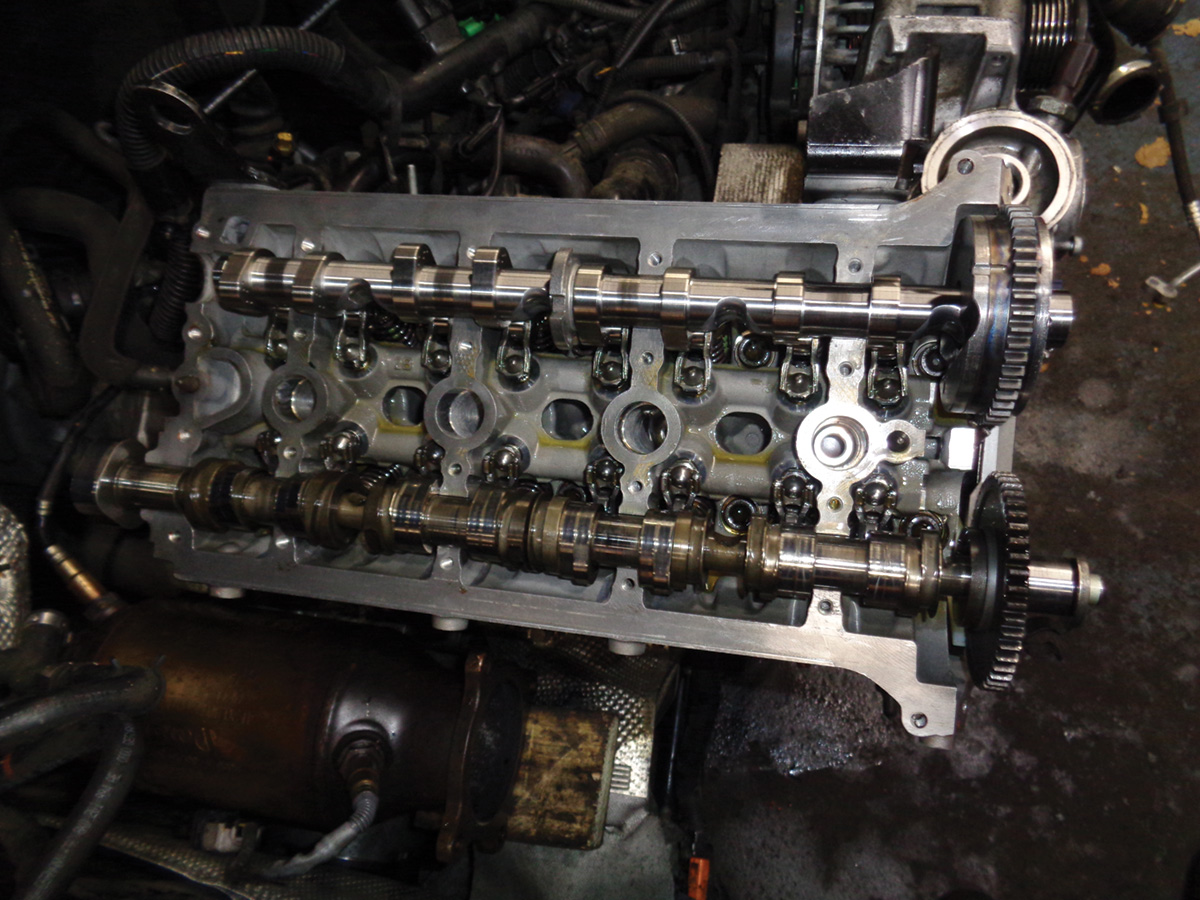
Audi uses an integrated cam cover design on their 2.0t engines. This design integrated the upper cam bearings into the cylinder head cover. These cam covers don’t use a standard silicone based sealant. Rather, they rely on an anaerobic sealant to securely seal the cylinder head cover. Anaerobic sealant will only cure in the absence of oxygen. This is good for finely machined surfaces that require only minimal sealant to seal properly. Anaerobic sealant forms an almost plastic-like hardness that helps lock components together as well as form an extremely oil-resistant seal.
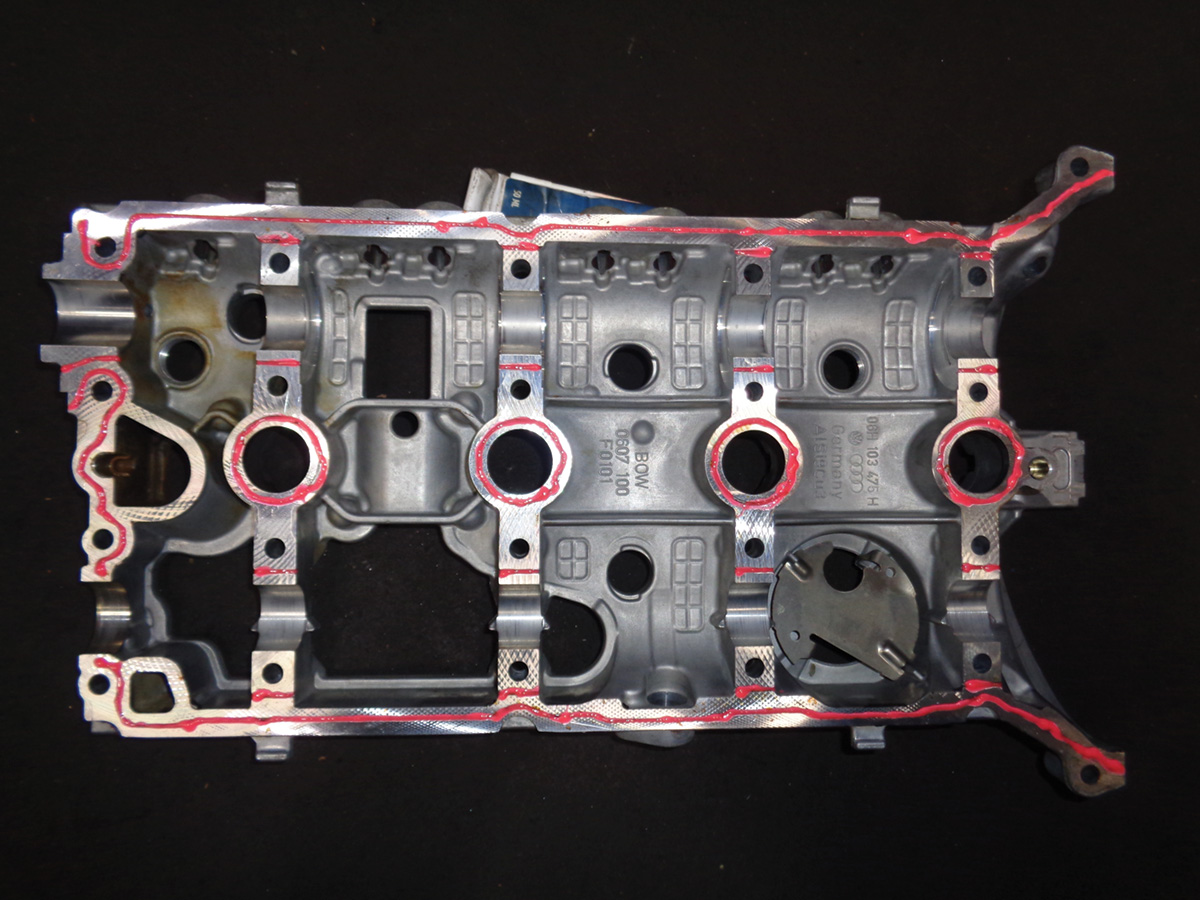
Unfortunately, with higher mileage, this anaerobic sealant can begin to degrade, forming oil leaks. Re-sealing a cam cover is a bit more labor intensive than a typical valve cover gasket replacement. Due to the cam cover holding intake and exhaust cams in place, it’s critical that the camshafts don’t move during removal. Also note that every bit of old sealant must be removed, and sealing surfaces must be completely clean before re-sealing. Carefully scraping the sealant grooves in the cover with a pocket screwdriver is the best way to remove the hardened sealant. Always be careful not to deeply scrape any aluminum sealing surfaces during the cleaning process, as this can create escape points for leaks.
When applying the sealant, remember that more is not always better. Excessive sealant can squish out of sealing channels and wreak havoc on engine components. Clogged oil pickups, damaged sensors, and even blocked oil passageways can occur! Don’t be an uber luber. A fine layer of sealant 1–2 mm thick is generally all that is required to seal, due to tight sealing surface tolerances.
The most common victim of a leaking camshaft cover is the coolant pump seal on 2.0t engines. The coolant pump resides directly below the cam cover. These seals quickly take on oil and swell to the point of breaking the plastic coolant pump housing, causing a large coolant leak. These coolant pump seals will continue to leak unless the underlying oil leak is properly repaired.
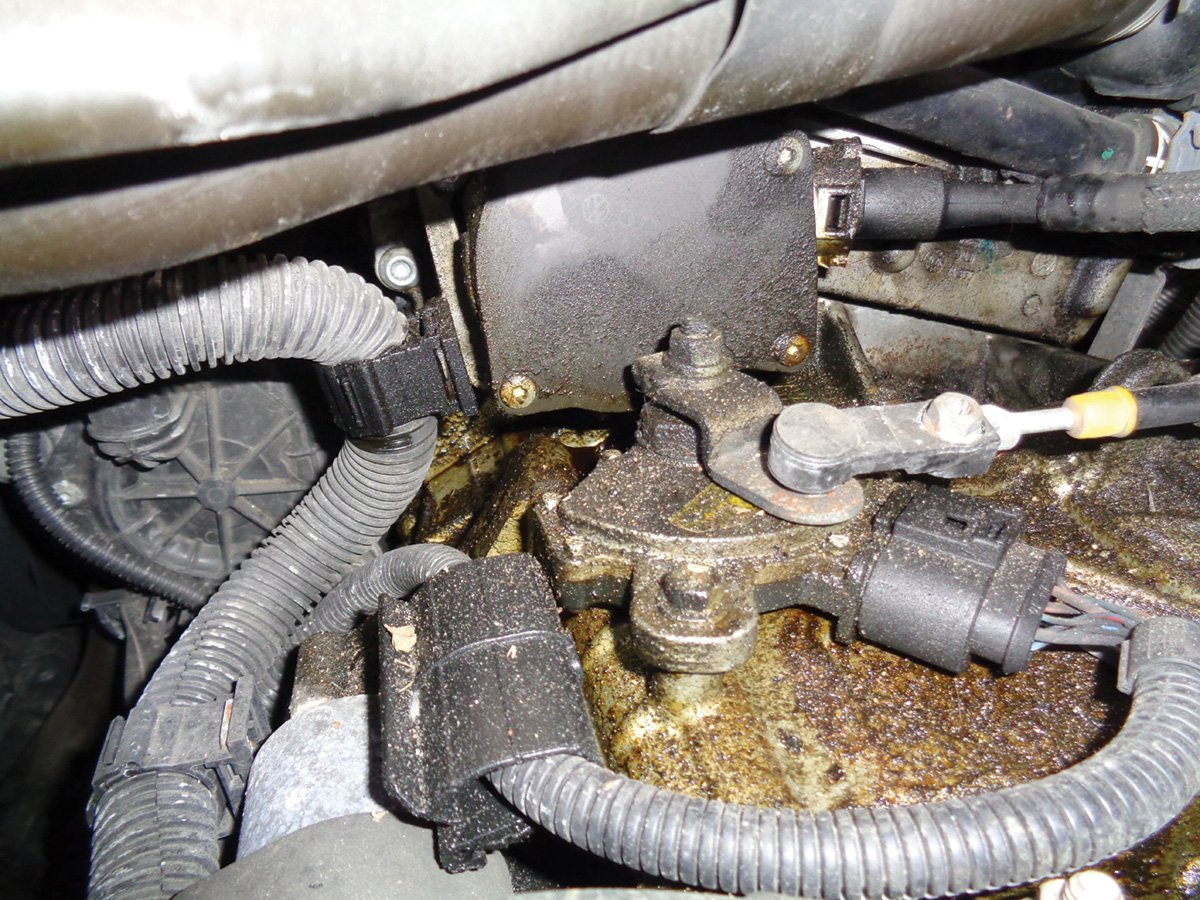
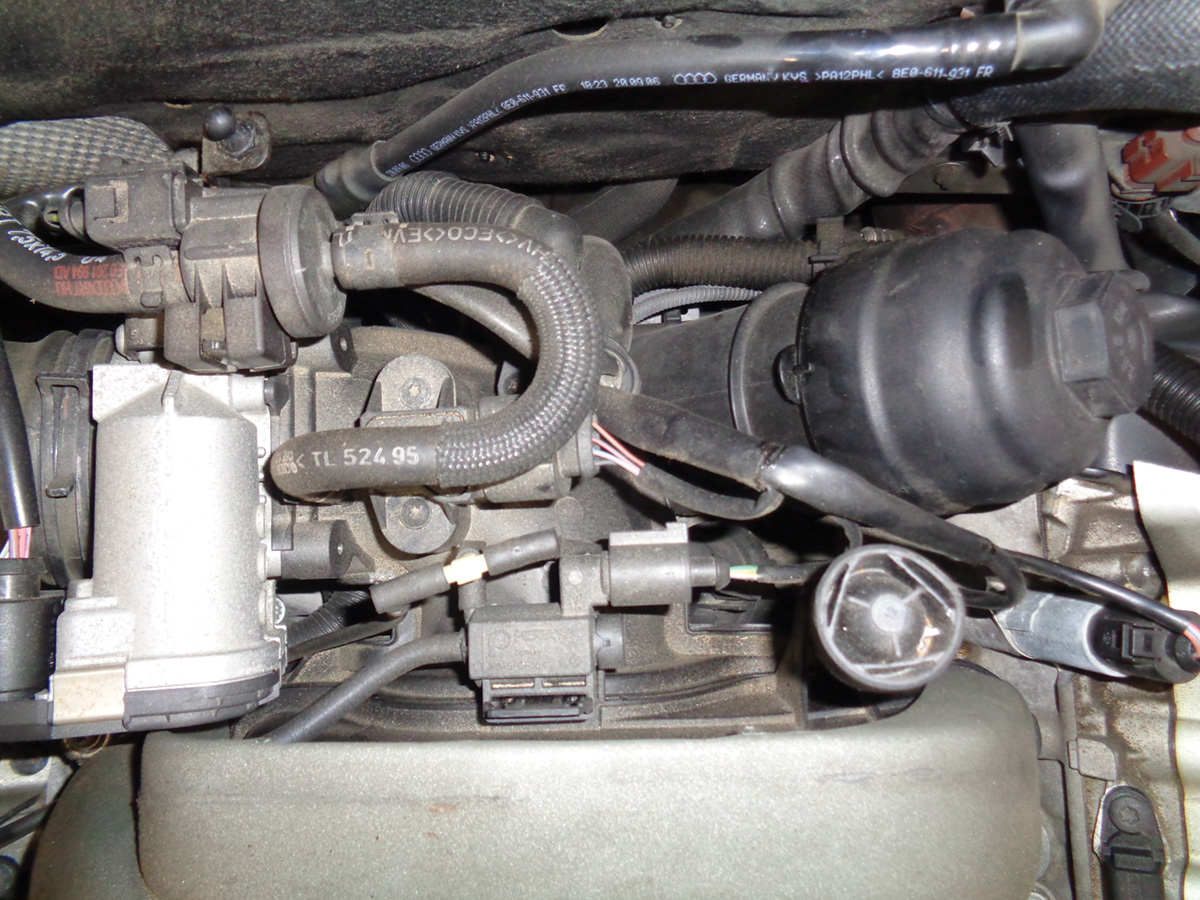
Don’t forget to inspect the brake vacuum pump when diagnosing Audi’s for oil leaks. Most modern Audi engines do not create much vacuum at idle. Therefore, vacuum pumps are necessary to supply adequate vacuum for the brake booster to work properly. Most vacuum pumps have an oil galley to supply lubricating oil to the rotating pump assembly. Eventually, this oil circulating through the vacuum pump begins to degrade the outer pump seal and leak externally.
A leaking vacuum pump is a pretty common sight among many manufacturers. If you have a leaking vacuum pump, it’s a good idea to remove the vacuum supply to the brake booster and inspect the inside of the brake booster for oil contamination as well. Once oil gets into the brake booster, it quickly degrades the rubber seals inside. This can eventually lead to a vacuum loss at the booster itself. Losing power brakes is something no one is prepared for when driving.

The rear main seal is also a common cause of an oil leak on many Audi 2.0t models. This seal has a lot of forces to deal with and still seal properly. It needs to have some amount of seal flex to deal with crankshaft vibration and movement. It also must be able to withstand the constant changes in crankcase vacuum levels. In addition, the rear main is constantly partially submerged in engine oil.
Despite these rear main seals appearing to be made out of cardboard glued to a metal backing, it’s not always the seal’s fault for failing. A leaking rear main seal on a 2.0t engine can almost always be traced back to a failed crankcase vent valve.
It is the crankcase ventilation valve’s job to keep crankcase pressure within a reasonable amount of vacuum. This helps to control pumping losses, recirculate engine oil and vapors, and protect engine seals from damage. In cases where a crankcase valve has failed, the crankcase is exposed to an extreme amount of vacuum. This extreme suction on the back of the flexible and weak rear main seal can quickly damage and separate the seal assembly from its supporting plate. This damage usually begins as a small oil leak from the bell housing area.
Once the rear main seal becomes fully separated, it begins to leak crankcase vacuum. Modern Audi engines operate in a tightly sealed and controlled environment. Every bit of air going in and going out is calculated and accounted for. A “false air†leak disrupts this fine balance and will quickly lead to engine performance issues. The most common complaint from a customer for this type of problem is an extended crank to start and a rough idle. Never mind the fact that the Check Engine light is on! “Oh, that light has been on for a month.â€
Running a quick scan of the vehicle should be your first step in diagnosis, even if the check engine light is not currently on. Stored faults can help lead you toward a definitive diagnosis.
If the rear main seal has failed, allowing too much air to enter the crankcase, this creates a lean run condition. The engine computer will intervene, adding more fuel in an attempt to balance out the fuel/air mixture during combustion. The engine will continue to adapt fuel trims until it cannot safely add more fuel to balance out the mixture. This is where additive and multiplicative fuel trim values become helpful in diagnosis of potential issues.
Often, with a large unmetered air leak such as a completely torn rear main seal or disconnected air intake boot, the engine will start and run okay for a few seconds until the air leak leans out the engine to the point of stalling out. This can lead many technicians down the wrong path, thinking the vehicle may have a fuel supply problem or electrical issue.
Faults will almost always set, P0171 system too lean; bank 1 is the most commonly associated fault with a vacuum leak. This fault is usually accompanied by a P0507 idle higher-than-expected fault as well. Too much extra air into the engine has the effect of raising the idle outside of parameters.
System too lean faults are almost always indicative of an unmetered air leak. The absolute best way to locate an unmetered air leak is to use a smoke testing machine. These are invaluable for automotive use and have several diagnostic uses. Have a minor evap leak you cant find? Smoke test the evap system to find those pinhole leaks. False air leak? Pump some smoke through the system and carefully inspect everywhere you can for air leaks.
The best location to inject smoke is either through a breather connection on the intake manifold or directly on the air intake boot. This ensures the smoke will travel through the intake tract and throughout the entire engine. During smoke testing, always inspect every possible leak source. This includes breather lines and even the crankcase valve itself. Often, if the rubber diaphragm is torn on the crankcase vent valve it will leak smoke externally, leaving no guesses as to whether the valve is bad.
Inspecting the rear main seal during smoke testing can be difficult. Even with a completely separated rear seal, the smoke escaping may not be readily visible. It’s usually necessary to remove inspection plates on the transmission to get an eye on any escaping smoke from the bell housing area.
It’s also possible to use propane gas or even brake cleaner to locate leaks in the air intake system. Introducing the gas around potential leak points while the engine is running usually results in an audible change in the engine speed if leaks are present. This works but is obviously more dangerous, with a higher potential for damage to the vehicle.
Replacing an Audi rear main seal is a relatively straightforward procedure. Thankfully, due to the smaller size of the 2.0t engine, access to fasteners is greatly improved, making removal much easier.
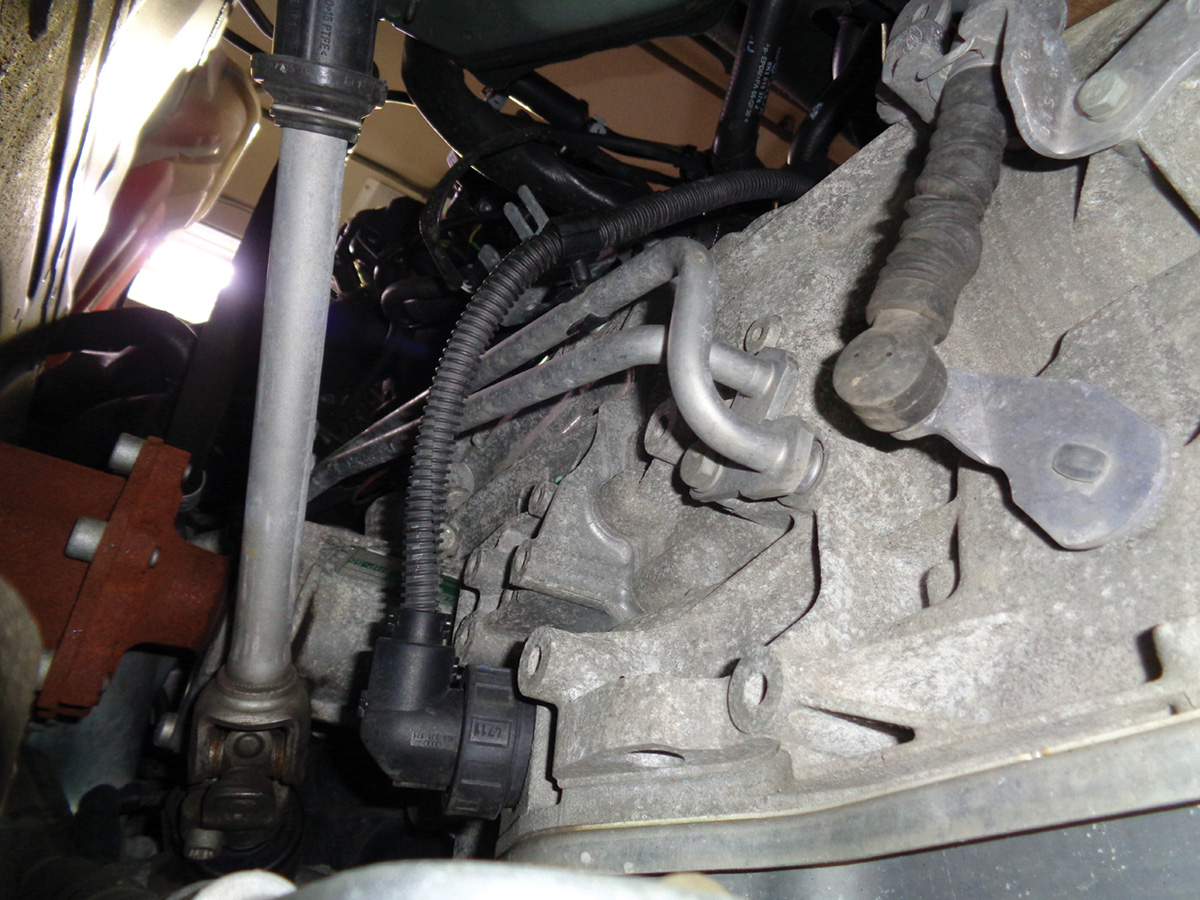
In many Audi vehicles it’s necessary to remove the lower sub-frame to gain clearance to remove the transmission. Using an upper engine support brace is the safest way to ensure the engine stays in place after removing the sub-frame and transmission. Spin jacks are quicker to use but not nearly as secure for this job. Better safe than sorry. When using a transmission jack to remove the trans from the vehicle, it’s also wise to use a ratchet strap to secure the trans to the jack. This allows you to angle the trans side to side during removal, aiding in clearing the exhaust and body.
Keep in mind that many of the fasteners Audi uses are one-time use bolts. This includes the flex plate and torque converter securing bolts. These torque to yield fasteners “stretch†after initial torque and must be replaced once released.
In many new models, Audi has begun using aluminum bellhousing bolts. These bolts may be re-used according to Audi. However, it’s smart to replace these as well if removing the transmission. If replacing a failed rear main seal, always install a new factory crankcase ventilation valve at the same time. A new vent valve is cheap insurance to protect new engine seals and keep your Audi running great!
Download PDF


0 Comments