Volvo calls them moonroofs. For this article, we will refer to them as sunroofs.
Sunroof work is not for everyone; in a lot of cases, it can be more of an art than a science.
But of course, these days, most automotive technicians have to be both scientist and artist to work on some of these modern cars. It also helps to be a wizard too.
Sunroof problems are not unique to Volvos and are not always age-related.
Volvo has been offering slide and tilt type sunroofs on their cars since the late ’70s. Most of the early sunroofs were manually operated and were made from sheet metal, not glass.
Today’s sunroofs are multi-functional and even multi-sectional — some Volvos even have full-length sunroof glass that covers almost the entire roofline of the car.
Consumers want more and more bells and whistles in their cars, so don’t be surprised when we start seeing things like electronically self-darkening glass and solar panels installed in the roofs of future vehicles.
We all know that a lot of your customers rarely open their sunroofs, but depending on where they live they may get more use out of this extra hole in their roof than you think.
Service
The key to a reliable sunroof is service, but probably not the type of service you are thinking of. Service on most Volvo sunroofs should be done at least once a year and should consist of checking function, cleaning out any loose debris, and lubrication.
Sunroof Issues
Inner Sunroof Shade Binding and Jamming
1999-2007 V70/XC70/S80/C70/S60/XC90
This is a common problem on older Volvos. The problem is caused by the plastic parts of the guide clips on the sides of the sunroof shade deteriorating and causing the shade to come out of its tracks.
After the customer has been moving the shade back and forth often, the spring steel guide clips can bend and cause the shade to jam.
But that’s only the start of the trouble that these damaged shade guides can cause. The broken bits of plastic can fall into the sunroof tracks and damage parts. In some cases, the clips will bend and cause physical damage to the soft aluminum tracks.
If you get a Volvo in the shop with this problem, you should recommend replacement of the shade guides.
This is a fairly straightforward job. All the tools you will need are a Torx T25 socket, a Torx T20 driver, and a small flat tip screwdriver.
Removing the sun visor/inner cover
Start by putting the sunroof in the tilt position and removing the side blinds.
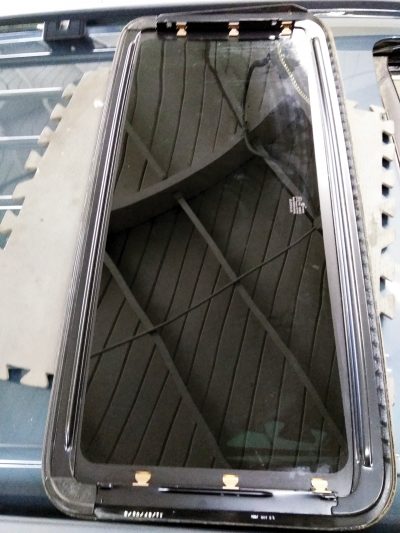
Next, remove the four screws holding the sunroof glass to the frame.
Have someone help you carefully remove the sunroof glass and lay it down somewhere safe. Next, use the switch to move the sunroof frame to the half open position.
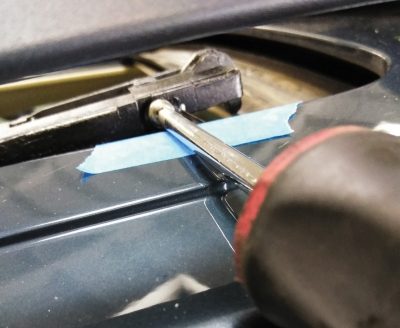
Find the two T25 screws that attach the rear gutter assembly; use some blue tape to protect the paint on the roof while you remove the screws.
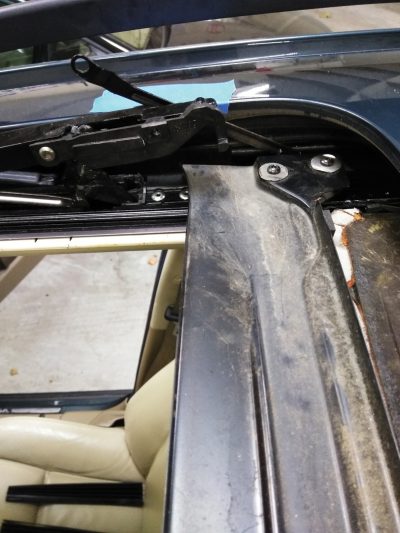
Use a flat tip screwdriver to gently pry off the rear gutter arms away from the frame.
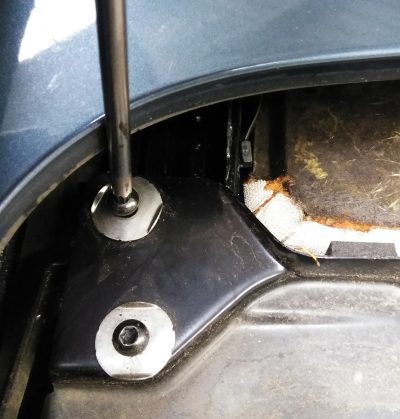
Next, pull the rear gutter forward so you can access the four small T20 screws that hold the gutter channel to the frame.
When the four gutter screws are removed you can remove the gutter channel.
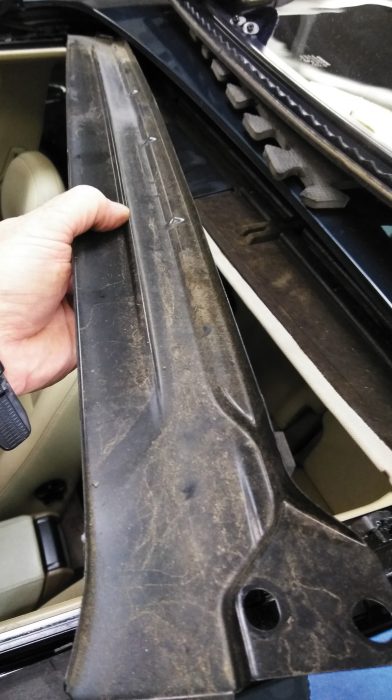
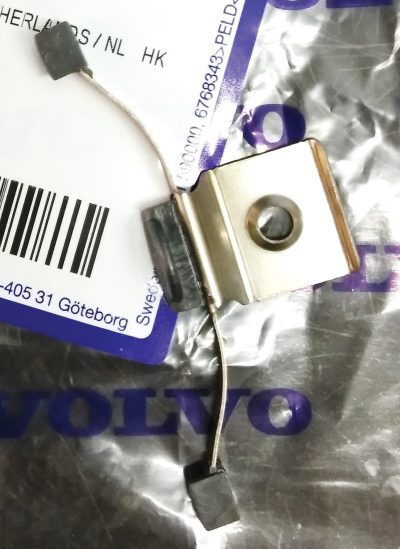
With the gutter removed, you can pull out the sunroof shade and replace the guide spring clips.
Place the sunroof shade on a very clean work area and remove the old spring clips. Use the new screws provided with the clips and install four new ones. The Volvo Genuine Part number is 9483170.
While the sunroof is apart, clean out the tracks and lubricate the moving parts.
Put it all back together in reverse order and recalibrate.
Sunroof Won’t Operate with UEM 0004 Code Stored
1999-2007 S60/V70/S80
In some cases, the sunroof can stop responding to the switch when a car has a UEM 0004 active fault code stored. This can be caused by a faulty or internally shorted siren module.
This condition can cause the Upper Electronic Module (UEM), which is responsible for the alarm system and sunroof among other things, to shut down the operation of the sunroof if the siren module is malfunctioning.
The siren module has an internal battery that will go bad after about 10 years or so of service. This can cause the UEM to store the code UEM 0004.
If there are no other faults in the sunroof circuit, replacement of the siren module in the right front inner fender well will usually bring the sunroof back on line.
On some of these Volvos, you can remove fuse #38 in the passenger compartment (left of steering wheel). This will isolate the alarm siren module. Lock/unlock the car three times to reset. If the sunroof resumes operation then you know that the replacement of the siren module will fix the problem with the sunroof.
Sunroof Rattles 1999-2003
S80/S60/V70/XC70/XC90
Do you have a screw loose?
I guess all automotive technicians do, that’s why we do this job.
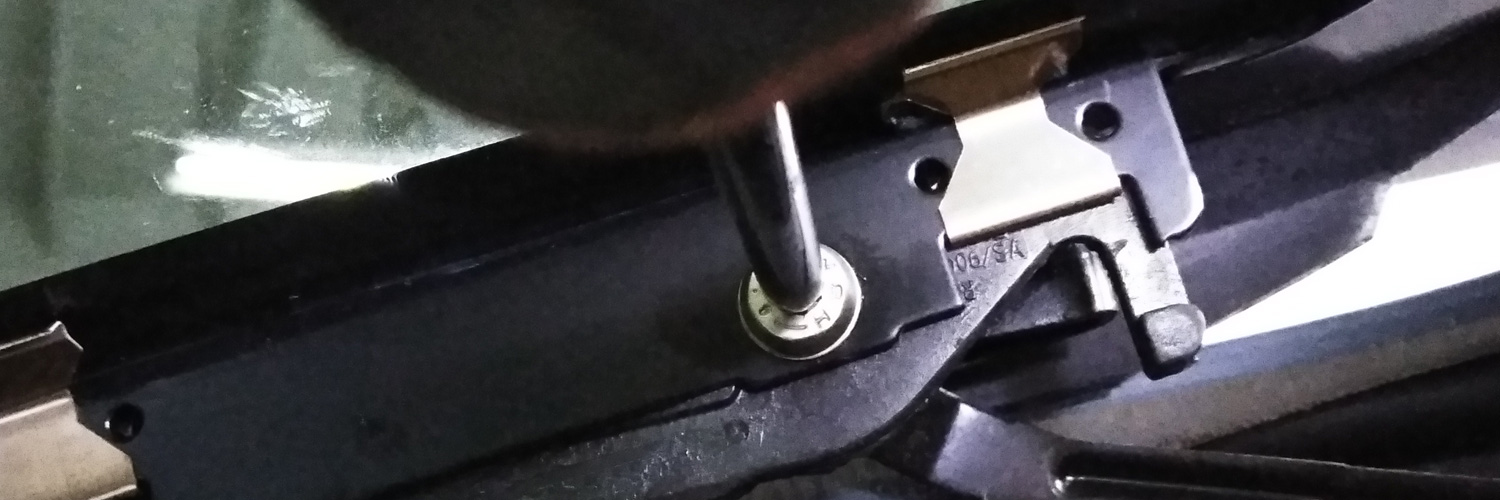
The fact is, loose sunroof frame screws are one of the most common problems seen in Volvo vehicles. This condition is very common and can cause rattling and misalignment of the sunroof glass. This is a minor problem but, if not dealt with, the misalignment can cause bigger problems like damage to the sunroof mechanism if the customer uses the sunroof a lot.
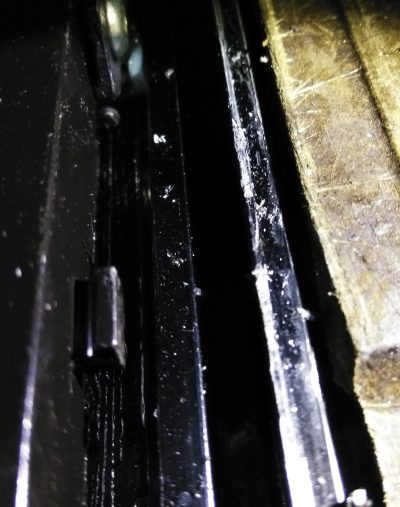
In most cases, you will have to remove the sunroof side blinds to access screws; this is best done with the sunroof in the vent position.
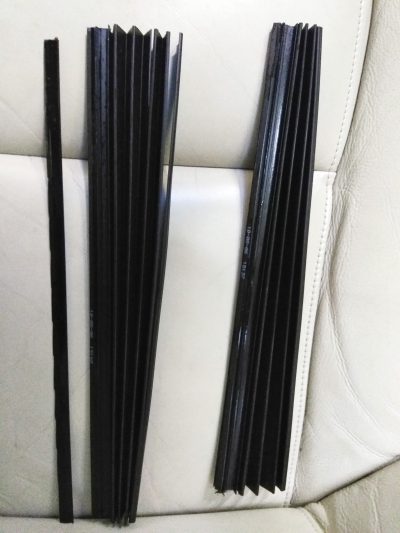
Check the condition of the blinds. If they are cracked or damaged, you should recommend that they be replaced because they can come apart and get jammed in the sunroof tracks.
You could just realign the glass and tighten the four 3 mm screws to 5 Nm. But Volvo recommends that you replace the four existing screws with Volvo Genuine Part number 973155 and use four new washers (Volvo Genuine Part number 120085).
If you go this route, start by moving the sunroof to the fully closed position. Apply a minimal amount of thread sealant (P/N 1161075) to the bottom half of the threads (first 3 mm of the screw), and carefully start the screws to prevent cross threading.
The sunroof height adjustment is best done with the sunroof in the fully closed position. Loosen the screws a little and raise or lower the sunroof glass to achieve the desired position and retighten the screws to 5 Nm. After all four screws are started, torque the screws to 5 Nm. Do not over tighten as this may distort the guide rails.
Sunroof Glass Height Adjustment
When setting final closed height adjustment on the sunroof glass, you should use the following as a guideline.
Molding must be flush within one mm of the roofline when closed.
- Front edge:
The upper section of the glass should be set at one mm under the roof panel (dimension A in “Figure 1â€). - Rear edge:
The upper section of the glass molding must be flush with or one mm above the roof panel (dimension B in “Figure 1â€).
Calibration
There will be many cases where recalibrating the sunroof module may be needed, such as after adjustments, after parts are replaced, or even when the battery has been disconnected.
Here is the calibration method that will work on most Volvo sunroofs from 1999-2008:
- The sunroof must be closed.
- Turn ignition key to position 2.
- Press the sunroof switch so that the sunroof is in the tilt position.
- Release the switch.
- Press the switch (in the tilt position) again for at least five seconds so that the sunroof flickers.
- Release the switch.
- The calibration is complete.
Note! If the sunroof has not moved to the correct position, carry out calibration again.
Hint: If the sunroof has still not moved to the correct position:
- Press the sunroof switch so that the sunroof moves to the rearmost position (completely open).
- Release the switch.
- Press the switch (in the completely open position) again for at least five seconds so that the sunroof switch flickers.
- Release the switch.
- Close the sunroof and carry out calibration again.





0 Comments