Mechanical vacuum pump leak (SI 6 3.2L engine 2007-2016)
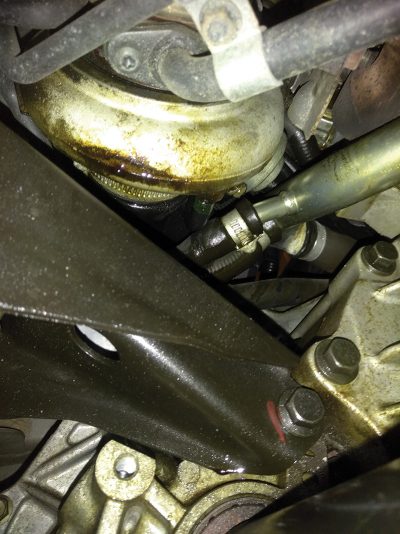
As Volvos equipped with the SI 6 3.2L engines start to accumulate higher mileage, you may begin to see cars come into your shop with signs of oil seepage under the left side of the engine. In a lot of cases, this type of oil leak can usually be traced back to the vacuum pump mounted on the left side of the cylinder head.
The seals in these pumps start to harden and shrink over time and allow engine oil to start to leak from the side of the cylinder head were the pump’s drive shaft is. If the pump seals have been leaking for a while it can make a real mess and look like a much larger oil leak than it is.
If there is oil residue all over the engine and you want to confirm that the pump seals are the main culprit, you can use an ultraviolet engine oil dye to pin down the leak’s source or sources.
If you don’t have UV dye or don’t have time to use one, you can clean as much of the oil as possible and use some parts cleaner and a rag, top up the oil and watch the area with a flashlight while the engine is warmed up and idling.
It is not advisable to pressure wash the engine area because of possible damage due to high pressure water intrusion into electrical components and wire connectors.
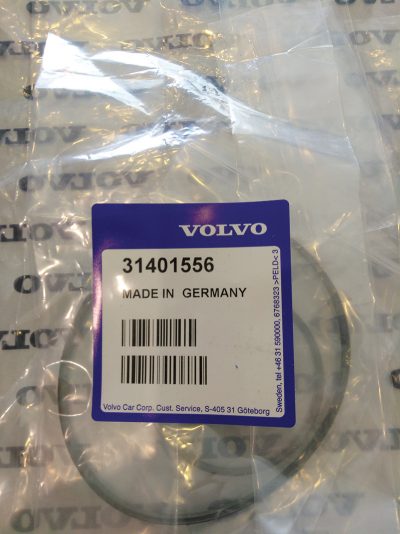
In most cases, you don’t have to replace the pump; you can just remove it and re-seal it. Volvo has a re-seal kit for the pump, part number 31401556.
CORRODED FUSE BOX POWER SUPPLY CABLE THAT RUNS FROM BATTERY (B+) TO FUSE AND RELAY BOX IN ENGINE COMPARTMENT (S/V/C 70 SERIES CARS 1998-2000)
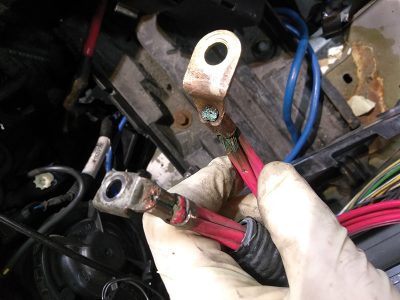
You should make checking this wire harness part of your regular inspection procedure on these Volvos.
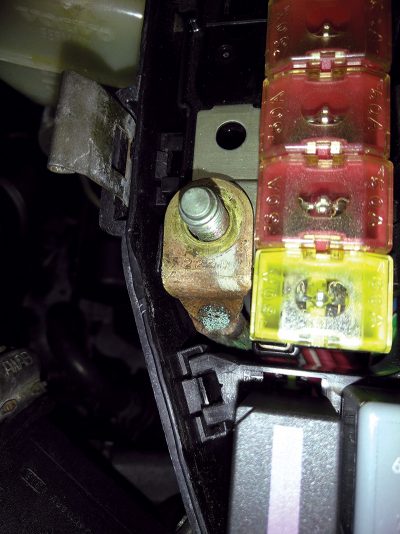
This is a very important wire harness that starts at the positive battery clamp and runs under the air cleaner assembly to provide direct battery power (B+) to the main fusible link bus bar inside the fuse and relay box. This box is located on the left side of the engine compartment in front of the brake master cylinder.
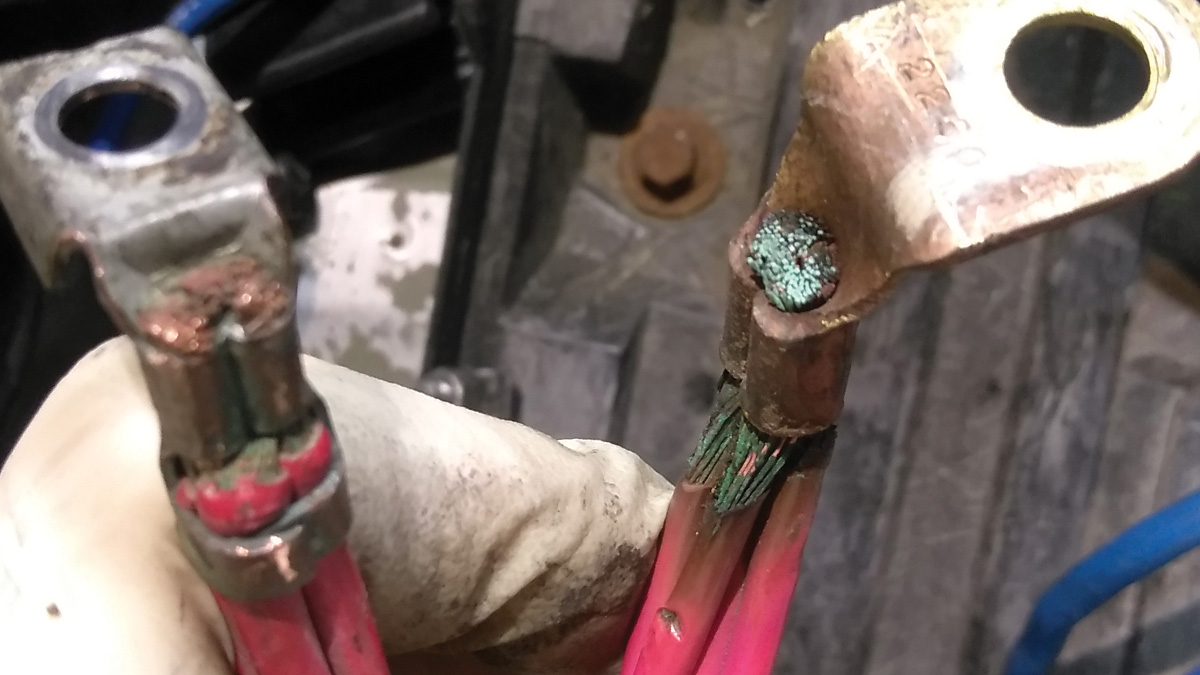
If the fuse box power supply cable harness is left to corrode, it can cause high resistance and, as loads are applied, the wires will heat up. Over time, this condition can lead to wires being shorted and result in damage to other electrical components and systems.
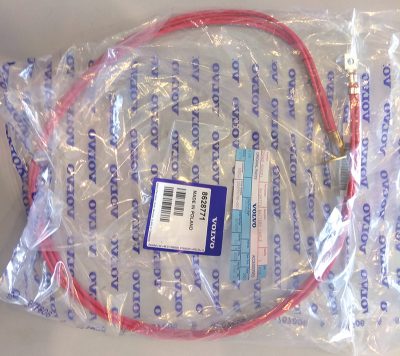
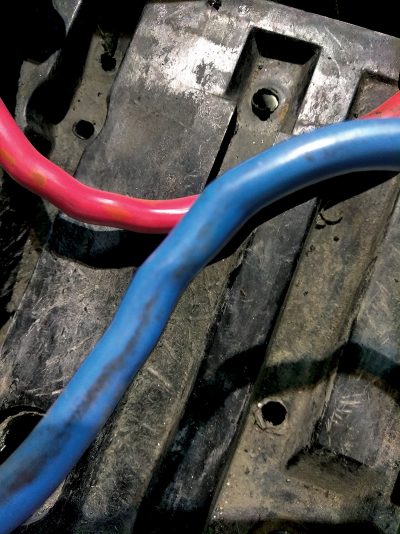
This harness supplies power to most of the car’s electrical systems, and when this harness starts failing, it can cause voltage drops which can cause intermittent electrical system malfunctions.
One problem that can be caused by this cable is the engine stalling right after starting; this can be due to low voltage being supplied to the immobilizer system and ignition antenna ring.
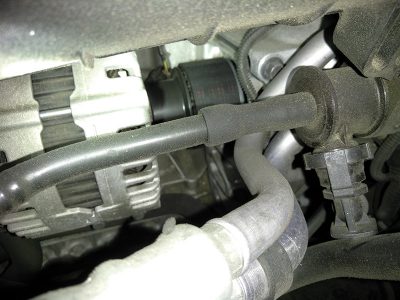
When the immobilizer is supplied with low voltage, the antenna ring will sometimes not be able to read the ignition key’s transponder and will interpret this as a key that is not coded for this car.
And since this cable harness provides power to most of the car’s systems, the customer can experience symptoms like intermittent blower fan speeds, or headlights dimming when the rear window defrost is on, or when the ABS pump is activated.
This repair should only be done by an experienced technician, since it involves opening up one of the main engine wire harnesses and disassembling the fuse and relay box.
Some of you are thinking, “I’ll just MAKE a new harness.†Yes, most automotive technicians have the skills and the tools to MAKE a new harness. But if you were to replace this harness with one you made — as opposed to the Volvo factory replacement part — think about this: Say you use a wire that isn’t the correct gauge. Perhaps the connectors are not tight or soldered securely. Your made harness can fail. You have to think, is your customer’s safety worth saving a couple of bucks?
Here is just a partial list of the systems that this little harness provides power for:
- (SRS) Supplemental restraint system
- (ABS) Antilock braking system
- (ECM) Engine control module
- (TCM) Transmission control module
- (ETM) Electronic throttle module
And many more, folks, so make sure you take this little wire harness seriously.
This is also a good time to check and replace the main battery cables if they are needed. On the Volvo in this case study, you can see that the insulation on the positive and negative cables has been getting hot, and these cables need to be replaced due to high resistance.Â
ALTERNATOR DRIVE PULLEY BOLT LOOSENS UP CAUSING INTERMITTENT LOW VOLTAGE OR NO VOLTAGE OUTPUT FROM THE CHARGING SYSTEM (SI 6 3.2L ENGINE 2007-2016)
If you get a Volvo in your shop that is equipped with the SI 6 3.2L engine and the customer is complaining about a charging system problem or a battery that keeps going dead, make sure to check to see if the alternator’s pulley is spinning. You can usually see this happen when the engine is at operating temperature and is at idle. Use a flashlight to look through the gap in the intake manifold, and you may see the pulley slipping or not spinning at all.
This symptom will usually correspond with a low or no voltage output reading on your scan tool.
If you have a Volvo with this problem, it is relatively easy to correct. You will have to remove the intake manifold and alternator to get to the drive pulley; it is connected to the alternator with a small toothed belt that should be replaced at the same time you do this repair.
Sometimes this little belt can get stuck on pretty tightly, but it will come off with a little finesse. In most cases, the bolt for the alternator’s drive pulley will be finger loose. You should replace this bolt with the OE Volvo updated bolt (988566).
CV AXLE NOISE, VIBRATION, LOSS OF GREASE WITHOUT ANY VISIBLE BOOT DAMAGE OR SIGNS OF LEAKS (LATE 2004- P1 PLATFORM CARS S40/C30/V50/C70), FWD ONLY
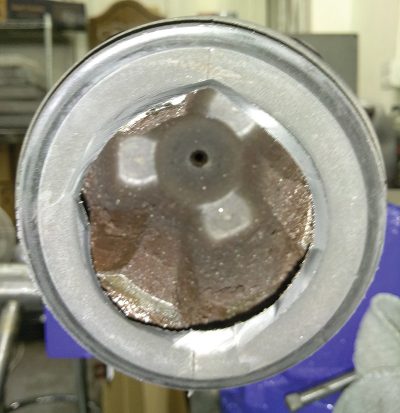
There can be a lot of causes for vibration on acceleration on the Volvo P1 cars such as collapsed motor mounts or worn CV axles. If you get one of these P1 cars in your shop with a vibration, make sure you pay close attention to the CV axles. A lot of shops have had these cars in and spent many hours trying to figure out why the car vibrates under acceleration even when the CV boots look perfect.
A lot of shops have replaced these axles and, after cutting open the CV boot, have found out that all the grease had somehow disappeared without any signs of leakage or damage to the boot.
Customers may complain of a vibration, especially while in 2nd or 3rd gear, at an engine speed between 1000 and 2000 RPM. Vibrations may be worse in a heavily loaded vehicle or while driving uphill with a heavily loaded vehicle.
If you end up replacing the CV axle on one of these P1 Volvos (TJ 19245), make sure to use only the latest version OE Volvo factory replacement parts.
TJ 19245 will help you in identifying Volvo platforms, models, types, and years.
A lot of shops have tried replacing these axles with aftermarket rebuilt or newly-manufactured parts, only to find out that the customer’s symptom did not go away and may have even gotten worse. And after replacing the axles over and over with aftermarket parts and even replacing the motor mounts, they still could not fix the problem until they finally installed new factory axles. They are a bit more expensive than aftermarket axles, but what are your time and reputation worth? Volvo has a Technical Journal about axle vibrations on the P2 cars (TJ 19271).
LOWER ENGINE COOLANT HOSES BURSTING AND CAUSING ENGINE OVERHEATING, MOST TURBO MODEL VOLVOS
This topic may seem pretty basic, but it’s something that is often overlooked or ignored during regular inspections and can cause you and your customer a lot of trouble if overlooked.
We all know there are still a whole lot of older Volvos on the road with the original coolant hoses on them, and a lot of these older Volvos have well over 100K miles on the odometer. So often we judge the condition of these hoses by the way they look on the outside and, if they are not leaking, a lot of us don’t pay much attention to them. Has this ever happened at your shop?
You are working on a Volvo that has been in your shop a few times, and maybe you are doing an everyday job like replacing the timing belt. When you do this job on most Volvos, you will have to move the coolant reservoir out of the way. To do this, you will have to disconnect the coolant level sensor.
The wires on these sensors are very delicate, especially on sensors that have been on the car for a few years. In a lot of cases, the coolant level sensors can get damaged and the tech working on the car may not notice.
In the case of this example, let’s say the sensor is damaged in a way that if the coolant starts to leak out, the warning light on the dash will not illuminate. You finish the timing belt job, and all seems good. The customer picks up the car and drives off to his vacation.
The next day you receive a call from the customer saying their car overheated and will not start. But it gets better. They are 100-plus miles away from your shop!
What happened?
The most common hose failure point on turbo Volvos is the little coolant hose under the turbo. When these burst on the freeway, the customer may only notice if the car comes to a stop or if the coolant level sensor is working. Since the coolant is leaking so low under the car, the customer may not notice until it’s too late. So check and recommend replacement of the old coolant hoses.
Download PDF



0 Comments