


Have you ever had a Volvo equipped with a 3.2L non-turbo engine come into your shop with a customer complaint of a high-pitched whining or whistling noise coming from the engine?
Of course you have. Most technicians would automatically start thinking a noise like that was most likely caused by a worn auxiliary belt or a worn pulley.
Well, in some cases they would be right.
What else could be the culprit? On the 3.2L SI6 engine a high-pitched whine could come from multiple sources, like worn belts, pulleys or even an intake air leak.
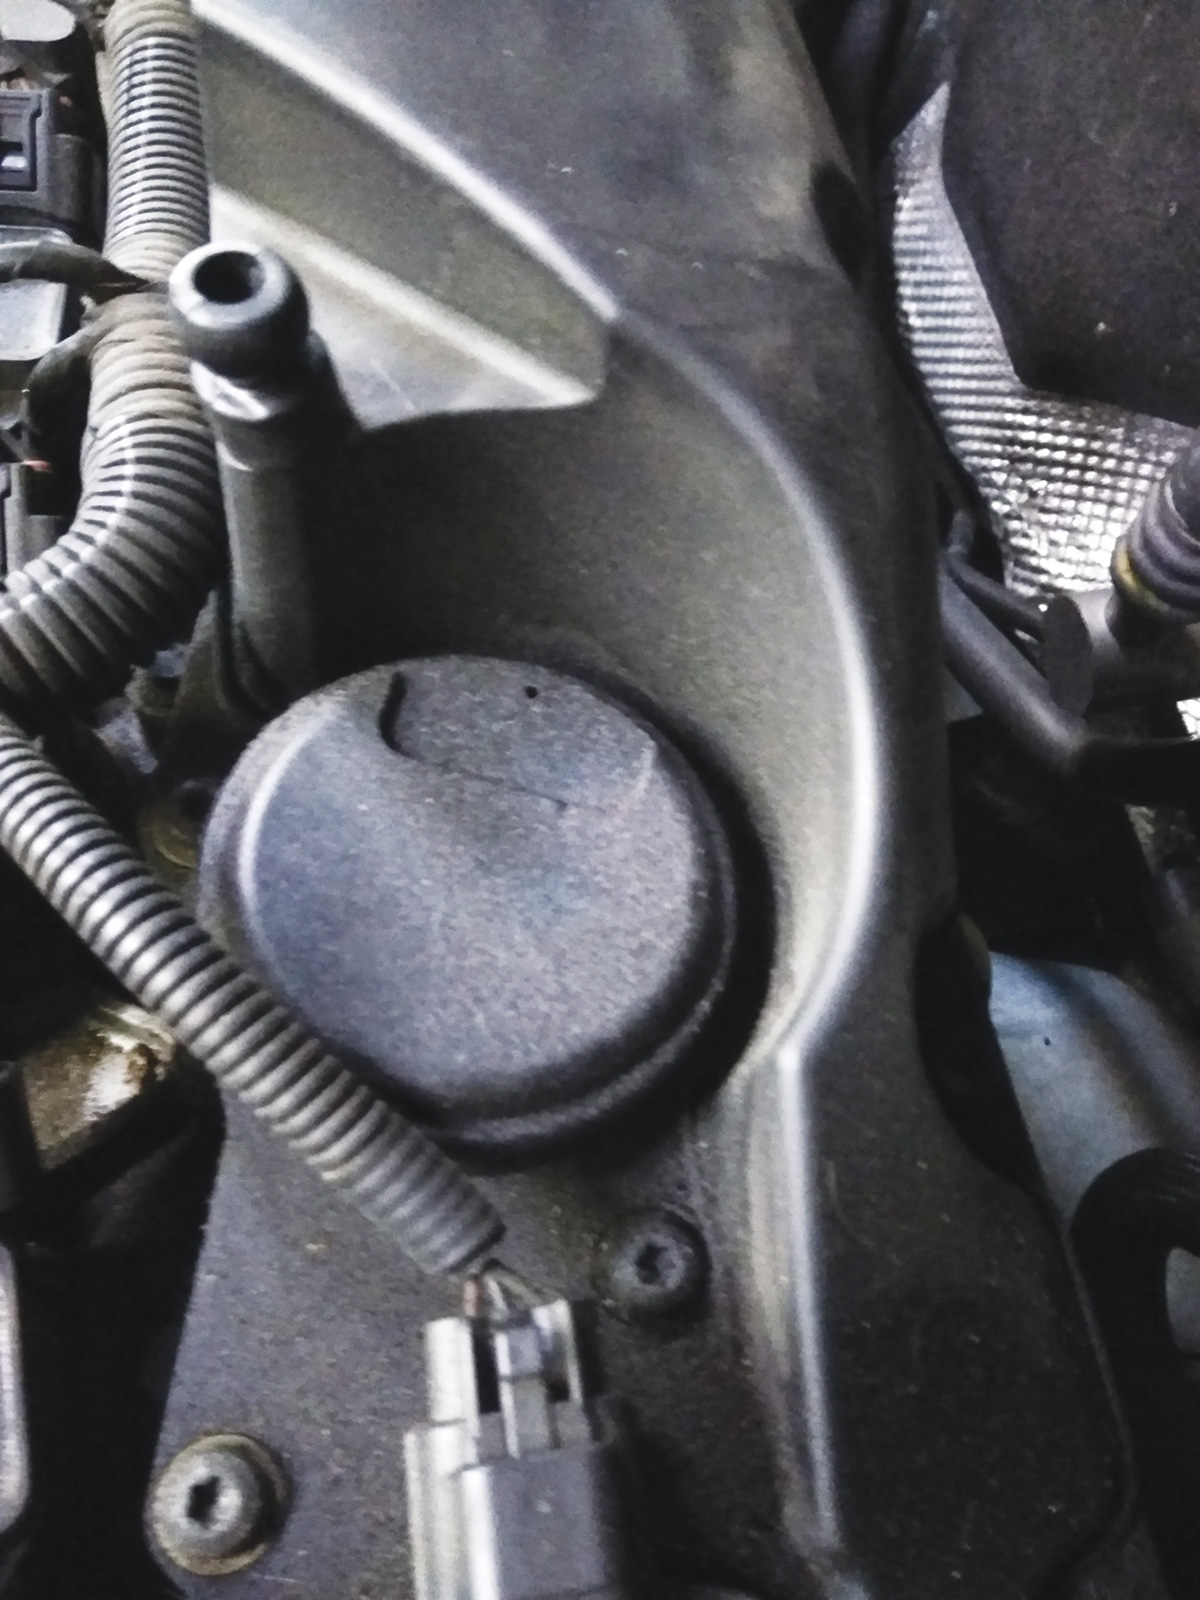
But one of the causes can be a ruptured diaphragm in the oil trap box, located on top of the valve cover at the rear of the engine.
Over time, the diaphragm in the oil trap can crack and start to make a whistle noise, especially at idle when the engine is warmed up.
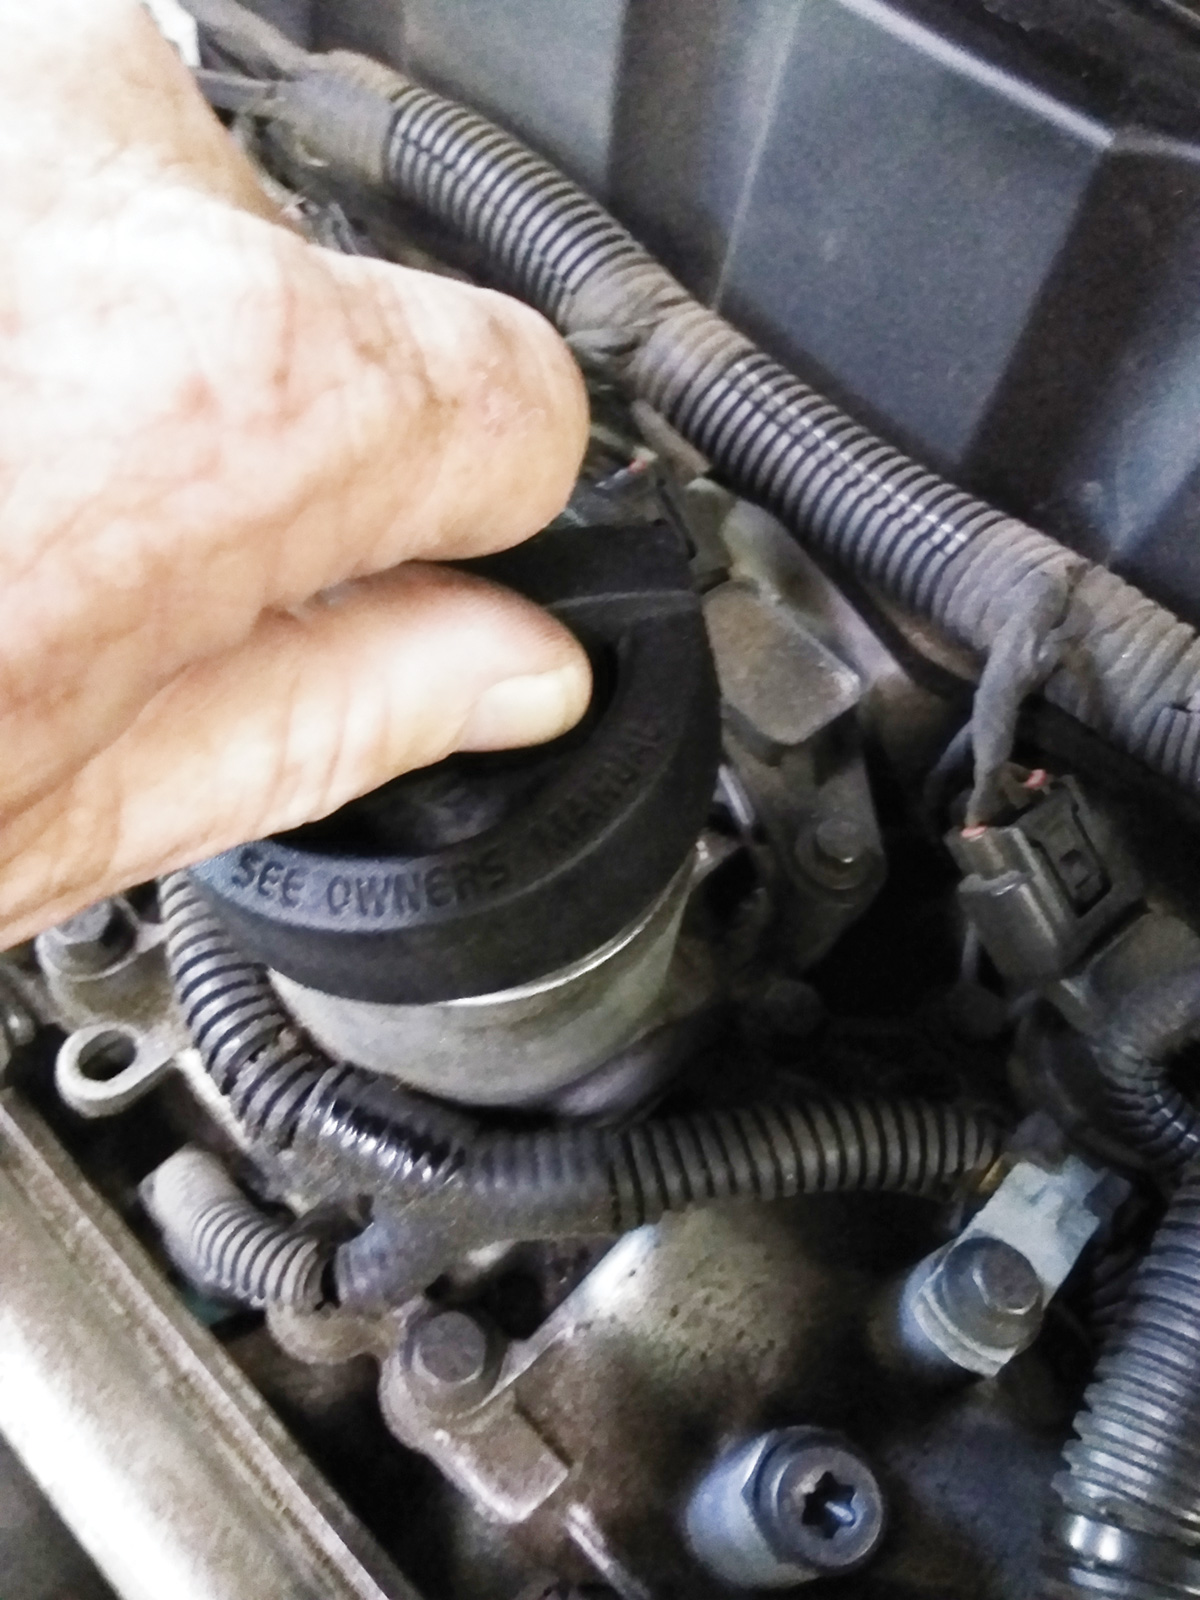
An easy way to confirm that the diaphragm is cracked is to try to pull out the dipstick or remove the oil filler cap while the car is idling. There will be lots of engine vacuum, which will make it difficult to remove the dipstick and make it seem like the oil filler cap is glued on.
But once you vent the vacuum, the noise will go away.
Sometimes this problem can be very intermittent because the crack in the diaphragm is very small, but as the leak gets larger, the customer will begin to notice more symptoms.
Since a broken oil trap diaphragm is interpreted by the ECM as an unmetered intake air leak, it will eventually cause the Check Engine light to illuminate and in most cases store a PO171 code.
The customer may even notice a change in engine performance and fuel economy. There is also a risk if this problem is left unchecked: the excess crankcase pressure can cause premature oil seal failures and subsequent oil leaks.
Fortunately for your customers, this repair is fairly affordable and easy to perform.
The oil trap comes from Volvo as an entire assembly complete with a new seal installed in the base.
Make sure you use air to blow off any loose dirt or debris before you remove the old oil trap assembly.
All you will need to do the job is a Torx T30 socket and a pocket screwdriver to pop out the wire connector clips that are attached at the edges of the box.
Download PDF


0 Comments