


The steering column lock probably won’t be a problem until it is.
The steering column lock locks the steering wheel in place when the vehicle has been shut off and the key or fob is removed. Different from the conventional key and tumbler, the steering column lock is on the bottom of the steering column.

The steering column lock probably won’t be a problem until it is. You will get a call from a customer and their vehicle won’t start, or they’ll report that the steering wheel is locked and won’t turn. Sometimes, they will try to start the vehicle and it won’t do anything, and they might get a message on the driver’s information module saying there’s a problem with the steering column lock module.
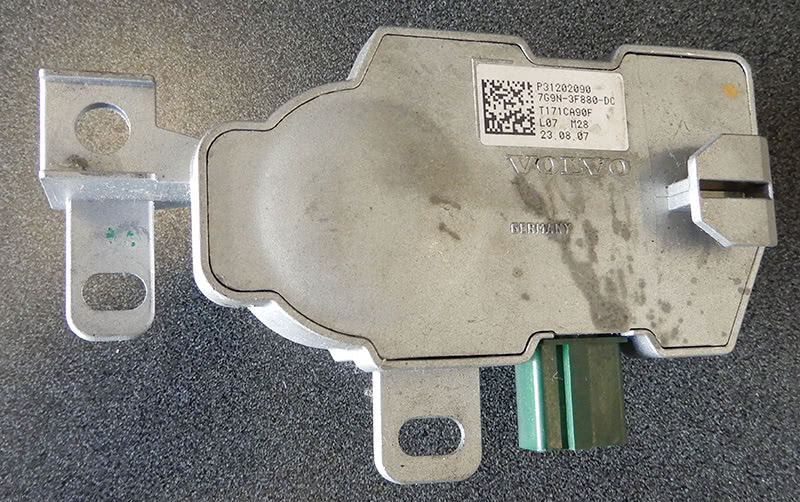
After the vehicle has been towed in, the first thing to do is check the vehicle for diagnostic codes. A common code is CEM B102649: steering column lock, system internal fault, internal electrical failure. Another common code is B102671: steering column lock, mechanical failure, actuator stuck.
For this diagnostic code B102671, the Steering Column Lock module (SCL) checks the operation of the steering column lock. The steering lock plunger’s position is controlled through a switch and the information is sent to the Central Control Module (CEM). When the key remote or fob is removed from the ignition starting unit, the CEM sends a request to the steering column lock module to lock the steering column.
This code usually indicates that the steering column lock plunger is not in its lock position, so it could be broken or jammed. If for some reason you check diagnostic trouble codes in a vehicle and steering column lock codes are in the system, it would be a good idea to replace the steering column lock module sooner rather than later.
Here we have a 2008 XC70 that was towed in with a no start. After connecting Volvo’s Service, Parts and Diagnostic Application VIDA (Vehicle Information and Diagnostics for Aftersales) and checking codes, we found that the steering column lock module was bad and needed to be replaced.
When replacing the steering column lock, you will first need to see if you can get the steering wheel straight as can be so you don’t damage the steering angle sensor under the steering wheel. Once the steering wheel is straight, make sure to leave the key in the switch. Disconnect the battery in the vehicle.
Remove the driver’s air bag in the vehicle. Using a small screwdriver to release the air bag, turn the steering wheel to the side and insert the screwdriver at the back of the steering wheel to release the air bag. You will need to do both sides of the air bag.

Once the air bag is released, unplug the electrical connector at the back of the air bag, and set the air bag to the side out of the way. Center the steering wheel and insert the screw that is located in the steering wheel to hold the steering angle sensor in place. Remove the center bolt that holds the steering wheel onto the column. Remove the steering wheel from the vehicle.
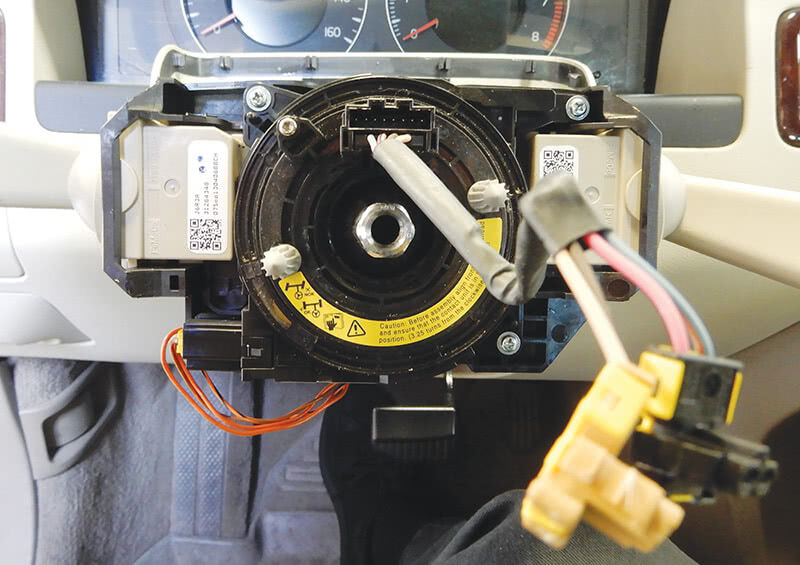
Set the steering wheel out of the way. Remove the column panel trim, three screws on the bottom, and pop the top portion loose. Remove the three screws that hold the steering angle sensor in place, and disconnect the electrical connector. Remove the steering angle sensor.
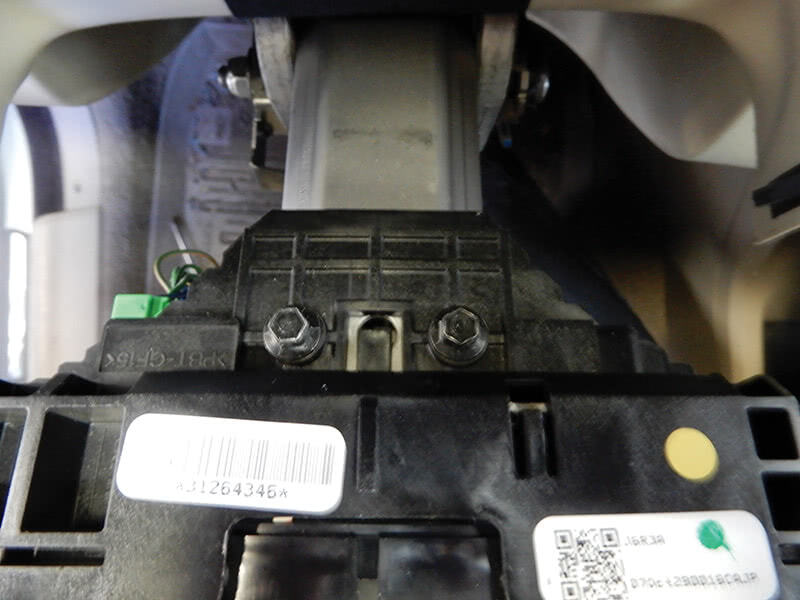
Now remove the steering wheel control module, two 7 mm bolts on top. Disconnect the electrical connector from the module. You can leave the combination switches attached and take them off as one unit; just make sure to unplug the electrical connectors.
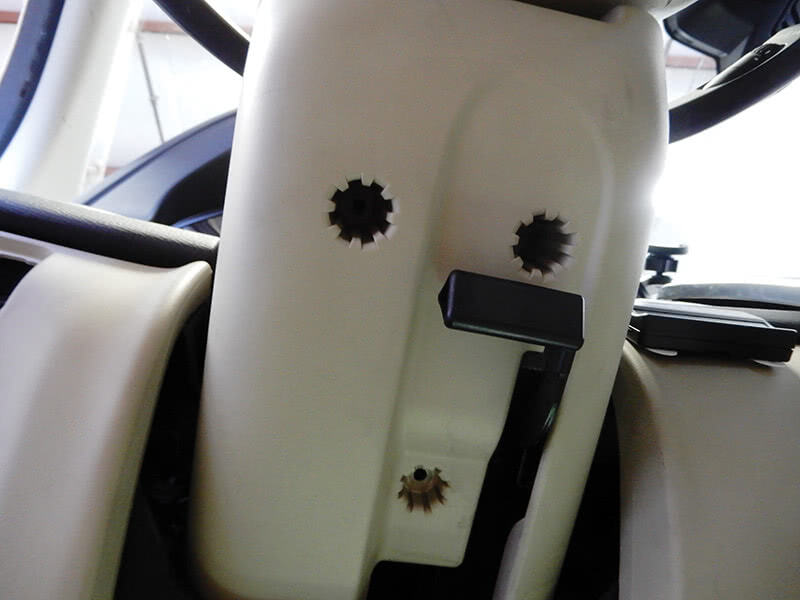
On certain models you will need to remove the driver’s kick panel and knee bolsters. The knee bolster has four bolts in front to remove. Once they’re removed, set the knee bolster to the side. The brackets that hold the knee bolster can be removed also to give you a little more room to get the steering column out of the vehicle.
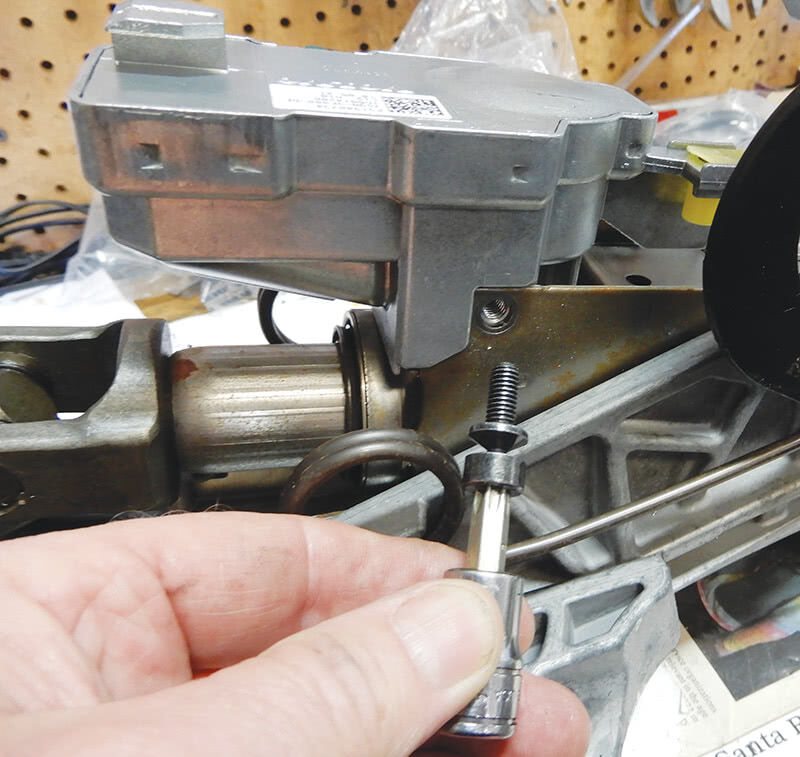
Remove the bolt at the bottom of the steering column that connects the steering column to the steering rack. Mark the column and steering rack where they come apart and make sure the position of the wheels does not change. It’s very important to put the steering column back together in the same position.
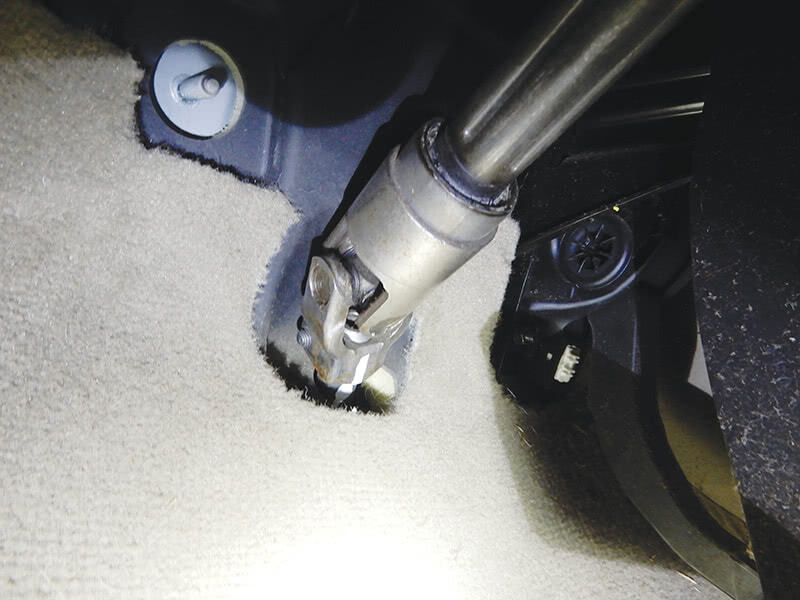
Remove the connection at the steering column lock module. Remove the cable harness from the steering column.
Remove the four bolts that hold the steering column in place, making sure not to break the ignition cable for the pyrotechnics sensor. Once the four bolts are removed, angle the steering column so you can get to the plate over the connection for the pyrotechnics sensor. Six T25 torx screws hold the plate in place. Once the plate is removed you can remove the complete sensor and disconnect the connector.
Now you will be able to remove the steering column from the vehicle.
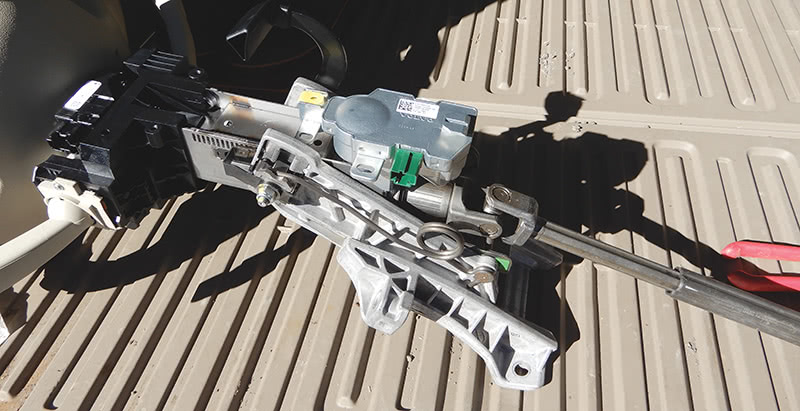
With the steering column removed and sitting on the bench, you will need to drill out the breakoff screws that hold the steering column lock in place. Using a 1/8 inch drill bit, drill into the bolt enough for an easy out to fit inside the drilled hole, and remove both bolts.

Now that the lock is removed, blow out the area with compressed air to get rid of metal shavings. Install the new steering column lock onto the steering column, making sure it sets in place. Install the two breakoff bolts and tighten until the heads break off.
Now that the steering lock module is connected to the steering column, install the column into the vehicle. You will need to angle the column into place and reconnect the pyrotechnics sensor, making sure not to stretch the wires so the connectors don’t pull out of the connection. Install the metal plate over the pyrotechnics sensor, and tighten the six T25 torx screws that hold it in place.
Set the steering column into place and install the four bolts that hold it in place. Tighten the bolts securely, making sure that the steering column has not moved. At the bottom of the column, install the steering wheel shaft to the steering rack and insert the bolt and tighten. If for some reason the shaft has play, replace the bolt that secures the shaft to the steering rack.
Set the electrical harness in place and attach the electrical connector at the steering column lock. Install the steering wheel module onto the steering column and tighten down the two 7 mm bolts at the top of the module.
If the vehicle is so equipped, install new bolster mounting brackets and knee bolster. Four bolts hold the bolster into place.
Install the steering angle sensor and secure with three screws. Attach the electrical connector to the combination switch and steering angle sensor. If for some reason the steering angle sensor comes out of position, make sure to adjust it properly. Secure the electrical harness at the bottom of the steering column.
Install the panel trim at the top and bottom of the column with the three T25 torx screws at the bottom panel. Then snap in place the top trim panel. Install the steering wheel and remove the screw at the steering angle sensor that held the sensor from moving. Tighten the steering wheel. Connect the driver’s air bag connectors and push the air bag into place.
Now that the steering column lock module has been installed, you will need to order software and download it into the vehicle. Make sure the vehicle starts OK and that there is no obstruction when turning the steering wheel. Test drive the vehicle.
Replacing the steering column lock module is pretty straightforward, and using VIDA to help diagnose it can come in handy.


0 Comments