


Driving with the oil filter housing plugged causes the engine to break down oil seals. When this happens, the cam seal, rear main seal and valve cover can all start to leak.
How will you know when to replace an oil filter separator or oil filter housing on a Volvo? Your customer will come in with a high-pitched sound from the engine. If you pop off the oil cap and the sound goes away, this is the problem.
Suction builds up inside the engine because the oil filter housing is plugged or it’s failing. If your customer continues to drive with the oil filter housing plugged, the engine will start to break down oil seals, like the cam seal or the rear main seal, or the valve cover will start to leak oil. This is all because of high vacuum inside the Volvo engine.
Sometimes when this oil filter housing becomes plugged and the engine creates a vacuum inside the crankcase, you might get some diagnostic codes, like long term fuel trim or an idle code. When the engine creates vacuum inside the crankcase, it’s not happy and the idle could be a little rough.
The P1 Volvo platform involved includes the following vehicles. S40, V50, C30, and C70 with the five-cylinder engine.
So now you will want to drain the oil. First, unscrew the oil filter until the o-ring is exposed; this will allow the oil to completely drain from oil filter housing. Lift the vehicle up on a hoist and drain the oil using a 17 mm wrench. After the oil is completely drained, install a new oil drain plug washer and tighten back up.
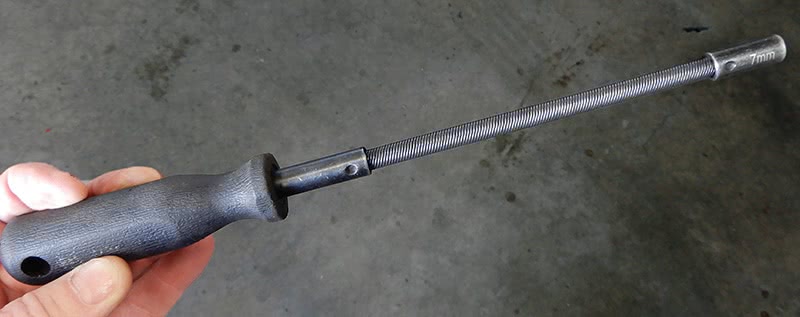
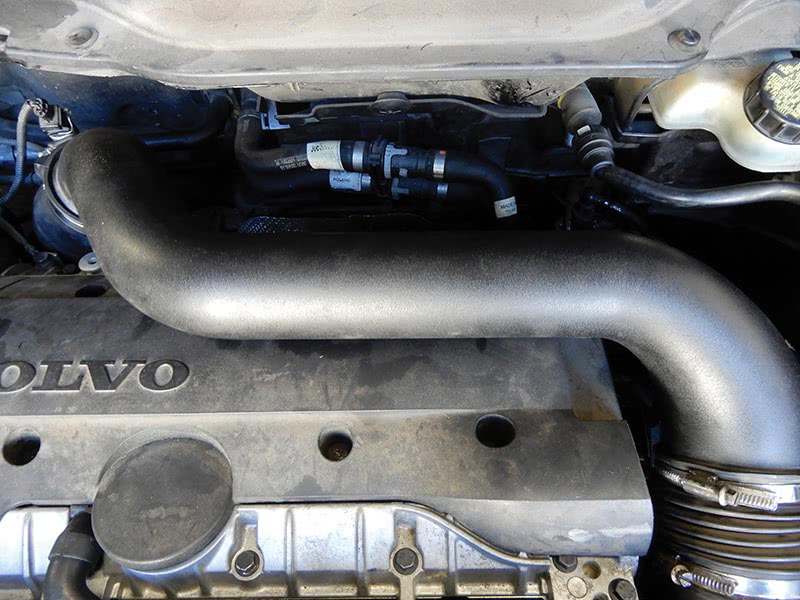
The next thing to do will be to remove the pipe from the air mass meter to the turbo; a 7 mm clamp tool works well for these hose clamps. Remove the two 10 mm bolts that secure the pipe to the engine. One is at the back side of the pipe and one is on the back side of the cylinder head.
Remove the pipe from the vehicle. On certain models there will be vacuum hoses connected to it; disconnect hoses. Disconnect the hard plastic hose from the intake manifold by pushing in on the red collar and pulling the hose loose. Remove the same connected hose from the brake booster and move it out of the way.
Now you will want to take off the cover over the spark plugs. Be sure to blow out or clean out the T30 torx bolts that hold the cover on. Remove the six T30 torx bolts from the cover and set aside. Remove the fresh air intake from the air cleaner box. Two 8 or 10 mm bolts secure the plastic intake. The top part should just turn and pull up to remove. For the bottom portion you will need to reach down at the bottom of the air filter housing and pull it back and forth to remove.

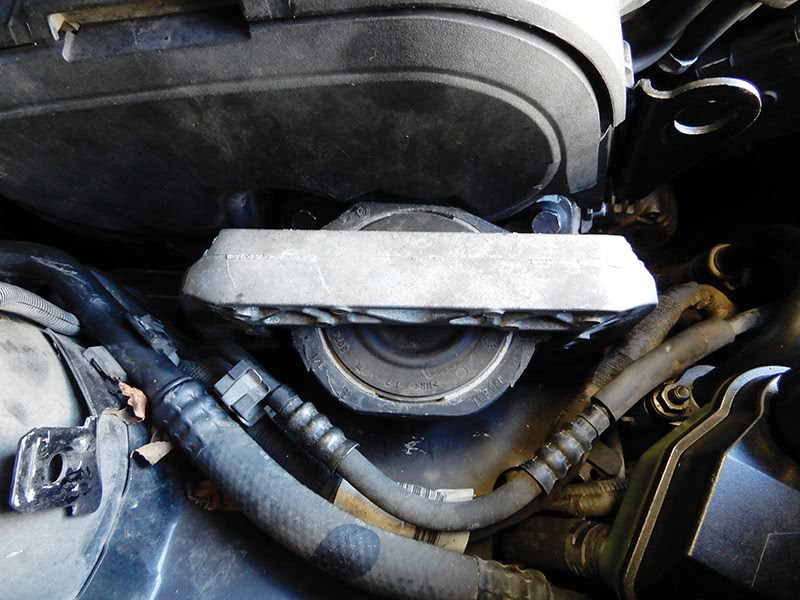
Remove the dipstick. Now you need to remove the air filter box that has the ECM attached to it. The best way to do this is to remove the engine mount at the front of the engine or on the right side of vehicle. Pull up on the coolant expansion tank until it’s loose from its mounts. With the hoses still connected, place the expansion tank over the top of the engine and let it sit there.
With a 15 mm socket, pull out the two bolts that hold the top part of the mount. You will need to remove the plastic rock shield cover from underneath the vehicle. Support the engine under the front of the oil pan. Use a piece of wood and jack to support the engine, being careful not to damage the oil pan. Now remove the rest of the engine mount, two 15 mm bolts at front of the engine. Disconnect hose clamp at hose for the throttle housing. With the mount out of the way, you can now jack up the engine about four inches; this will help to remove the air filter housing.
Disconnect the battery negative terminal and make sure that it doesn’t touch the battery terminal. Now disconnect the air mass meter connector. With a T25 torx socket, remove the air mass meter from the air filter box, so as not to damage it. Remove the cover over the ECM, exposing the electrical connectors. These connectors sometimes get very difficult to remove, so it’s a good idea to squirt a little penetrant on the connectors to help them slide better.
Push the little tab down and then slide the red handle down, being very careful not to break the connector. There are two connectors at the ECM.

Now pull the complete air filter box up and wiggle it out of the mounts it sits in. Once the air filter box becomes loose, you will need to disconnect the harness that is attached at the bottom of the air filter box on the ECM side. A T30 torx screw needs to be removed, along with any tie straps. Slide the harness from the air box so that it’s not attached. Slide the air filter box to the right and wiggle it out of the vehicle.
Now that the air filter box is out of the way, you can now get to the oil filter housing. Remove the 8 mm bolt that holds the dipstick tube in place and remove it from the vehicle.
Remove the two 8 mm bolts at the bottom of the oil filter housing; you will need to move the electrical harness out of the way to get to the 8 mm bolts.
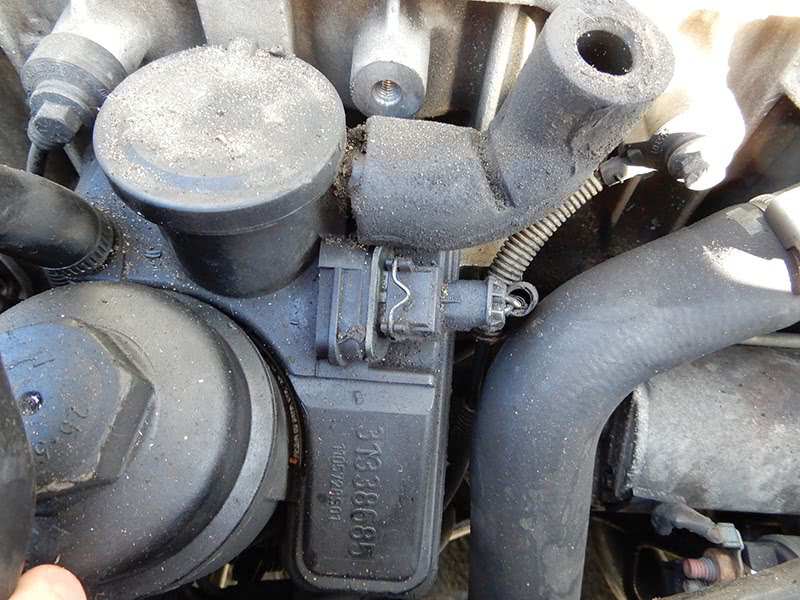
Now lower the vehicle and remove the hose from the oil filter housing to the valve cover. You can use a screwdriver to remove the one-time clamps—just push down and release the clamp. You will need to replace these clamps when installing the new hose.
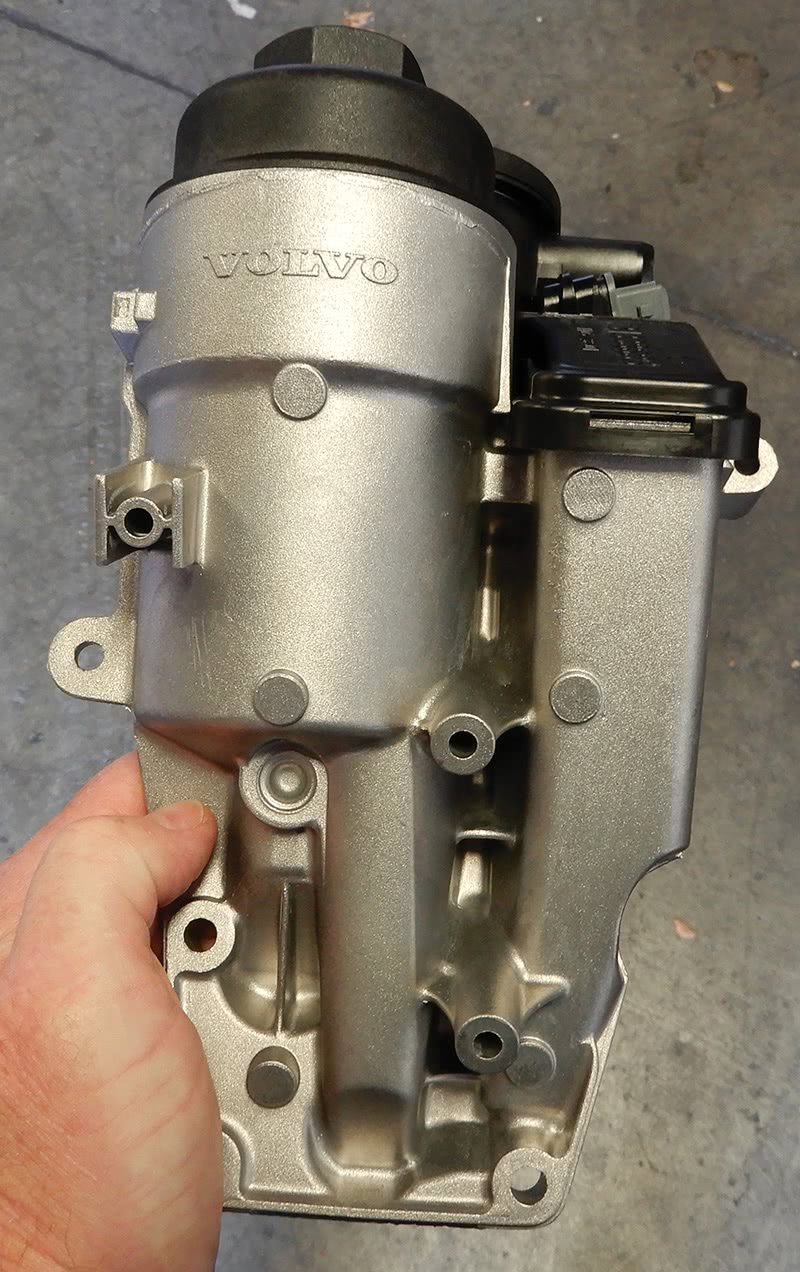
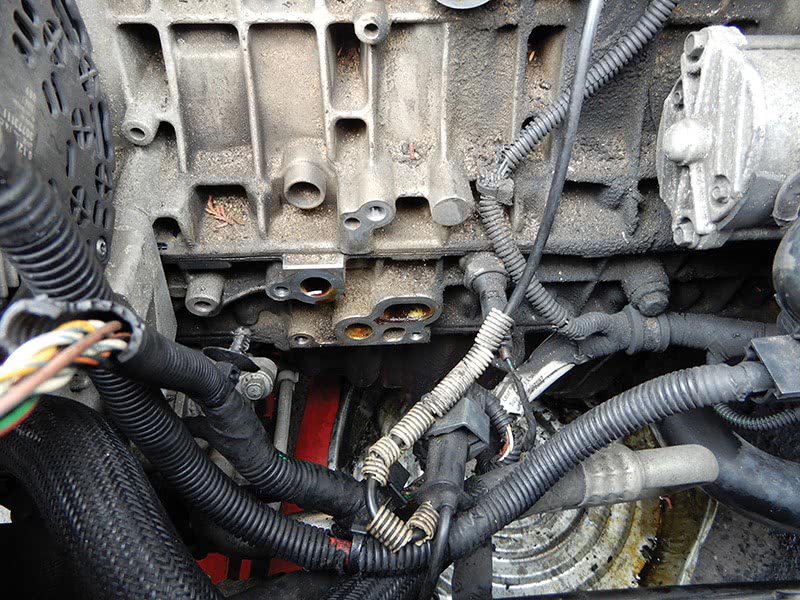
Unplug the electrical connector at the oil filter housing. Remove the top 10 mm bolts that hold the filter housing to the engine block. Remove the oil filter from the oil filter housing and set it aside. Now you can pull off complete oil filter housing unit.
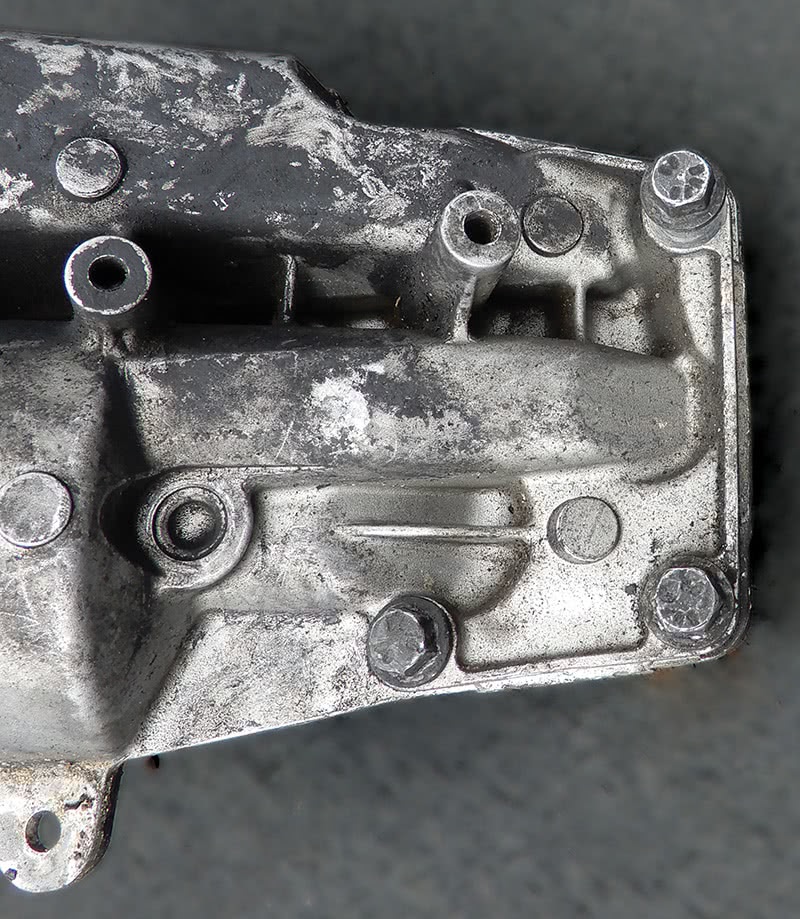
With the oil filter housing removed, you will want to clean the engine block and make sure there are no restrictions inside the engine block.
Install the new filter housing, making sure not to get any electrical wires pinched behind the filter housing. Install the 10 mm bolts and tighten unit down to the engine block. Install the two hoses that connect to the valve cover, and the hose that attaches at the cylinder head to the oil filter housing. Plug in the electrical connector at filter housing.
Install the dipstick tube using a new seal and make sure to clean the engine block before installing. Lubricate the seal so it will slide into place nicely. Secure the dipstick tube to the filter housing using the self tapping screw; make sure the screw goes straight in when threading.
Now that the oil filter housing is installed, you can now install the air cleaner box. With the engine still jacked up, fit the air box back into place. Adjust the harness at the bottom of the air box back into place and secure with the T30 torx screw. Push down on the air filter box and secure into the rubber mounts.
Now install the electrical connectors at the ECM, making sure to align the connectors and slide into place and lock down. Install the air mass meter with the two screws that hold it to the air filter box.
With the air filter box back into place, lower the engine from the jack and install the front engine mount. First, install the mount to the block with 15 mm bolts, and then install the two 15 mm bolts at the chassis. Fit the coolant expansion tank back into place and push it down to secure.

Insert the cover over the ECM. Install the fresh air duct at the air filter housing and secure with two 8 mm bolts. Plug in the electrical connector at the air mass meter. Set the plastic cover over the spark plugs and tighten the T30 torx screws. Install the pipe from the air mass meter to the turbo and tighten the clamps. Connect the vacuum hoses to the pipe. Install the two 10 mm bolts that hold down the pipe from the air mass meter to the turbo, one at the back of the cylinder head and one at top of the valve cover.
With everything back together, add engine oil and start the vehicle. Bring it up to operating temperature and check all your work. Test drive the vehicle and reset any codes that might be in the system.


0 Comments