

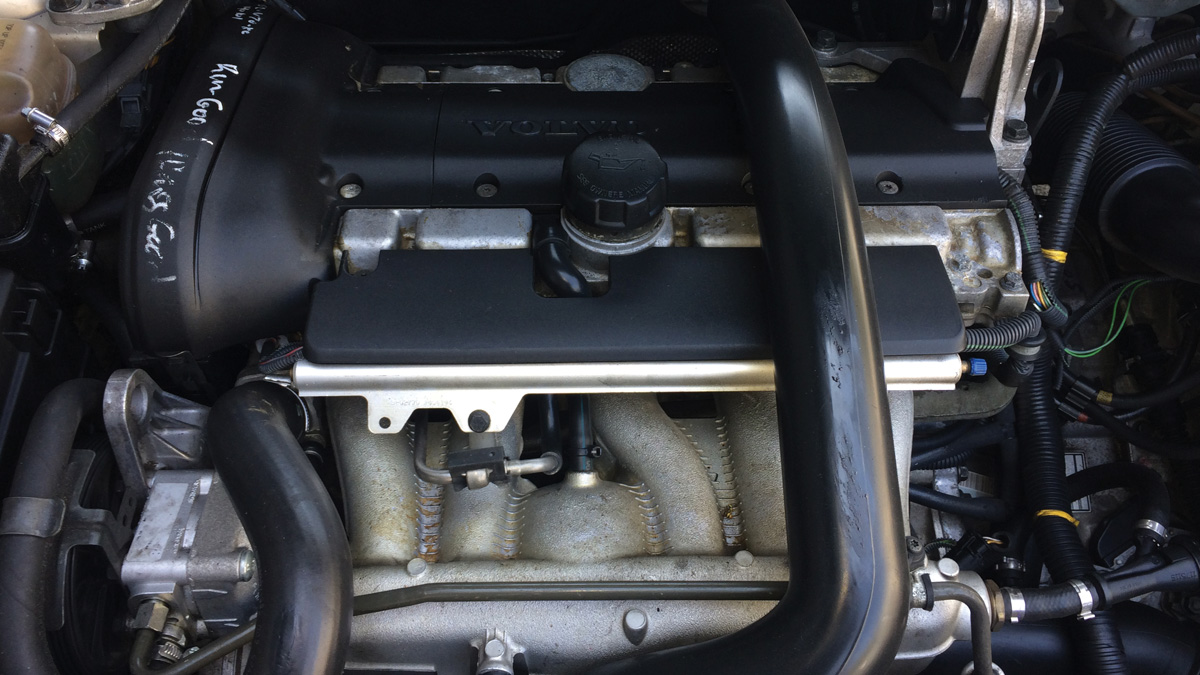
The Volvo five cylinder engine was introduced in 1993 with the 850 model. It came in both turbocharged and non-turbo configurations depending on customers’ preferences.
The Volvo five cylinder engine was introduced in 1993 with the 850 model. This five cylinder engine has performed admirably for over twenty years, and has been Volvo’s go-to powerplant for many years. The five cylinder engine came in both turbocharged and non-turbo configurations depending on customers’ preferences.
Abuse and/or normal wear through the years can lead to head gaskets deteriorating and oil mixing with coolant. The cause is often overheating.
This is why it is so important to change the oil and filter regularly and changing coolant when needed. Oil should be changed at 5K mile intervals and coolant every 25K miles, although these intervals should be adjusted based on driving style and miles driven.
When a vehicle comes into your shop overheating or is towed in because the customer didn’t pull over in time before the engine completely stopped running, the result is often a blown cylinder head gasket. Diagnosing to pinpoint the exact problem can be done different ways.
For instance, perhaps the vehicle is running but coolant in the reservoir keeps overflowing because of pressure build-up in the system. This typically results from combustion gases getting into the water jacket and pressurizing it, sending coolant out of the reservoir. This is a sign that the head gasket and/or cylinder head is damaged.
A combustion leak tester can be used to check for a blown head gasket. The tester features a dual-chamber design for higher accuracy to eliminate false readings. The first chamber will filter out any alkaline particles that could result in a false indication of a combustion leak. Test results in the second chamber will provide a true indication of a combustion leak.
Another way to diagnose a suspected blown head gasket is to use an emissions gas tester and hold the sensor over the reservoir. Here we will see if any hydrocarbon gases are present in the cooling system. If hydrocarbons are present, then almost certainly the head gasket is leaking internally and will need to be replaced.

This five gas analyzer can help detect hydrocarbons in the coolant reservoir.
Removing the cylinder head will require a variety of tools, some of which you will need to purchase from Volvo. This can be done on the Volvo tech info website. You can find these tools under Resources and then click on Special Tools.
Once you have determined that the head gasket is blown, you can dig into cylinder head removal. Start by draining all coolant and oil in the vehicle. As is always recommended with major repairs, disconnect the battery negative cable.
After draining the fluids, raise the vehicle up and remove the splash pan. Remove the heat shield over the exhaust manifold. Remove the turbo drain tube if the vehicle you’re working on is turbocharged and disconnect the exhaust flange pipe. The nuts for the exhaust might need to be sprayed with penetrating oil so they can loosen up without breaking studs.
Lower the vehicle back down and remove the coolant reservoir. Make sure there are no cracks in this plastic reservoir; if so replace it during reassembly. The engine stabilizer bracket will need to be removed, as will the turbocharger air pipe if so equipped. You’ll also have to remove the cover over the injectors, the ground straps at the firewall, the cover over the spark plugs, all vacuum hoses, and the dipstick tube.
Disconnect the electrical connectors at the air mass meter and injectors. Take the air cleaner box completely out. Make sure not to damage the heat air exchange hose if the car you’re working on is a non-turbo vehicle. The air mass meter boot from the air cleaner to the turbocharger will need to be removed as well.
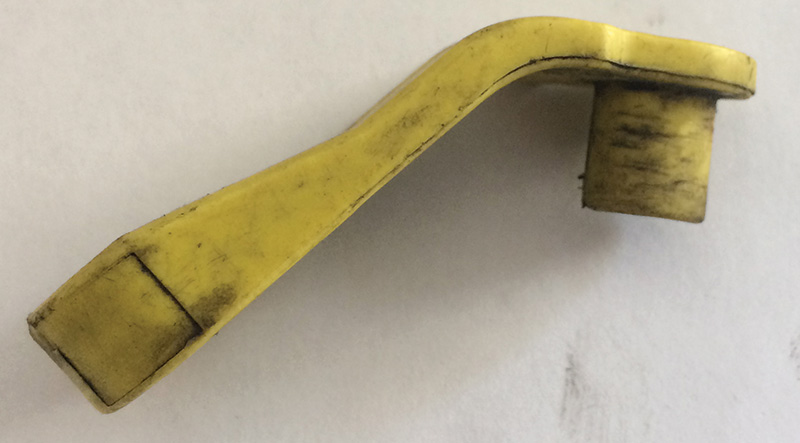
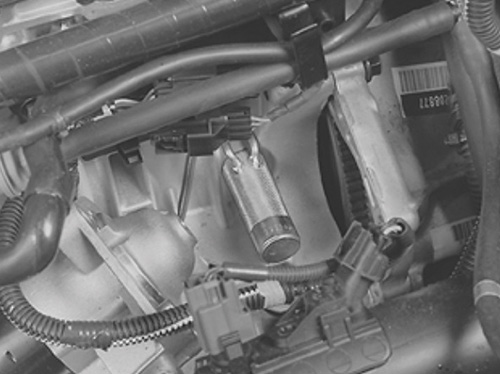
The clamp under the manifold at the throttle module will need to be undone. Depressurize the fuel rail and remove it; see the fuel rail tool pictured on the previous page.
Remove the top stabilizer brace between the strut mounts. Disconnect the heater hoses from the cylinder head.
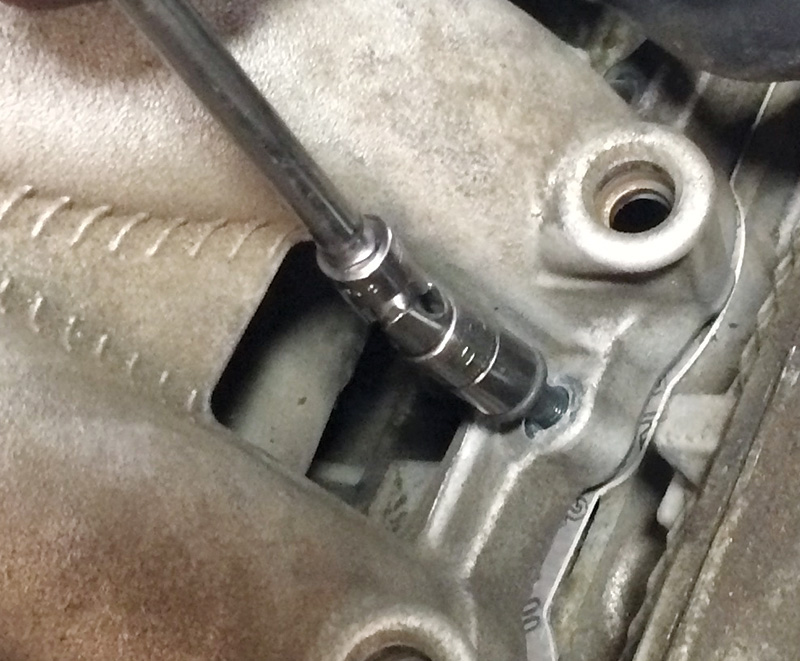
Depending on the year and model of the vehicle, there could be cam sensors that need to be removed and a trigger wheel that is held in by an 8 mm bolt at the back of the head.
Taking pictures during disassembly can prove very helpful during reassembly if you’re not familiar with this task.
Remove the coils from the spark plugs and lay them out of the way, towards the transmission. Take the spark plugs out; this will make it easier to spin the engine over when lining up the timing marks during reassembly.
Now it’s time to remove the intake manifold. A 1/4 inch drive 10 mm swivel socket with an extension is a good tool for this procedure. Some models have a bracket connected under the manifold. Raise the vehicle up and a 12 mm swivel socket should work fine. A 10 mm bolt connecting the harness may need to be disconnected also.
Unplug the electrical connection to the throttle unit. There is a banjo fitting under the manifold that connects to the oil trap for engine breathing. This fitting can be difficult to access. You’ll find this task much easier if the power steering pump is removed. Once this is removed the manifold should come right off.
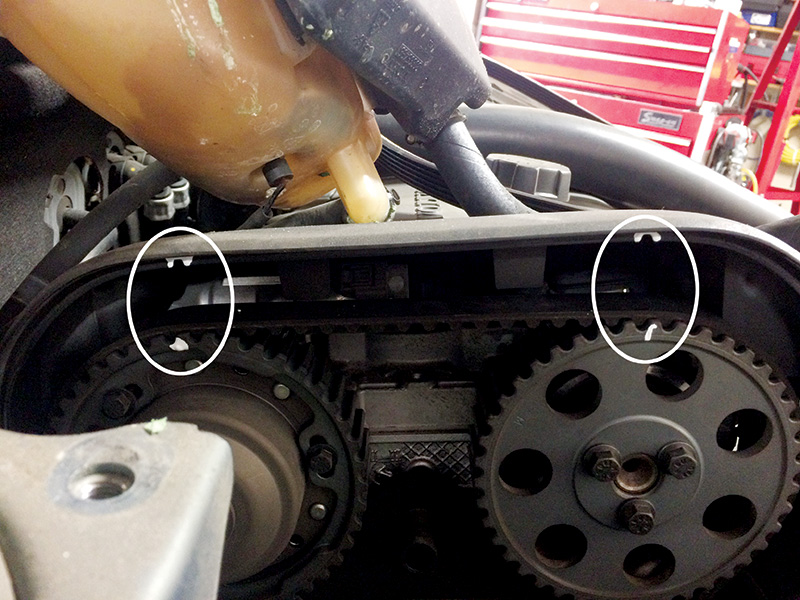
Now that the manifold is off, let’s go to the timing belt area. Remove the cover and expose the timing belt. This is a good time to line up the timing marks and use a white marking pen. This will make it easier to reassemble.
Using Volvo tool 9995452 at the back of the camshafts will lock the cams in place. The timing belt tensioner will need to be removed and then the timing belt removed. Remove the water pump and replace it with a genuine Volvo pump.
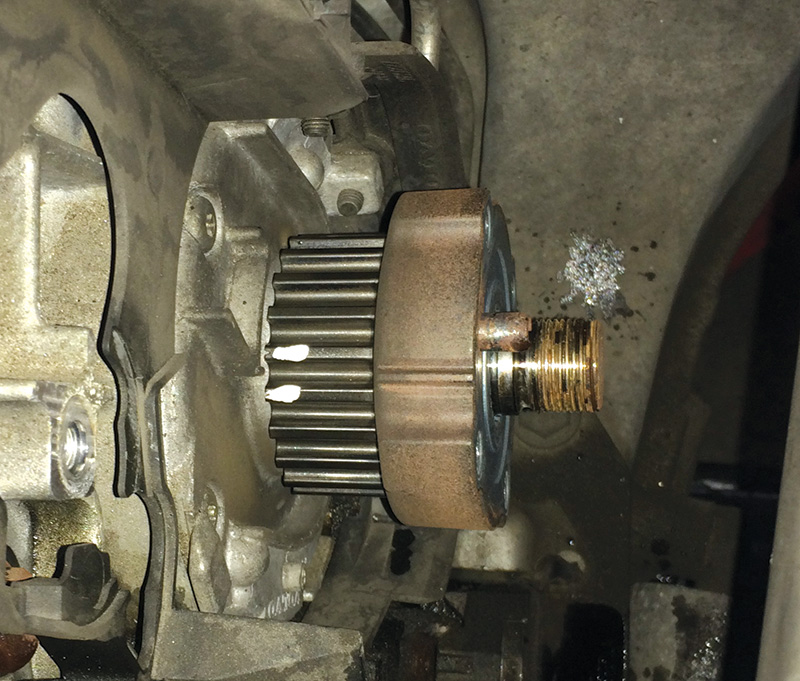
Remove the front timing gear pulleys on each camshaft. If the vehicle is equipped with VVT put a rag under the sprocket and use a T55 Torx socket to remove the plug. Oil will drip out and the rag will collect it.
The exhaust manifold bolts will all need to be removed. Remove any heat deflector covers first. There is a coolant pipe that will need to be removed on the exhaust side towards the front of the engine. Remove all banjo fittings for coolant and oil at turbo and move out of the way.
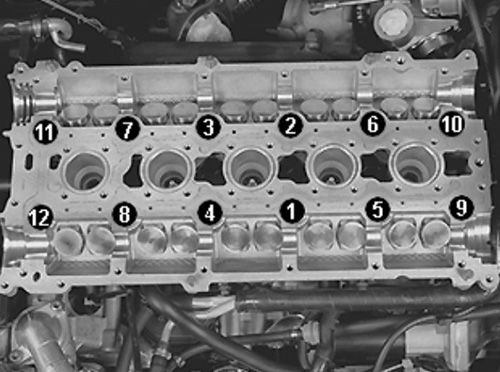
Install tool 999 5454, one in spark plug hole number one, and one in number five, and tighten down. Remove all camshaft cover bolts. Slacken tool 999 5454 so there is room to pop up the cover.
Tool pliers 999 5670 are used to press up the cover. Once the cover is loose, remove tool 999 5454 and the tool at rear of camshafts. Now the camshaft cover should come off. Remove the camshafts and set aside.
Remove the cylinder head bolts and discard them, since these are single-use torque-to-yield bolts and new bolts will be used.

Now that the head bolts are removed, you will need someone to help you remove the cylinder head. Since we did not remove the exhaust manifold you need to slide the head towards the intake side in order to remove it. When setting the cylinder head down use two small 2x4s to set it on. Remove the head gasket and you should be able to see what part of the gasket failed.
Remove the cam followers with a magnet and keep them in order so they can be returned to their respective camshaft lobes Make sure to have a local machine shop check for leakage past valves and check the surface for warpage. Both of these steps are crucial and need to be done so no problems occur after reassembly is complete. Overheating can sometimes cause cylinder heads to warp too much; in this case you may need to replace the cylinder head with a new unit.
Clean the cylinder block and chase all the head bolt threads in the block. Use carburetor cleaner and blow out all the holes for the head bolts in order to achieve proper torque during reassembly.
Make sure to buy quality Volvo parts when assembling. Aftermarket parts won’t have the same integrity and could lead to more problems. It’s not a good idea to take short cuts when doing this big of a job; it’s not good for the customer and not good for your shop’s integrity.
Make sure to clean all surfaces, including those on the intake and exhaust manifolds, thermostat housing, and cam solenoids.
Clean the cam cover with a solvent and make sure not to damage any of these surfaces. A razor blade works well to scrape off gasket material.
Now that everything is clean and the cylinder head has been reconditioned we’re ready to put it all back together.
Remove the starter and install tool 999 5451 in the plug on the block behind the starter. Make sure to replace the exhaust studs and tighten them in the head. Install the new cylinder head gasket. Install the cylinder head, being careful not to damage the head gasket. It would be a good idea to have someone help you when setting the cylinder head in place.
New head bolts should be purchased and lubricated and installed by hand. A torque wrench and protractor 951 2050 will be needed to tighten down the head bolts to the proper specification.
For torque specs VIDA will supply all of the information you need. Different years and models may have different specs, so make sure you have the right specifications for your application.
Once the cylinder head is tightened down, install the exhaust manifold and hard washers, use new 8 mm nuts and tighten down. Connect all banjo fittings at the turbocharger coolant and oil pipes. Raise the vehicle and install the turbocharger drain tube with a new gasket and oil ring. Be sure to glue the gasket to the pipe first to make this procedure easier. Connect the exhaust flange using a new gasket.
Lower the vehicle and glue the gasket onto the coolant pipe that connects to the front of the head, on the exhaust side, and tighten down. Install the heat shields and the bracket over the exhaust manifold.
Lubricate and install the cam followers in the same location they came from. Lubricate the camshaft lobes and bearing surfaces. Set the camshafts in place with tool 999 5452 at the back of the camshafts. Apply liquid gasket to the camshaft cover and install new o-rings around the spark plug holes. Make sure not to get liquid gasket on anything but the surface of the cam cover.
Now install the cam cover and use press tool 999 5454. Tighten down, going back and forth, in order to keep the cover parallel to the head. Install the cam cover bolts. Start in the middle and work outward. Then torque to specs. Remove the hold down tool.
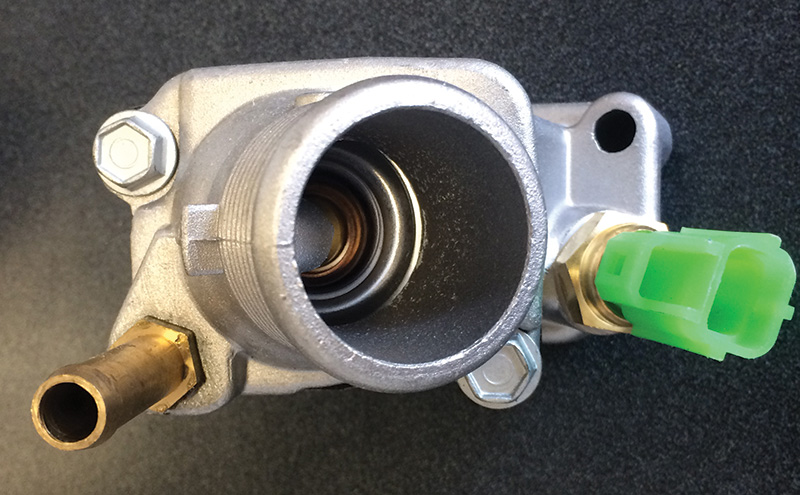
Install the thermostat housing and replace the thermostat and sensor. It’s always a good idea to replace this sensor since it may be compromised due to previous wear and overheating.
Make sure to clean oil and particles from the variable valve timing (VVT) solenoid. Using a new gasket, install the unit onto the cam cover and tighten down.
When working on the front of the engine, remove the bolts from the bottom right side of the vehicle engine mount and jack up so it will be much easier to get to the timing belt assembly.
Now install the timing cam gears. Remember, the tool is on the back of the cams to hold them in position and the tool by the starter has aligned the crankshaft. Install the front cam seal using tool 999 5718. Now it’s time to install the camshaft sprocket and VVT unit.
With the tool on the back side of the camshafts, install the front VVT units and sprocket. Depending on the year and model you’re working on, non-turbo engines will have two VVT units and turbocharged engines have one unit on the exhaust side, and a sprocket on the intake side.
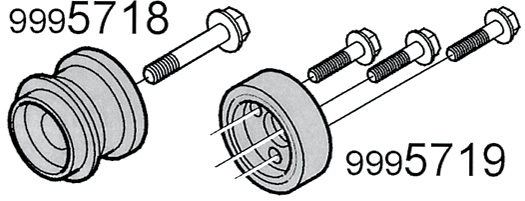
Install camshaft seals using special Volvo tools 999 5718 and 999 5719.
Tighten the VVT unit middle long bolt lightly. Turn the unit completely clockwise and line up the timing marks. If both sides are VVT you will need to do the same on both sides. If not, just align the marks. Some units are spring actuated and will need to be held in place when putting on the timing belt. Now snug down the sprocket bolts, three on each side per cam.
Torque down the middle bolt for the VVT unit. Make sure to clean the bolt so torque is accurate. Torque spec for the center bolt is 120 N-m and 35 N-m for the sprocket bolts.
When the crankshaft marks are aligned it’s time to install the timing belt. Install a new belt, roller bearing, and tensioner. There is a kit that you can buy from your local Volvo dealer that includes the necessary parts.
It’s always a good idea to replace the water pump and bolts at this time since the timing belt wraps around the pump.
Run the belt around the crankshaft and up to the roller bearing and then up to the intake camshaft. Then route it across to the exhaust cam, making sure that the VVT unit is completely positioned clockwise.
Run the belt down to the water pump and to the tensioner. Hold the spring loaded tensioner so it is easier to install the belt. Now that the belt is on use a 6 mm Allen wrench and adjust the tension of the timing belt, and tighten. Remove the tool from the back of the camshafts. Install the rear cam seal and plug. Install the cam sensor.
Install the intake manifold gasket and manifold. Make sure the oil trap is clean and all hoses are in good shape. If there is a question about the oil trap just replace it with all new hoses and seals.
Start all bolts for the intake manifold but don’t tighten them. Start the bolt for the banjo fitting under the manifold for the oil trap and tighten. Now tighten down the manifold bolts. Install the plastic hose going to the throttle housing and tighten.
Install all vacuum lines and sensors that attach to the plastic intake hose. Re-seal the injectors and install. Secure the fuel rail hose and connect all electrical plugs at the injectors.
Install new factory spark plugs. Connect the spark plug wires and secure.
Install the turbo air hose that runs to the air mass meter. Install the air cleaner and connect the hose. Fill coolant with factory coolant. Replace oil and filter.
Double check all hoses to make sure they’re tight, including the radiator and heater hoses. Check to make sure all vacuum hoses and electrical connectors are secure. Connect the battery and start the vehicle. Warm the vehicle up to operating temperature and make sure there are no leaks and that all fluids are topped off.
Test drive the vehicle to make sure all is well. Let the vehicle cool down and check again.
Download PDF


0 Comments