


Timing belt replacement can sometimes be a Daunting job, but with the right tools and help from Volvo VIDA this job can be made a lot less stressful.
The Turbo 6 cylinder engine is somewhat like the 5 cylinder engine with a few different aspects. We will go over replacement steps, tools and parts needed to do this job correctly.
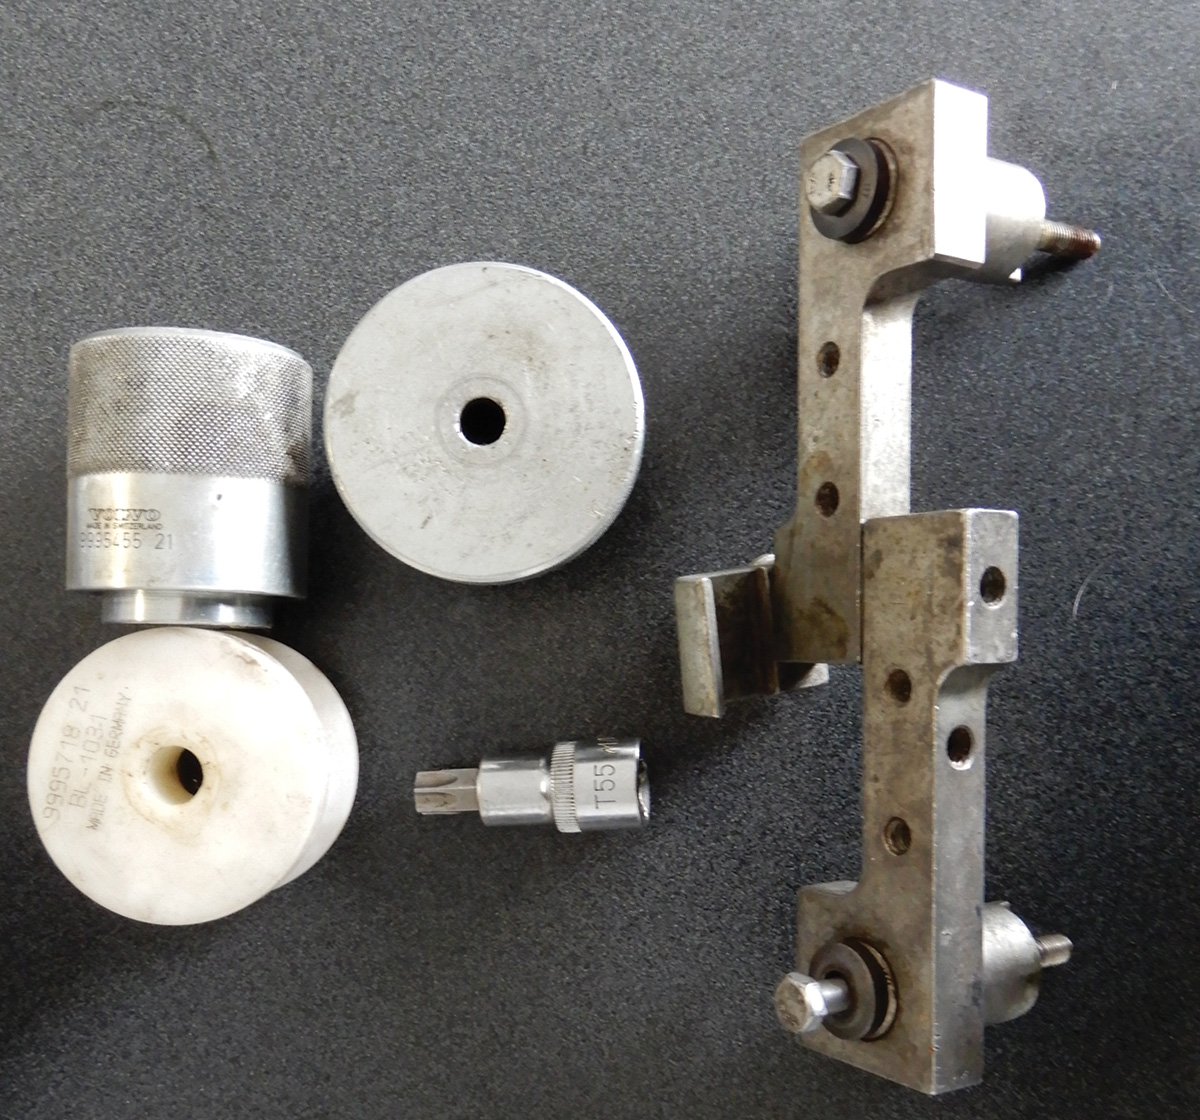
Volvo special tools needed for the job. Other tools will be needed also:
| 9995452 | 9995451 | 9995450 |
| 9995718 | 9995455 | Torque wrench |
When a customer’s 2003 XC90 T6 enters the shop for its routine timing belt replacement, it’s always a good idea to replace the water pump, timing belt, idler pulley and tensioner. The timing belt should be done for this vehicle at 120,000 miles or ten years, whichever is first. This is a very important job. This is an interference engine, so if a timing belt breaks it can bend the valves and make this job very expensive and a lot more work.
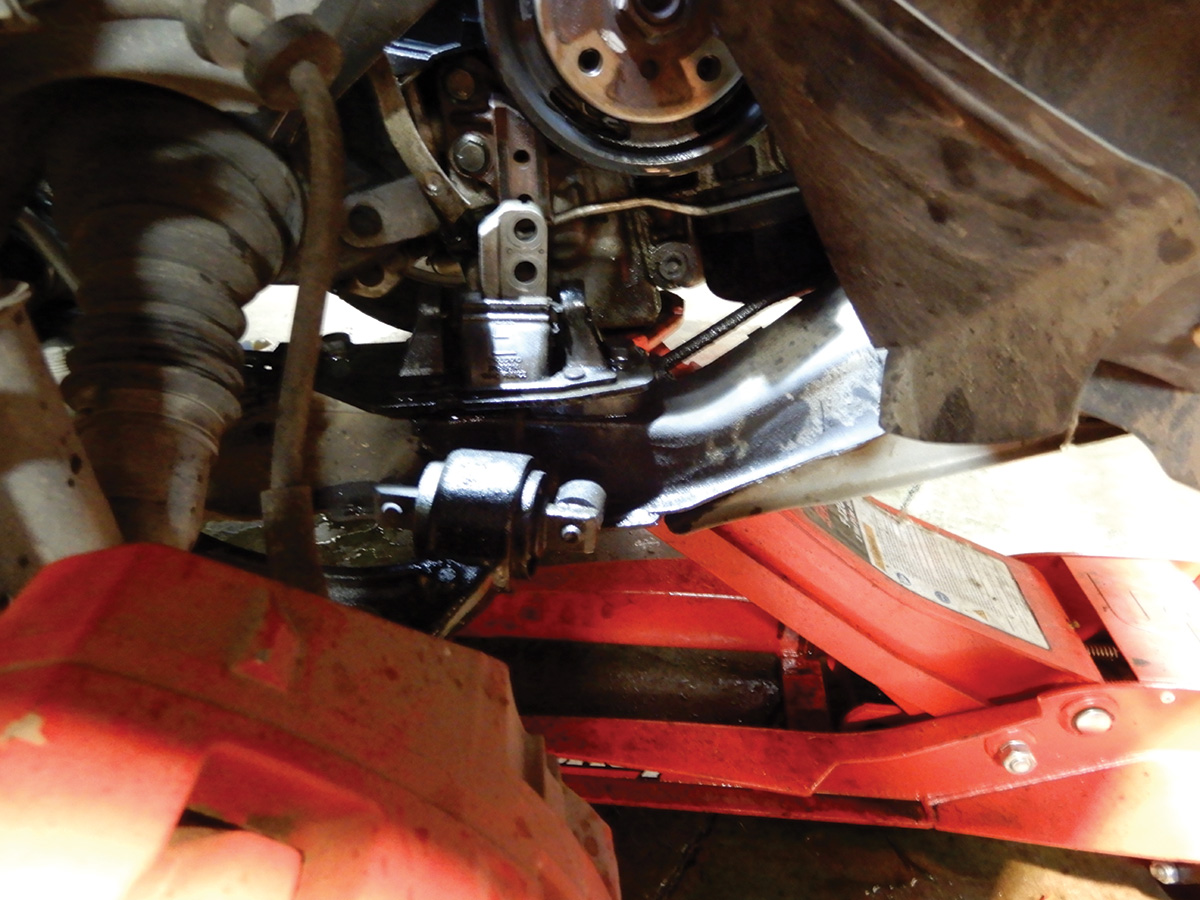
After disconnecting the battery negative cable, raise the vehicle up and remove the front guard under the bumper; four bolts hold this in place. Pulling downward and out will help to remove this guard. Remove the front air duct and drain coolant from the vehicle and dispose of it properly. A 6 mm Allen wrench will work to unscrew the petcock in the radiator. Remove the air charge pipe to the turbos. A 7 mm socket 1/4 in. drive should work fine or a flat blade screwdriver. Remove the hose at the bottom of the intercooler. If this hose is saturated in oil, replace it with a genuine Volvo part when reassembling. Remove the air cleaner box, remove the air mass sensor electrical plug. Remove the hose from the air mass to the turbo pipe. Remove the torque rod from across the top of the engine, and the engine mount.

Remove the top timing cover using a T30 Torx tool. Remove the top engine mount and remove the mount around the Camshaft Position sensor (CMP) on the exhaust side. Remove both intake and exhaust cam position sensor housings and sensors, disconnect the electrical connectors and set aside the sensors. Remove both pickup wheels on the backs of the camshafts.
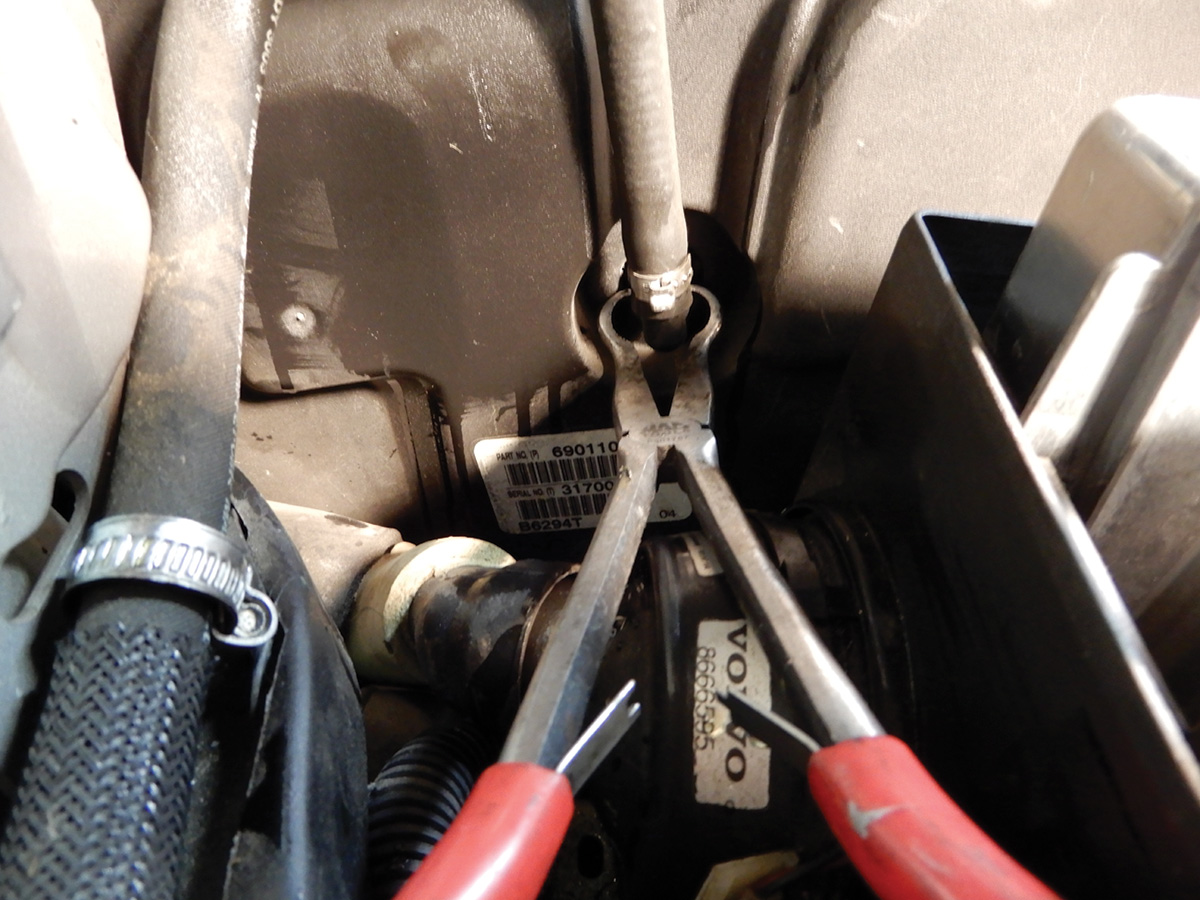
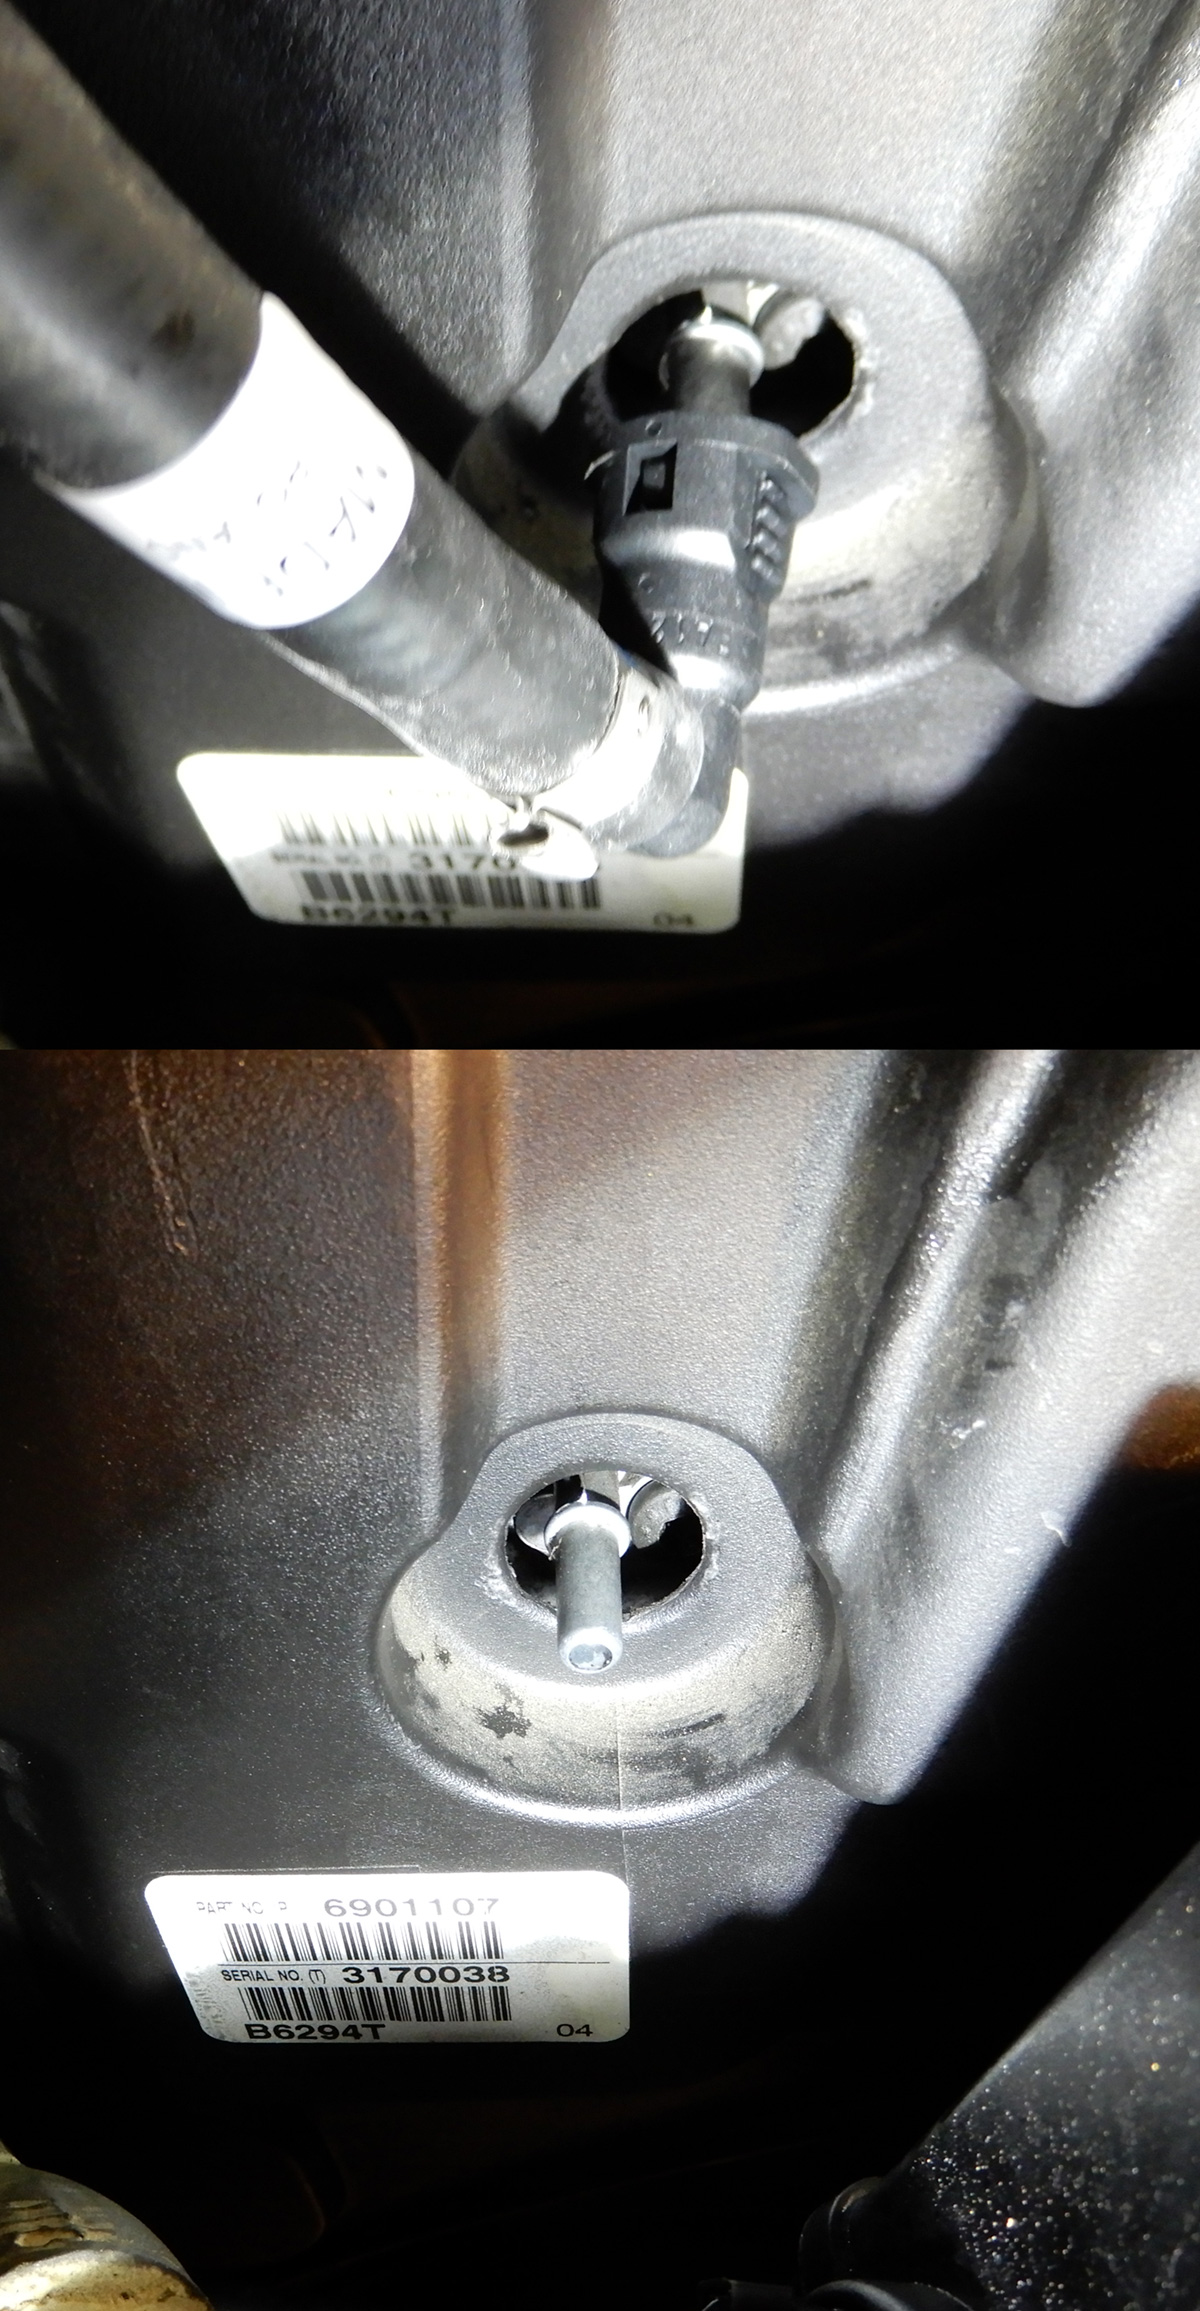
Raise the vehicle up and remove the passenger side front wheel and the two nuts that hold the inner fender secure. Lower the vehicle and remove the coolant reservoir and power steering reservoir, plug hoses at the power steering so fluid will not escape. The hose going through the front timing cover will need to come off. This connector can sometimes be a problem to get off. The illustration shows the correct pliers and technique to pull it loose.
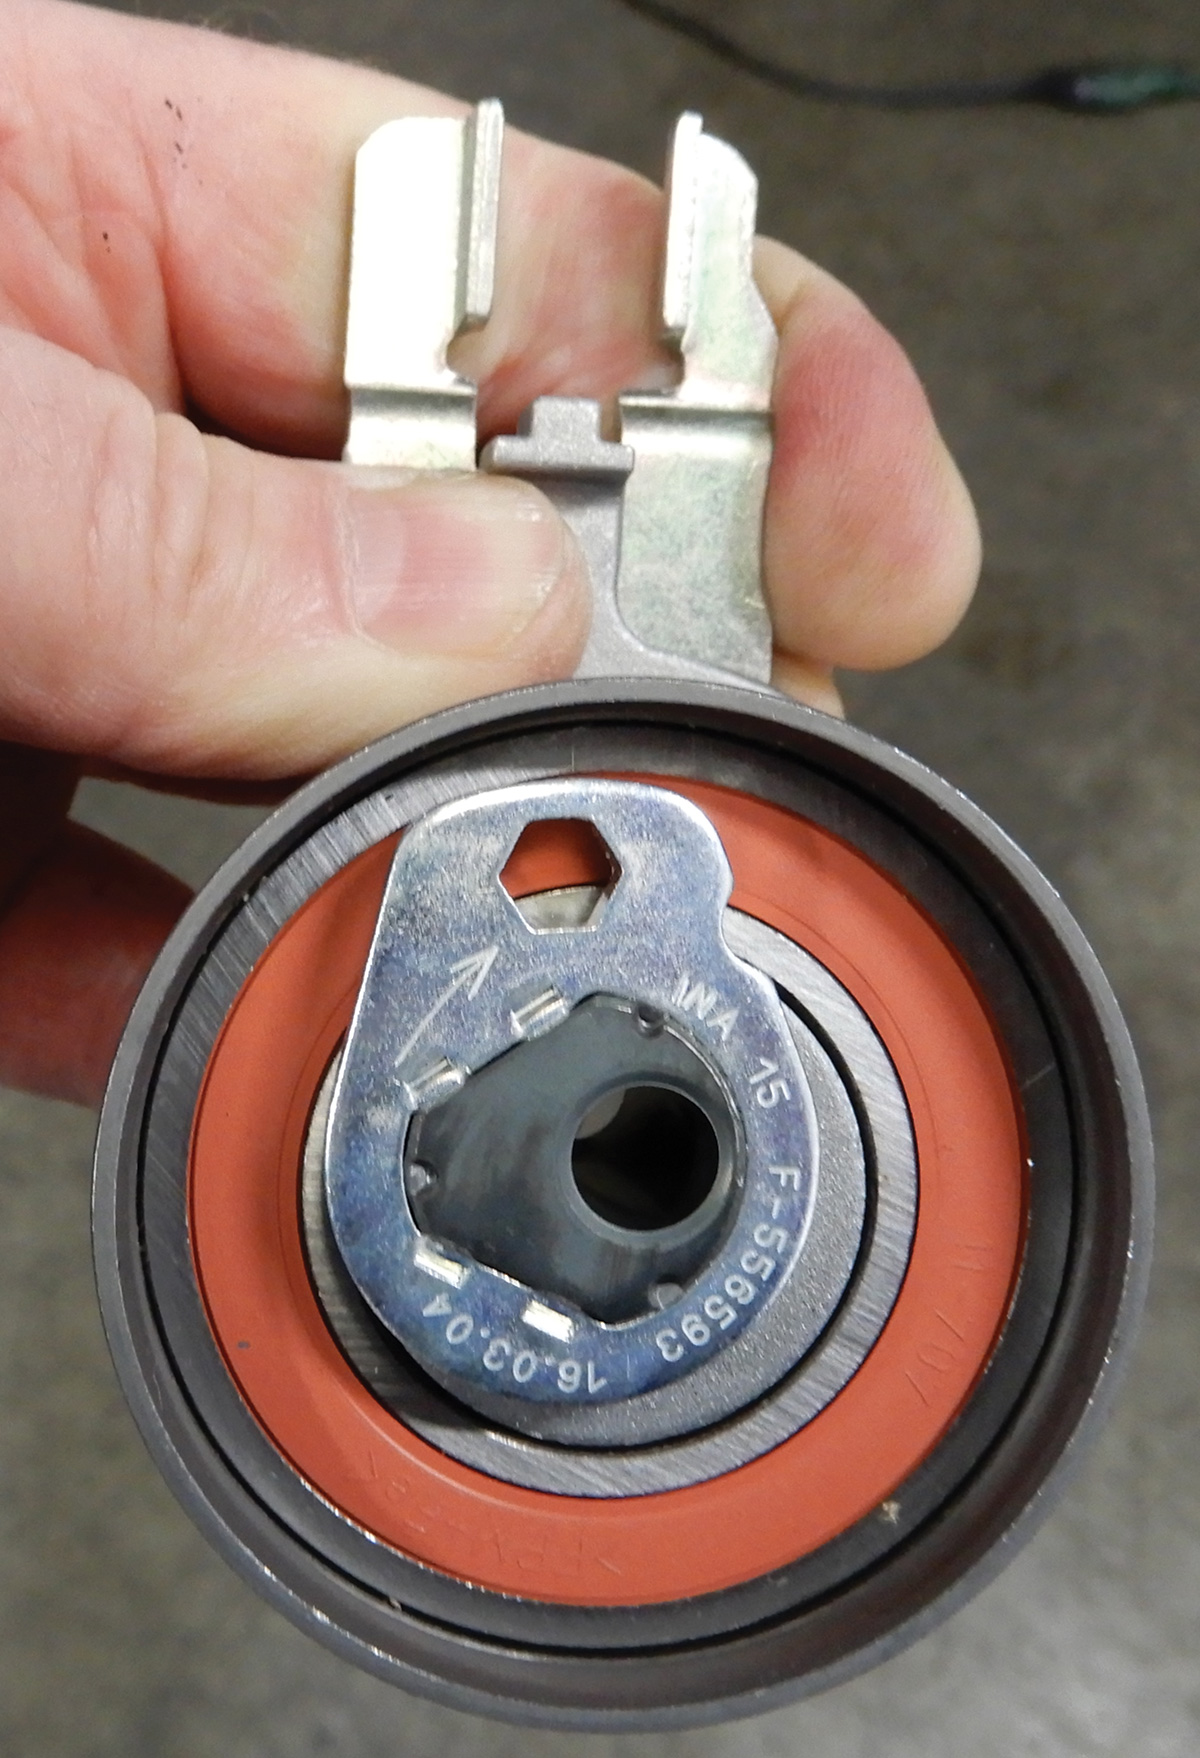
Remove the serpentine belt. Remove the front timing cover and set aside. Turn the crankshaft until the timing marks are aligned. Install tool 9995452 on the back of the camshafts. This will ensure that the camshafts are in the correct position, top dead center. Remove the bolt from the timing belt tensioner and remove the tensioner.

Check the variable timing units for play. If the variable timing units have excessive play they must be replaced. Remove the center plugs from the variable valve timing units. Set a rag under the plug to collect oil that will seep out. Remove the center bolts that hold down the variable timing units and remove, keeping track of exhaust and intake.
Remove the front crankshaft damper and use a puller to remove the crankshaft gear from the crank. Once the gear is off, remove the seal from the crankshaft using a seal removal tool. Clean the surfaces for the new seal.
Take out two engine mount bolts by the crankshaft and jack up the engine so that there is room to work on the front of the engine. Since the timing belt runs the water pump this is a good time to replace the water pump. Seven 10 mm headed bolts will need to come out and the water pump removed. Clean the surface at the block for the water pump making sure to get all the gasket off. This task can be hard to do because of the space between the body and the engine. Using a mirror you will be able to see if it is clean.
This is probably a good time to replace the thermostat assembly also since everything is apart.
Remove the front camshaft seals and the idler pulley. Clean the front of engine and all seal surfaces.
These are the new parts you will need to complete the job. Parts and part numbers:
| Part No. | Part |
| 30758270 | Timing belt kit: included, belt, tensioner and idler bearing |
| 9440651 | Camshaft seal front |
| 9458309 | Camshaft seal front |
| 9497786 | Exhaust variable camshaft unit |
| 8642284 | Intake variable camshaft unit |
| 9443310 | Rear camshaft seal |
| 8694630 | Water pump |
| 6842273 | Front crankshaft seal |
| 985151 | Water pump bolts |
| 8636779 | Thermostat assembly with gasket |
Install the camshaft seal in the front using tool number 9995718. Make sure to clean the surfaces and lubricate the inside of the seal. Install both variable cam units, intake and exhaust, they should be identified on the front of the units. Disregard the sprocket gear until later. Install the center bolt and leave loose.
Remove the starter bolts and pull the starter motor and set aside. Remove the plug behind the starter and install special Volvo tool 9995451. Turn the crankshaft slightly clockwise and the tool should bottom out. Turn the crankshaft counterclockwise until it stops against the crankshaft stop.
Raise the vehicle up and install the front crankshaft seal using special tool number 9995455. Once again make sure to clean the surfaces and lubricate the inside of the seal. The nut from the front of the crankshaft can be used in conjunction with the special tool to pull the seal into place. Remove the nut and tool and install the front crankshaft pulley. This pulley will only go on one way, so check the splines. Tap the pulley into place until flush with the engine block. Make sure to confirm that the timing marks are lined up with the marks on the pulley and the oil pump.
Lower the vehicle and jack the front of engine back up to have more room to work.
Make sure the water pump surface is clean. Use a gasket sealer and seal the gasket to the water pump. This will make it easier to install the pump without the gasket moving around. Tighten the water pump bolts until the pump is secure. Same with thermostat assembly, clean the surface, install the gasket, and tighten down. Also tighten down the channel for the electrical connector for the ECT sensor.
Using genuine Volvo parts, install the idler bearing and tighten down. Install the timing belt tensioner but leave it loose for right now.
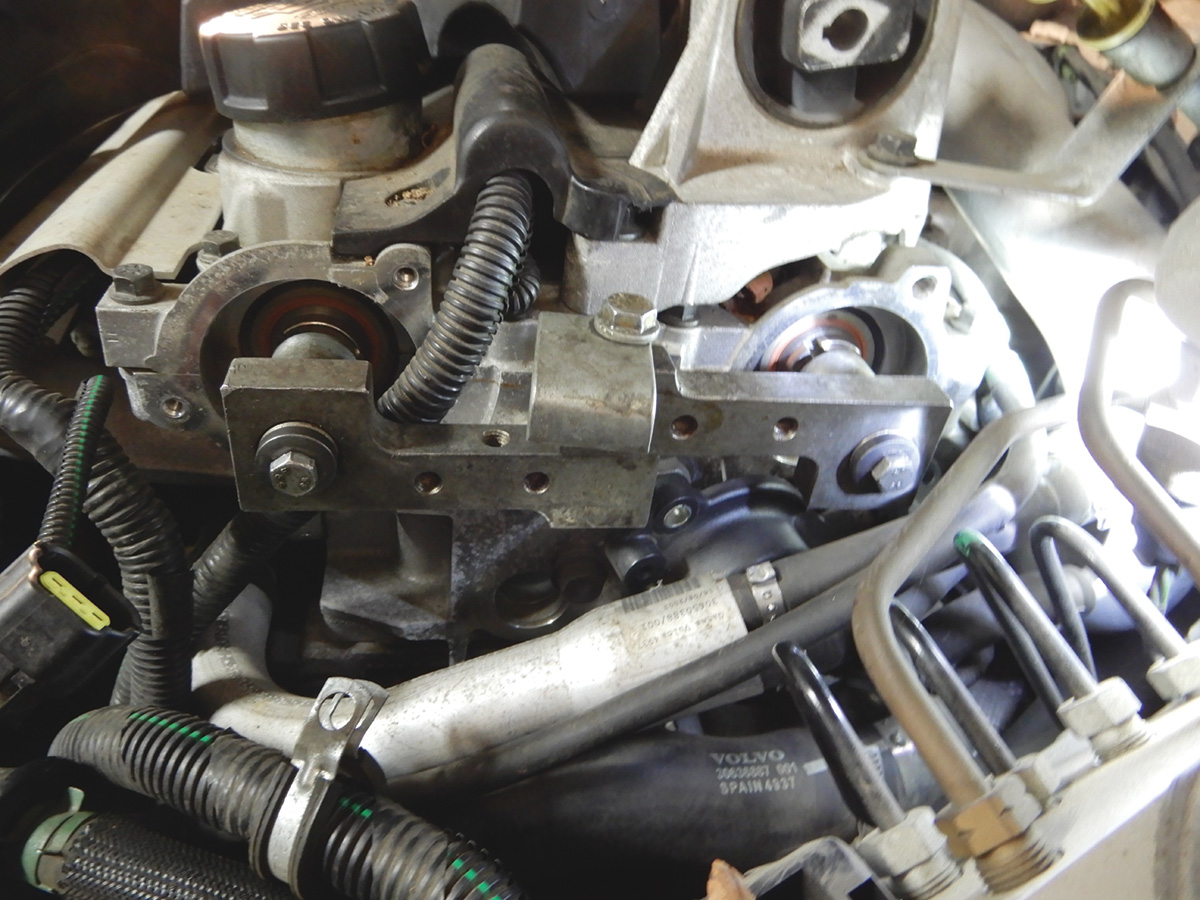
Install both timing gear pulleys on the intake and exhaust variable camshaft units but leave the three 8 mm headed bolts loose on both sides. Install the top timing cover to align the timing marks. Try to keep the alignment marks towards the top for both timing gear pulleys. Starting with the exhaust side make sure the bolt in middle of the variable unit is snug and the timing gear pulley is within limits of the marks for lining up the camshaft. Turn the variable timing unit exhaust side clockwise until it stops. Now move the timing gear pulley until the timing marks are aligned. Tighten three 8 mm bolts at the timing gear to 10 Nm. Tighten the center bolt for the variable unit to 120 Nm. Install and tighten the center plug to 35 Nm.
On the intake side, snug the bolt that holds down the variable timing unit in position. Turn the intake variable timing unit all the way clockwise until it stops. Try to keep the timing alignment marks at the top cover and timing gear within limits of the marks for lining up the camshaft. Move the timing gear until the marks line up and tighten down the 8 mm bolts to 10 Nm. Tighten the center bolt that holds the variable timing unit to 120 Nm. Install and tighten the center plug to 35 Nm.
Double check and make sure the variable timing units are all the way clockwise and that the timing marks at the gears are aligned properly.
Pushing the top of the tensioner or the needle on top of tensioner clockwise and holding it, tighten the center bolt for tensioner to 5 Nm. This will give room to install the timing belt. Install the timing belt starting with around the crankshaft, up to the idler bearing, and then to the intake camshaft, making sure the variable timing unit does not move. Now go over to the exhaust side, making sure the marks stay aligned, and down to the water pump and around the tensioner.
Adjusting the timing belt tensioner should be done with a cold engine. A suitable temperature would be 20 degrees Celsius or 68 degrees Fahrenheit.
With a warm engine or higher ambient temperature, the needle is further to the right. Below is an illustration of the tensioner compared to temperature and warmer engine.
Loosen the center bolt to the tensioner. Use a 6 mm Allen wrench to adjust the tensioner.
Turn the belt tensioner eccentric clockwise until the tensioner passes the marked position, determined by temperature. Turn the eccentric back so that the indicator reaches the correct marked position in the center of the opening on the tensioner. Be sure to hold the center bolt at same time so it won’t tighten up on you. Hold the eccentric and tighten the center bolt to 25 Nm. After tightening make sure the needle indicator is in the correct position, determined by temperature.
Check and make sure all timing marks are aligned properly, and that the top cover to camshaft marks and crankshaft are still in position.
Remove the tool at starter, 9995452 and install the plug and re-install the starter motor and secure, making sure all is tight and the brackets are correctly installed.
Remove the tool at back of camshafts 9995451. Lower the engine back into the right side mount and rotate the engine a couple of times, making sure the timing marks, top cover to camshaft and bottom crankshaft pulley to the mark on oil pump, are aligned properly.
Install new rear camshaft seals using tool number 9995450. Lubricate the inside of the seal and push onto the tool. Press the seal in with the tool until it bottoms out. Install the impulse wheel on the intake side, back side of camshafts and tighten down. Install the camshaft sensor housing and secure. Install the impulse wheel on the exhaust side and tighten down. Install the Camshaft Position sensor (CMP) housing. Make sure to install the housing correctly; it should only fit one way. Install both sensors into their housing and connect the electrical connectors.
On the front of engine install the timing cover. It might be a good idea to jack up the front of engine again so that there is more room to work. Be careful not to break the water pipe from the thermostat, as it will stick through the timing cover.
Once the cover is in place push the top inward to snap into place with the rear cover. Install the center bolt and tighten.
This would be a good time to check the roller bearing at the serpentine belt adjuster. If any play or noise are apparent from the bearing be sure to replace it. Install the serpentine belt. Use genuine Volvo part belt number 30731811. The belt goes around the crankshaft pulley to alternator, back down to the air conditioning compressor and up to the power steering. Now this is where it gets tricky. Using a T55 Torx socket and ratchet, hold the tensioner down and slide the belt around the pulley and release, making sure the belt doesn’t move out of place on any of the pulleys.
Now that the serpentine belt is on correctly, lower the jack until the engine is in the engine mount, install the two bolts that hold the mount to the engine and tighten down securely. Fold back the inner fender into place and tighten. Install the right front wheel.
Install the top engine mount back into place and secure. Install the top covers over the spark plugs and secure. Install the air cleaner assembly making sure that all mounts are tight, and attach the air mass meter electrical connector. Secure the turbo boost valve at the side of air cleaner.
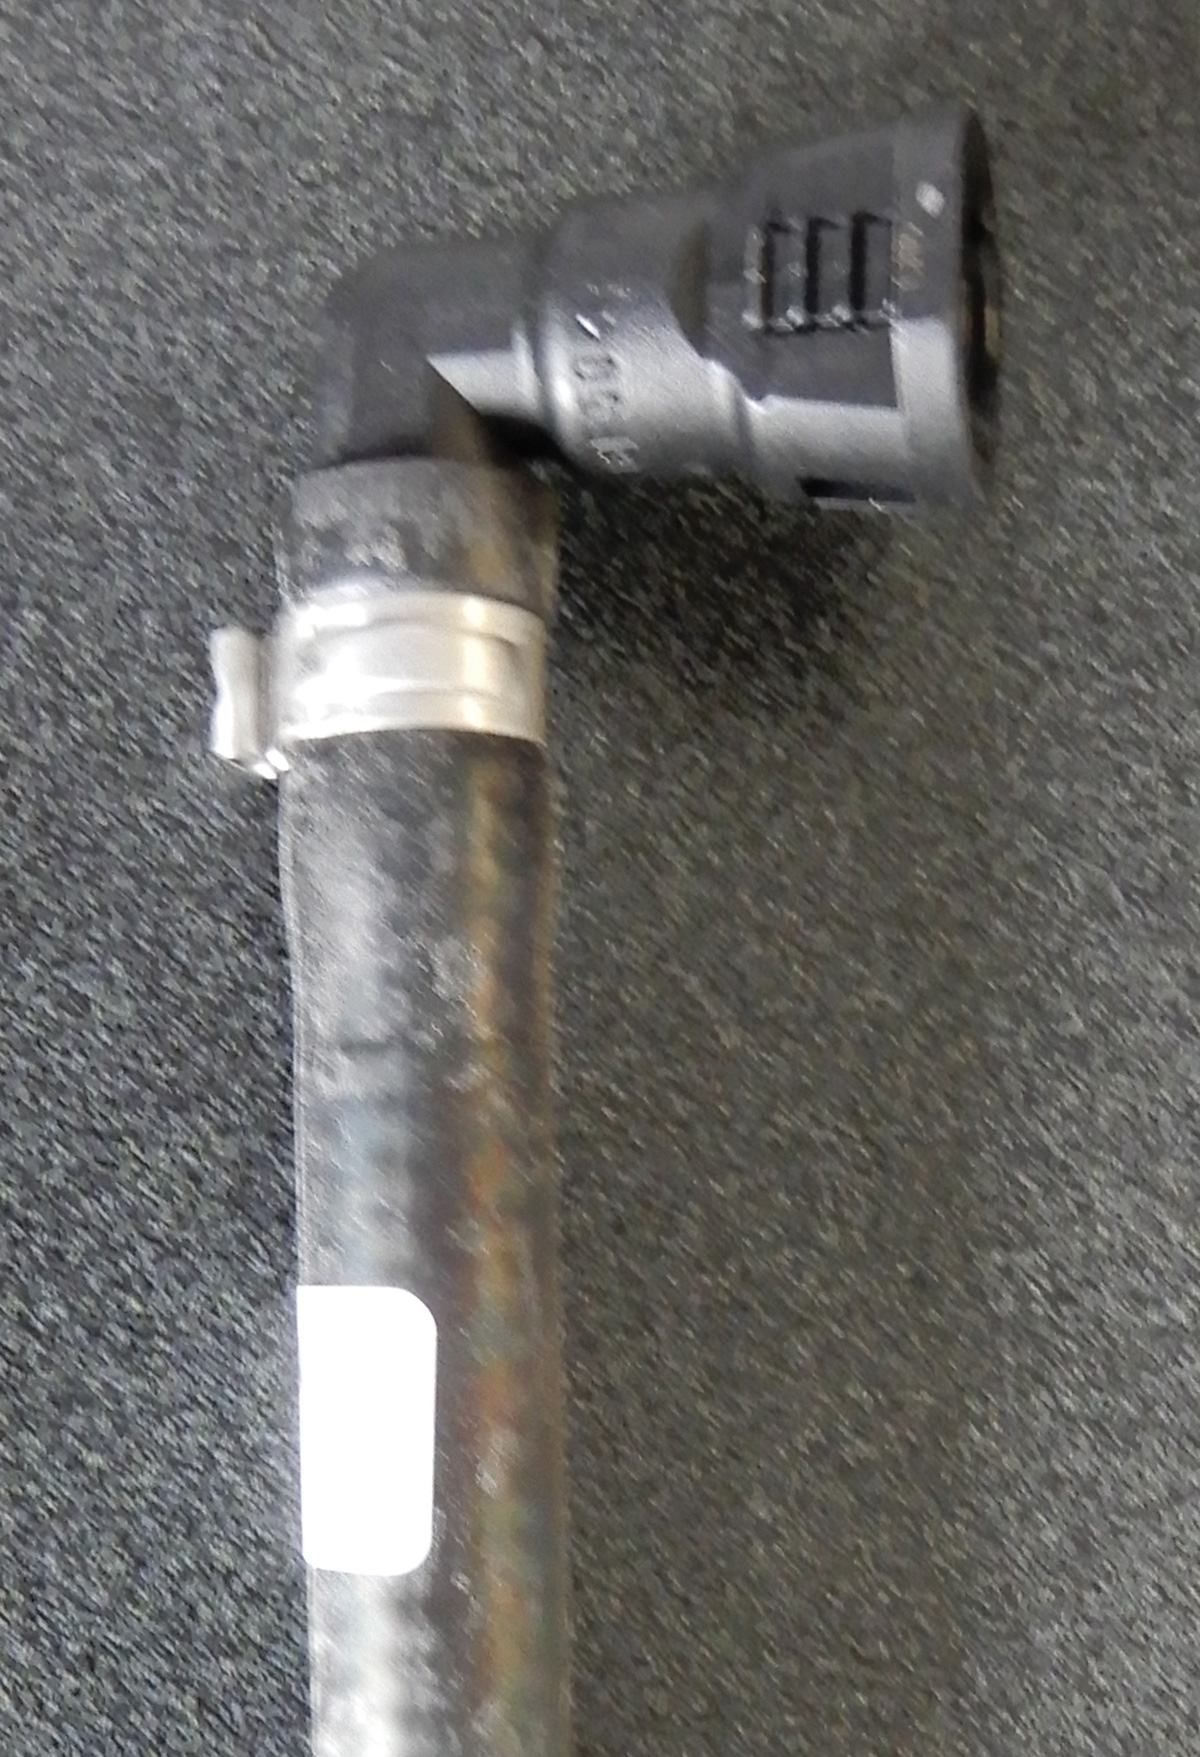
Install the turbo air charge pipes over top of the engine using a 7 mm socket and ratchet. Replace the lower hose to intercooler from the air charge pipe if it is saturated with oil, and tighten down the hose clamp. The replacement is hose number 9489968. When replacing this hose use a genuine Volvo part. Aftermarket hoses wear out too soon due to the rubber being too thin. Once the charge air pipe is in place, fit all vacuum hoses to their pipes and connect to the air mass meter.
Secure the coolant hose to the thermostat pipe coming out of the front timing cover. The coolant hose is part number 30680932.
Install the coolant reservoir and tighten down coolant hoses. Put the power steering reservoir back into place and connect the hoses and tighten. Make sure to check the fluid and top off. If a lot of fluid escaped, it’s a good idea to fill up the power steering and turn the steering wheel back and forth without starting the vehicle so air will escape. Not doing this can sometimes damage the steering rack.
Tighten up the petcock at the bottom of the radiator. Add coolant to the reservoir until full, and reconnect the battery ground cable. After the vehicle is warmed up check the coolant again and fill to full level.
Start the vehicle and let it warm up to operating temperature. Test drive the vehicle to make sure there are no problems. Pull back onto the hoist, shut the vehicle off and let it cool down. Check the coolant again and make sure the reservoir is full.
Raise the vehicle back up and install the air guide. Install the guard under the bumper using the four 14 mm bolt heads and tighten. Install the splash shield under the engine.
Doing a job like replacing the timing belt can be very challenging and very rewarding at the same time. Timing belt replacement on a Volvo T6 is very crucial. Always make sure everything is lined up correctly, and that you check everything two and three times. If for some reason alignment is not done correctly, the vehicle could throw codes and possibly cause the Check Engine light to come on. Even worse, the valves could bend on this interference engine. Check and double check always.
Download PDF


0 Comments