


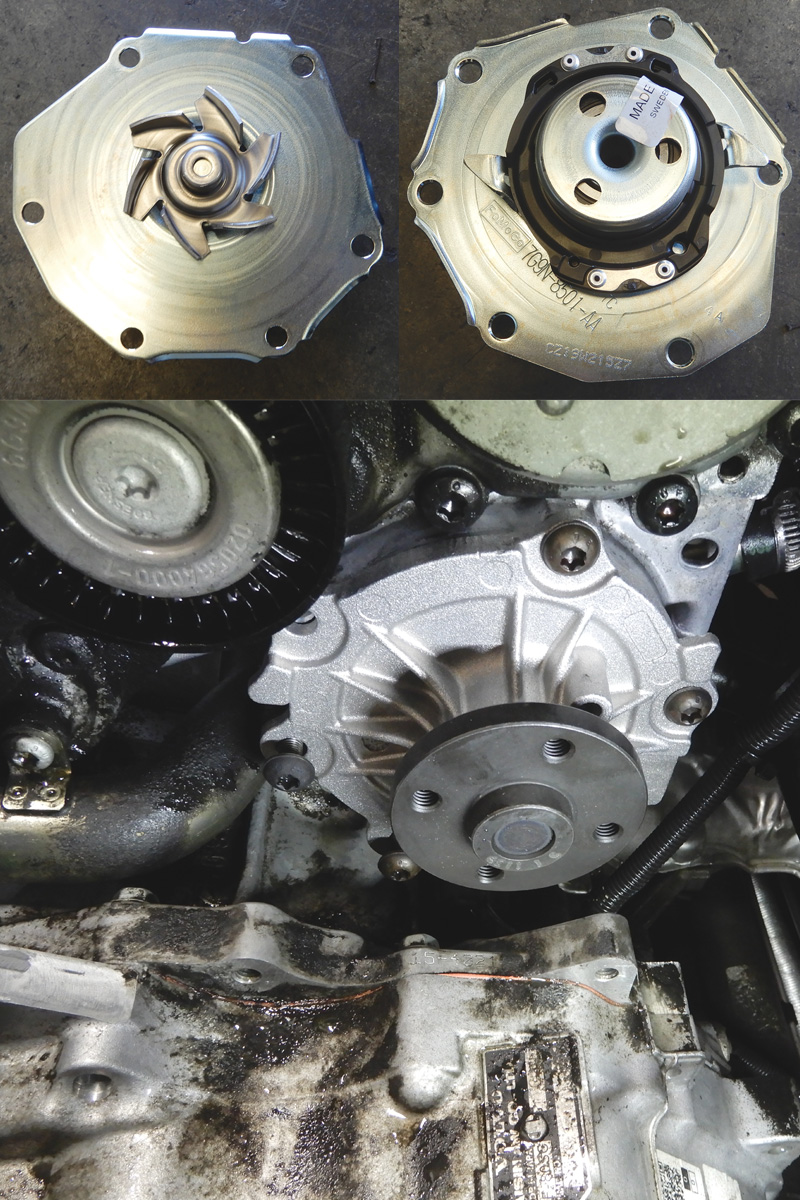
The water pump is a vital part of the coolant system and should be checked frequently during services.
Coolant system diagnosis and repair can sometimes be a problem. A coolant leak can sometimes take time to find. The vehicle could leak when it’s cold, or maybe you will need to warm up the engine and then check for leaks. Often pressurizing can help to find a leak in the system.
Water pumps after a certain age can start to lose their integrity. A seal can begin leaking, or maybe the bearing is going out and making noise. Either way, the water pump is a vital part of the coolant system and should be checked frequently during services.
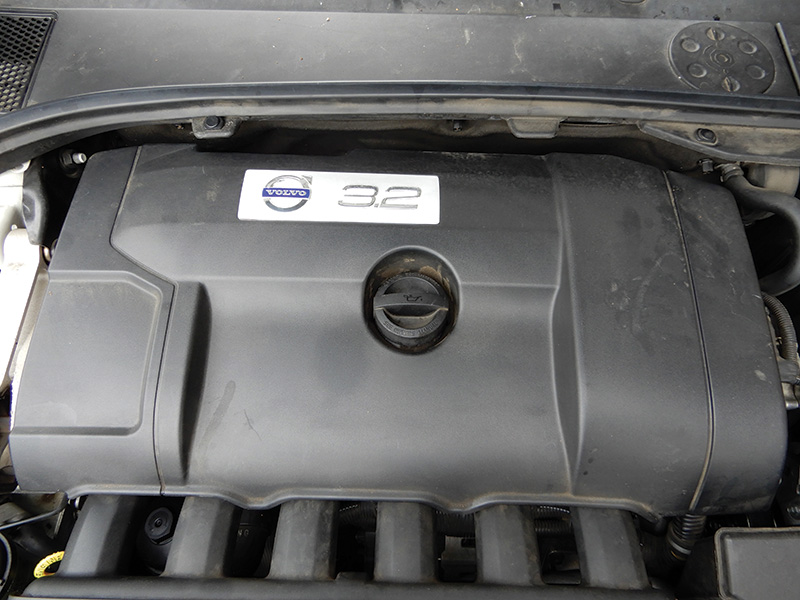
The model and year will determine which water pump the vehicle has. There are two different water pumps fitted to these engines — one driven by a belt around the water pump, and the other driven by the power steering pump. We will go over both versions and how to install each one.
Replacing water pump driven by power steering pump
Let’s first go over the water pump that is driven from the power steering pump.
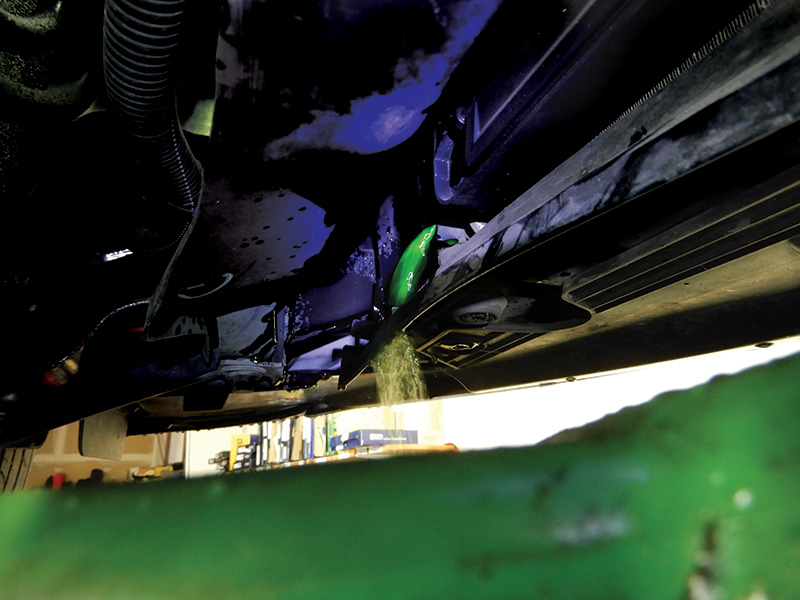
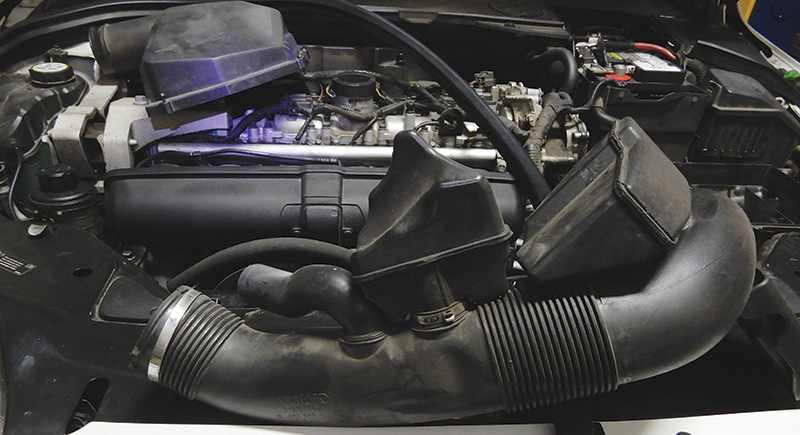
First let’s put the vehicle on the hoist and drain the coolant completely and then reinstall the plug so there will be no dripping. While the vehicle is on the hoist, remove the clamp at the throttle housing fresh air intake from the air cleaner housing. This will save time not lowering and raising hoist.
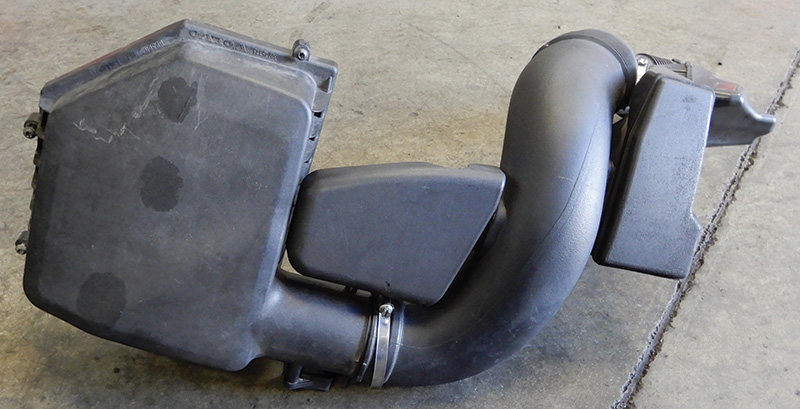
Lower the vehicle back down and remove the air filter housing and disconnect the mass air flow sensor. Remove four T25 Torx screws from the filter housing. Remove the air filter top housing with plastic pipe to the throttle housing and remove. Now pull up on the bottom portion of the filter housing and remove it from the vehicle.
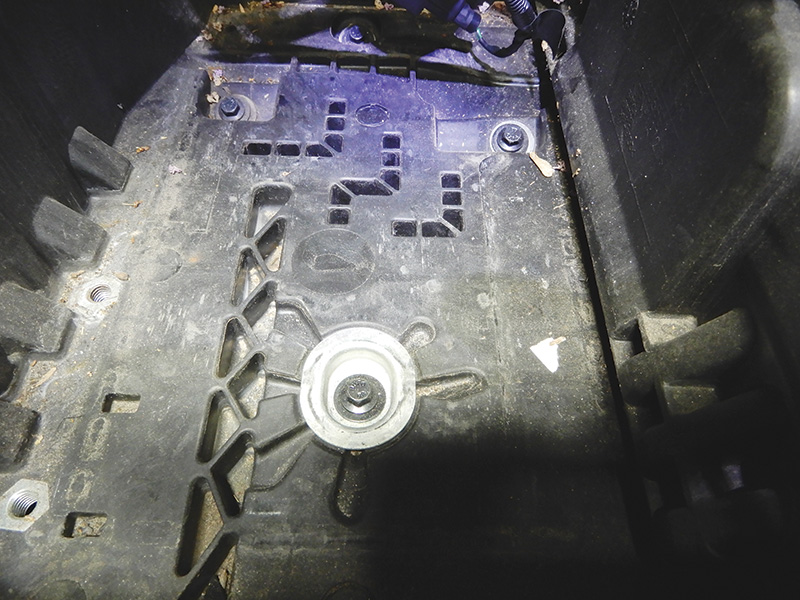
Disconnect battery and remove. The battery tray has four bolts that hold it in place. Remove those four bolts and remove the battery box from the vehicle. Be careful of the hood cable, route it around the battery tray.
Remove the bracket at the back of the air conditioning compressor to make room to remove the belt at the tensioner. There are three 10 mm bolts.
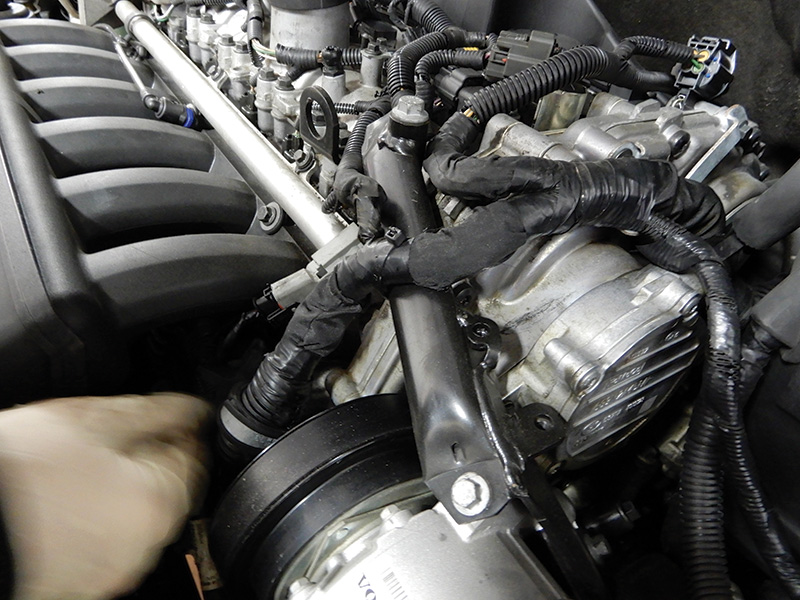
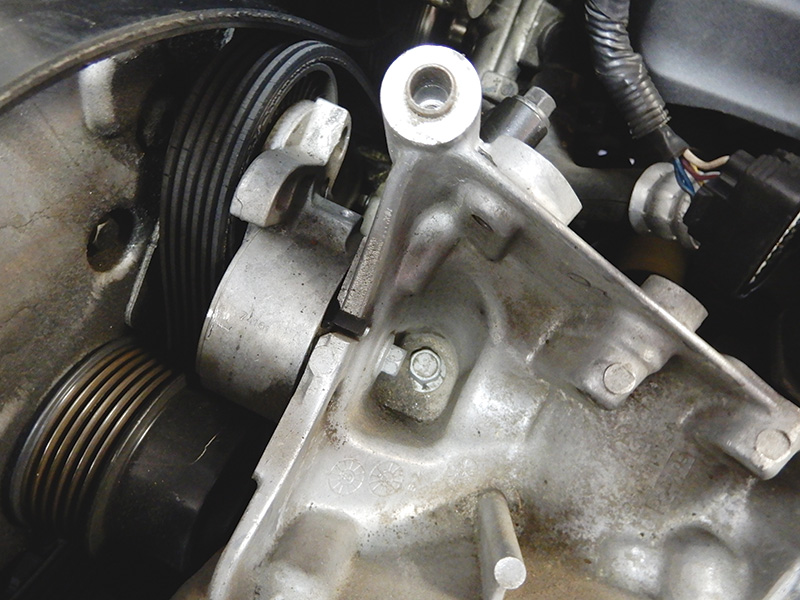
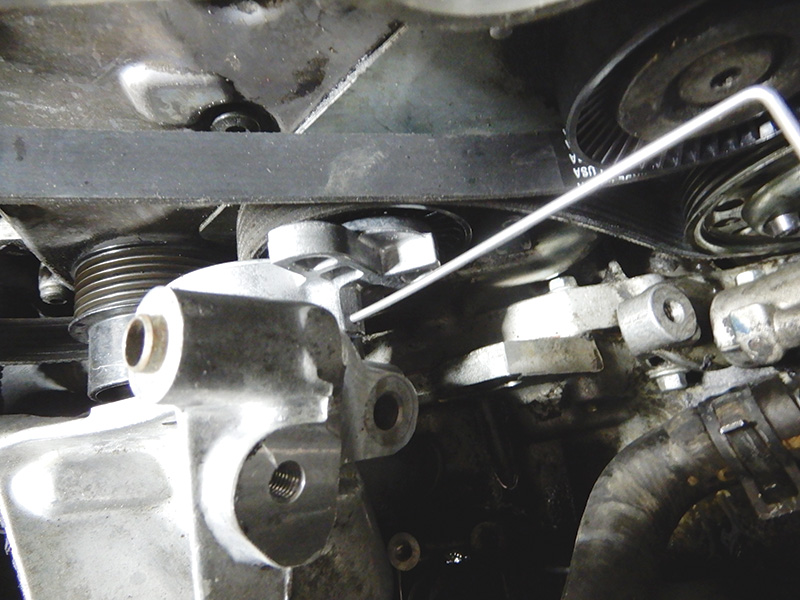
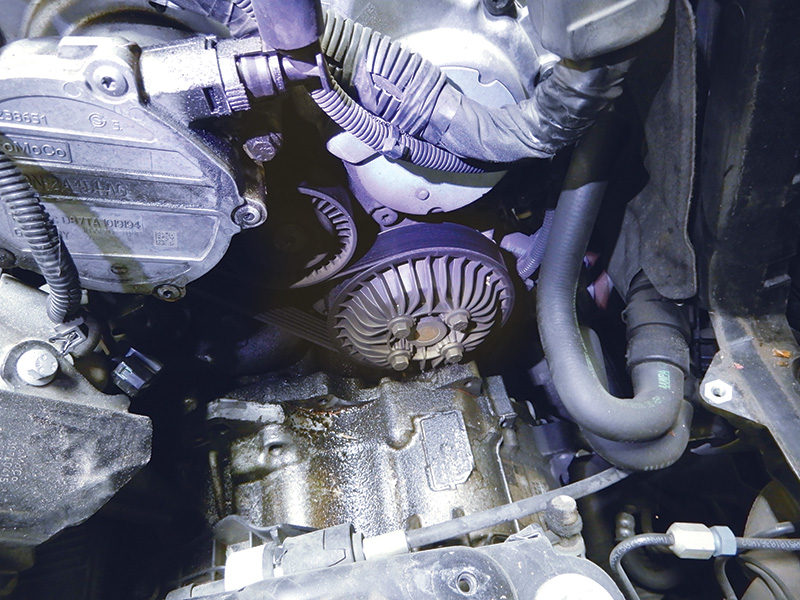
The power steering pump drives the water pump. First, loosen the belt by using a 19 mm wrench, pushing down on the belt tensioner and then inserting a 3 mm hex key or similar diameter pin or drill bit into the hole on the tensioner to hold it in the released position.
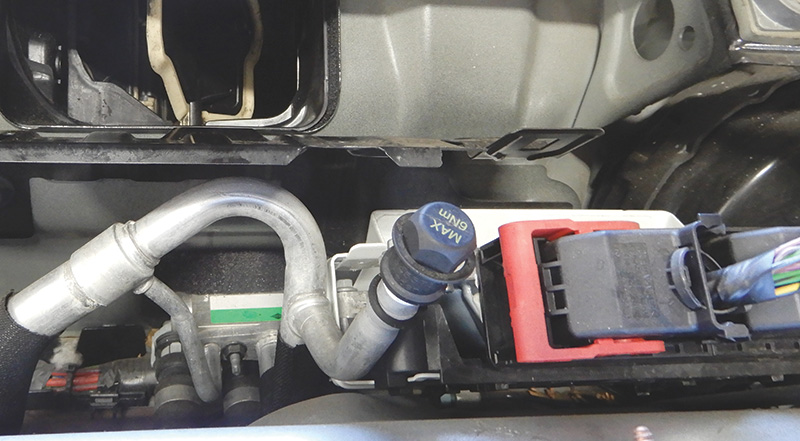
Remove the other two brackets at the air conditioning compressor. Using an A/C machine, recover the refrigerant in the system. The connection for the low pressure side is under the cowling at the wiper arm.
Once the system has been evacuated, remove both lines that are connected to the A/C compressor. Be sure to cover both the hoses and the connections at the compressor with tape. This will help keep any debris or moisture from getting into the system.
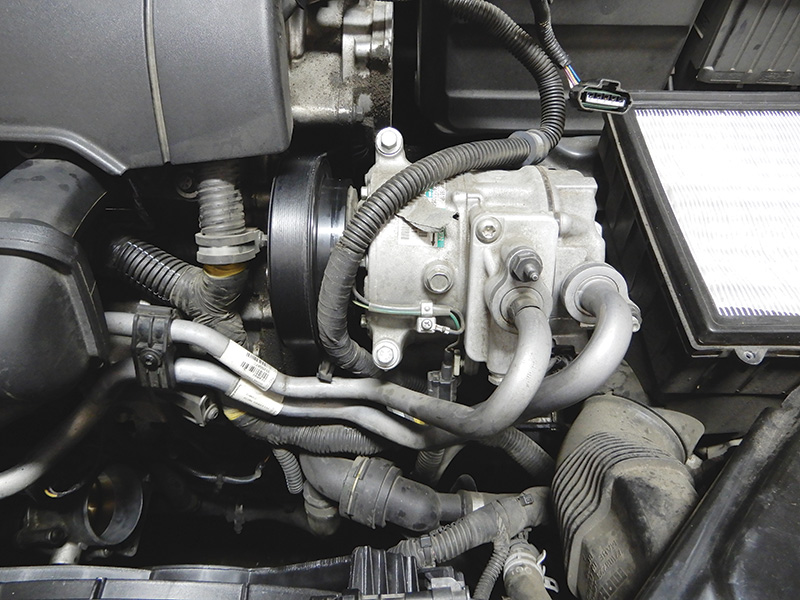
Remove the other two bolts at the compressor and remove the compressor out of the way.
Now that the air conditioning compressor is out of the way, remove the tensioner at the bracket under the A/C compressor.
This will give room to remove the belt out of the way and get access to the power steering pump and then the water pump.
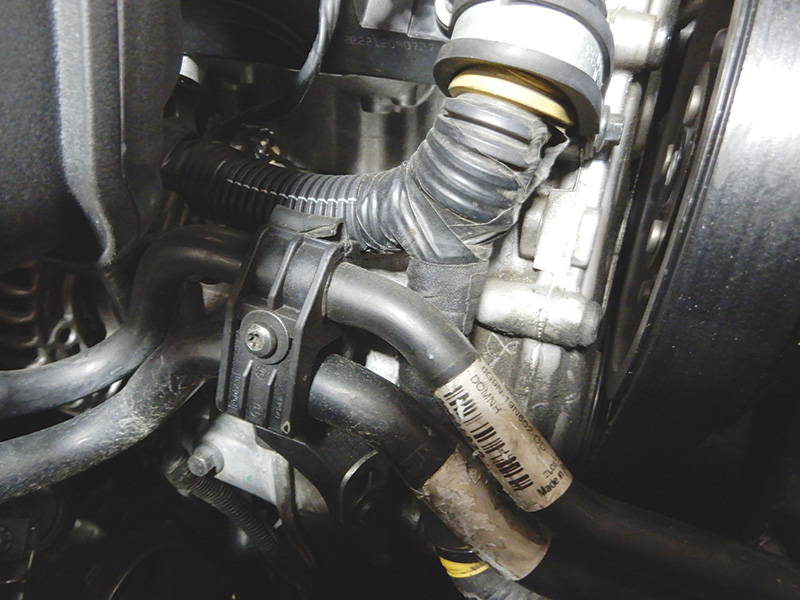
Remove the power steering lines, and use a rag to capture escaping fluid. Set the lines out of the way.
Now that lines are out of the way, rotate the pulley until you see the T25 Torx fasteners.
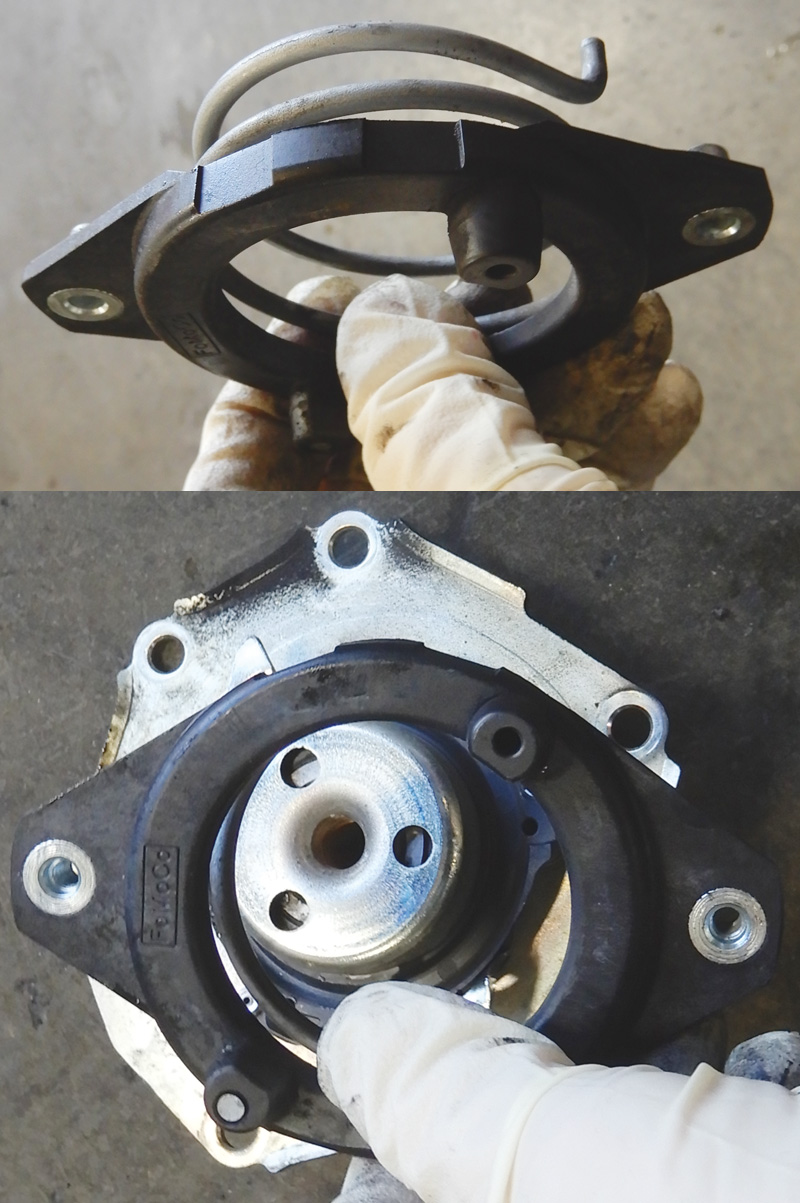
There are two of these T25 Torx fasteners. Once they’re removed, push in on the drive pump spring and wiggle out the power steering pump.
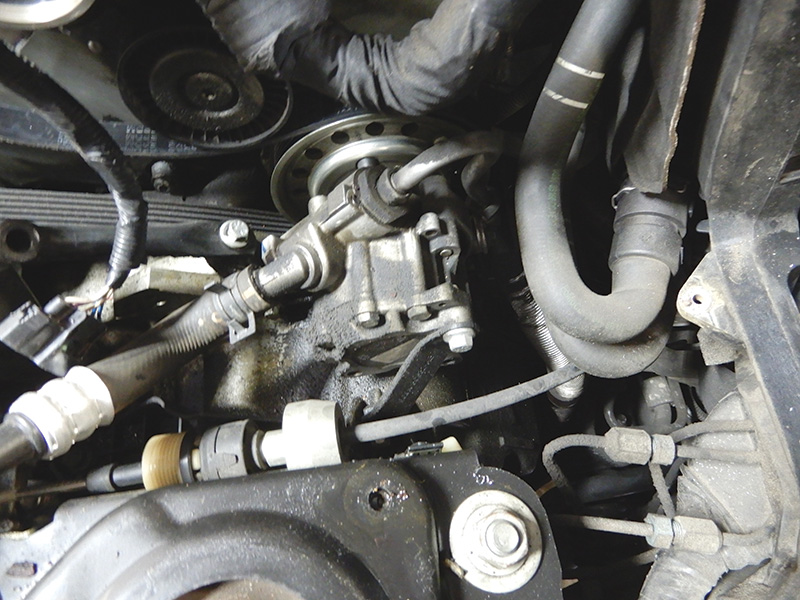
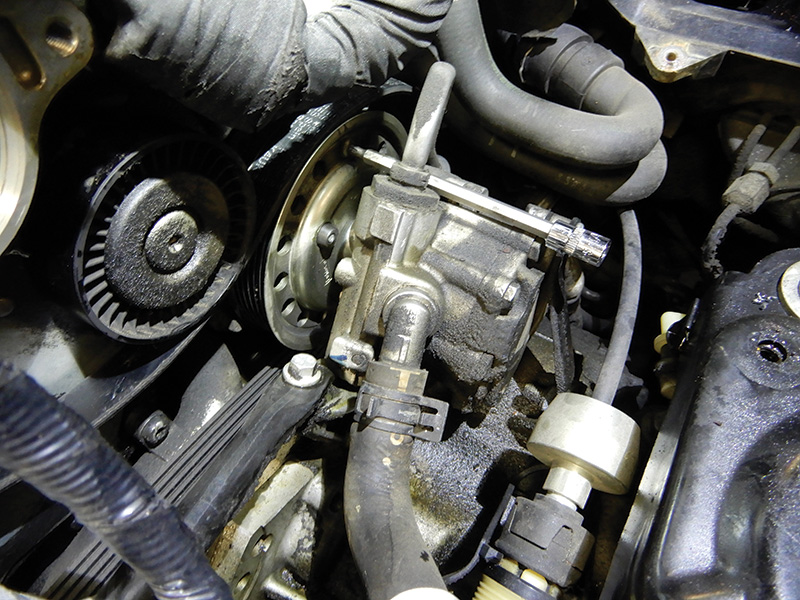
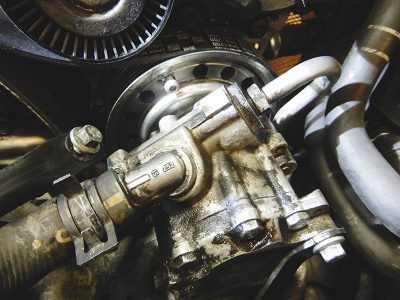
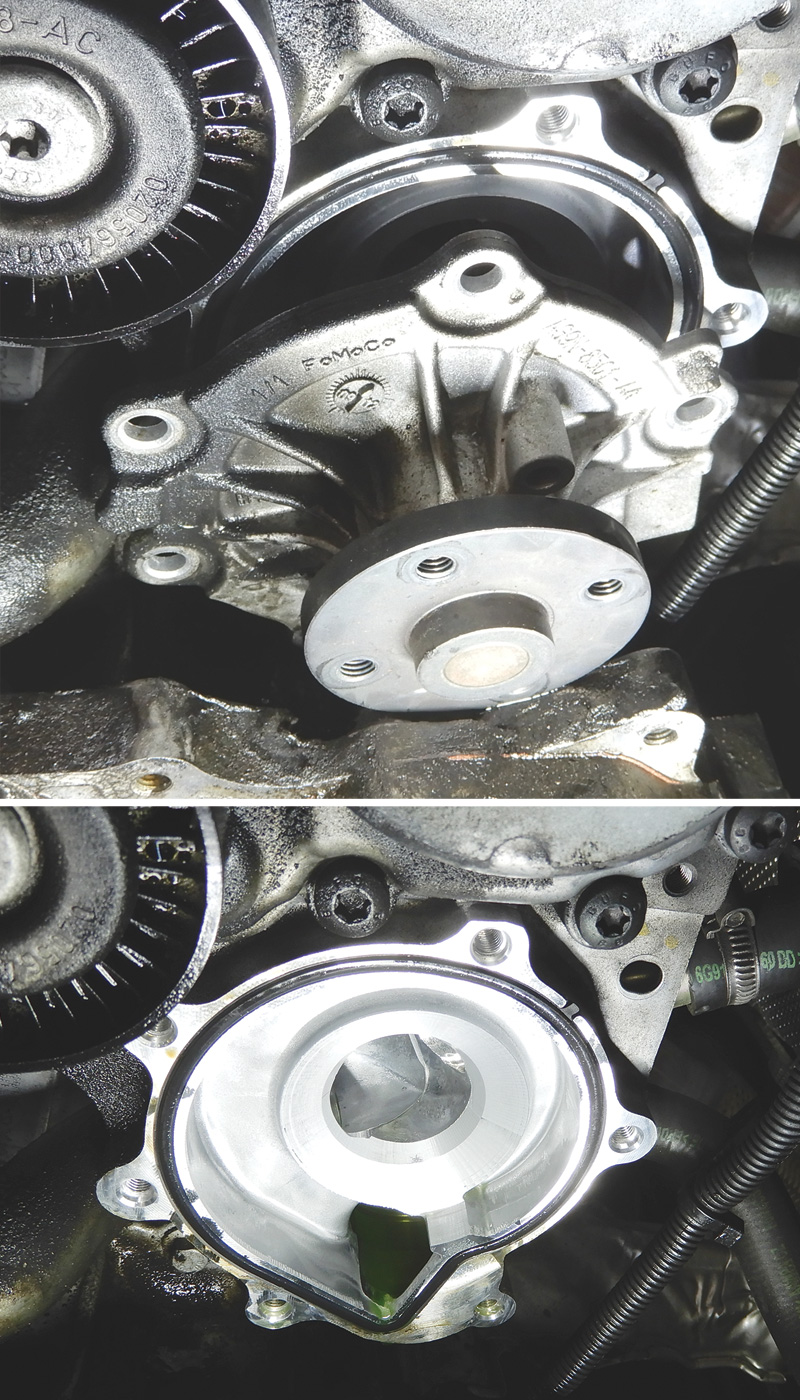
Now that the water pump is exposed, maybe it was leaking or maybe the bearing is going out and there is a lot of movement. Either way, remove the bolts securing the water pump to the block and remove the water pump.
Make sure to clean the surface at the engine block and remove the o-ring. Install a new water pump o-ring into place; you might have to put a little silicone on the o-ring to make it stay in place. Now install a genuine Volvo water pump, part number 31219000. Install new bolts and tighten down, making sure the o-ring stays in place.
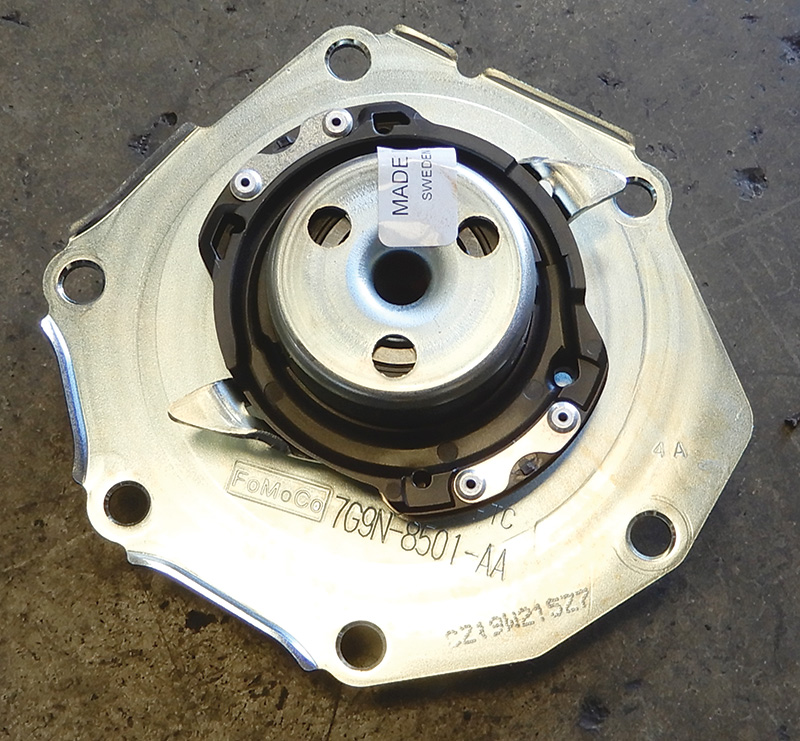
Now that pump is on the engine, remove the spring assembly from the old water pump and install it on the new pump, making sure that it sits in the right position. Take the alignment plug from the water pump kit and put it into place at the middle of the water pump.
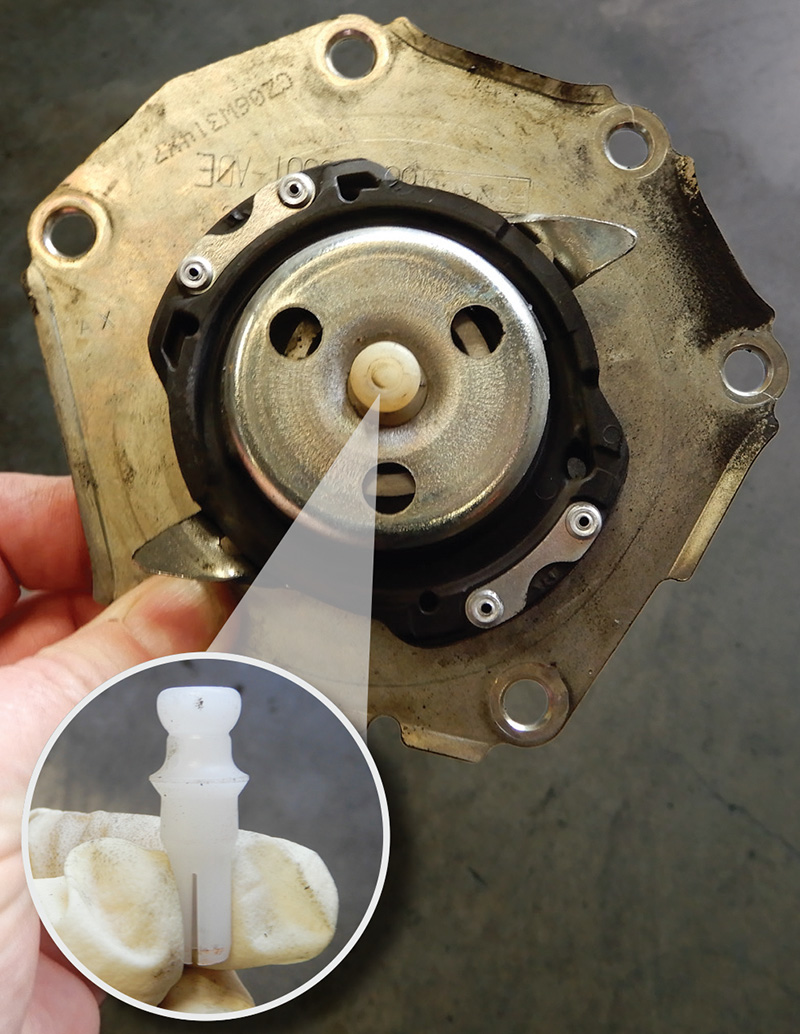
Once the spring assembly is on the water pump, then you can install the power steering pump. This part can be a little tricky. First run a new belt, part number 31251046, so it fits around the water pump. Set the power steering pump into place making sure to align the plastic nubs from the spring assembly and pop into place.
Now install two of the mounting bolts at the bottom of the pump and secure. Install the bracket at the back of the steering pump and secure.
Now we’re going to install the two T25 Torx screws to connect the power steering pump to the water pump. Start the screws at the eleven o’clock position and move to the one o’clock position to tighten.
Remember to align the pulley in the correct position to be able to tighten it at the one o’clock position.
Correct position for starting screws and tightening the T25 Torx fasteners at pulley 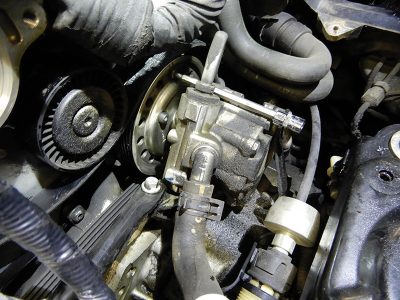
T25 Torx screws positioned in the correct position to remove
This would be a good time to replace drive belt, part number 31251046, the tensioner, part number 31401286 and the idler pulley, part number 31401193.
Next, set the air conditioning compressor into place, routing the drive belt around correctly. Install the bolts to secure the A/C compressor. Connect the electrical connectors at the compressor. Install the brackets at the compressor and for the power steering hard pipe.
Remove the pin out of the tensioner in order to tension the drive belt around the A/C compressor, the water pump and the power steering pump. Hold onto the tensioner pin as you might be able to use it in the future.
Install the battery tray box into place, making sure to route the hood cable through the battery tray. Install the four bolts to hold down the tray. Reinstall the battery and reconnect both positive and negative terminals.
Secure the cowling at the top of the battery and around the wiper arm area. Install the plastic pipe from the air cleaner to the throttle housing. Lift the vehicle up to tighten the clamp at the throttle housing. Lower the vehicle and install the air cleaner box. Put the air cleaner filter in place and close up the box securing four screws that hold it together. Attach the electrical connector for the air mass meter. If you have discharged the A/C system, evacuate and recharge the system.
Add coolant to the system until it’s full at the marks on the reservoir. Volvo recommends vacuum filling on all engines.
Be sure to check the power steering fluid and top off. Before starting the vehicle, turn the steering wheel back and forth to release all air from the system. This could take up to twenty times. You will see air bubbles in the power steering reservoir start to go away.
Once the bubbles are all gone, start the vehicle and check the power steering fluid to make sure it is full. Check the coolant level and keep it to the full mark. Check to make sure there are no leaks from the coolant system or power steering system.
Test drive the vehicle until the full operating temperature is achieved. Recheck everything again just to be sure the vehicle is in perfect condition.
Here’s a quick look at what we just talked about — replacing the water pump driven by the power steering pump.
- Disconnect MAF sensor
- Disconnect intake
- Remove air cleaner housing
- Remove the battery and tray
- Lock the tensioner open
- Remove the A/C compressor
- Remove bracket between A/C compressor and steering pump
- Free the bracket behind steering pump
- Remove the power steering pump and the pulley
- Remove water pump from engine
Replacing water pump for belt-driven water pump
Replacing this water pump is a little less intimidating. This pump is run directly by the drive belt and not by the power steering pump.
Adjust the vehicle on the hoist, and remove the coolant cap at the reservoir. Raise the vehicle up and drain the coolant at bottom of the radiator.
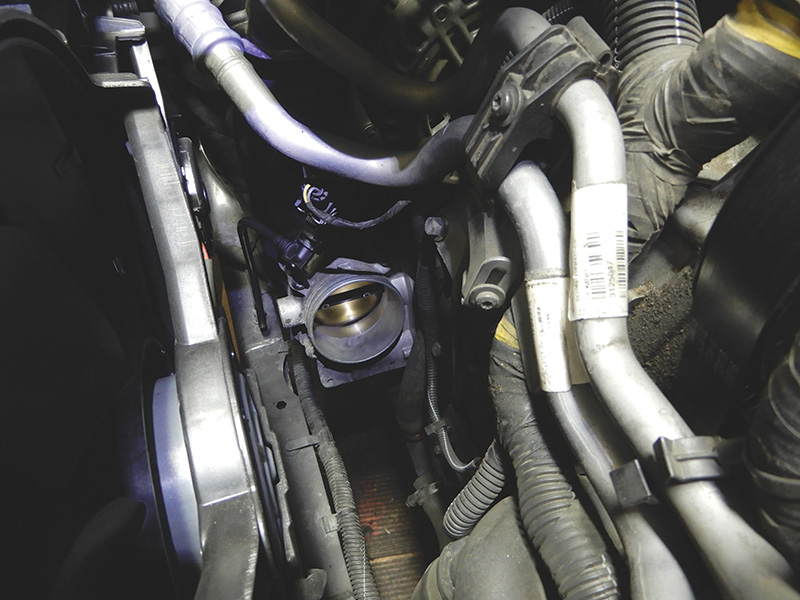
Once coolant is drained, tighten the drain plug, and loosen the clamp at the throttle housing while the vehicle is still on the hoist. Lower the vehicle and remove the air filter lid, disconnect the air mass meter and pull off the hose at the throttle housing with lid.
Disconnect both negative and positive battery connections and remove the battery and battery tray from the vehicle and set aside. Using a 19 mm wrench, pull back on the tensioner and insert a small 3 mm drill bit or pin to hold the tensioner in place. Remove the belt. If the belt and tensioner make noise or are old, this would be a good time to replace them.
Depending on how much room you need, it might be a good idea to remove the air conditioning compressor out of the way. Just remove all brackets and electrical connections. Remove the bolts holding the A/C into place.
There is a T30 Torx screw that supports the two A/C lines. Just remove it and then you will be able to set the A/C compressor off to the side without discharging the system. If the lines seem to be in the way, you can use an A/C machine and recover the refrigerant from the system and remove the hoses from the compressor. Be sure to tape up the compressor and hoses to prevent letting in moisture or debris.
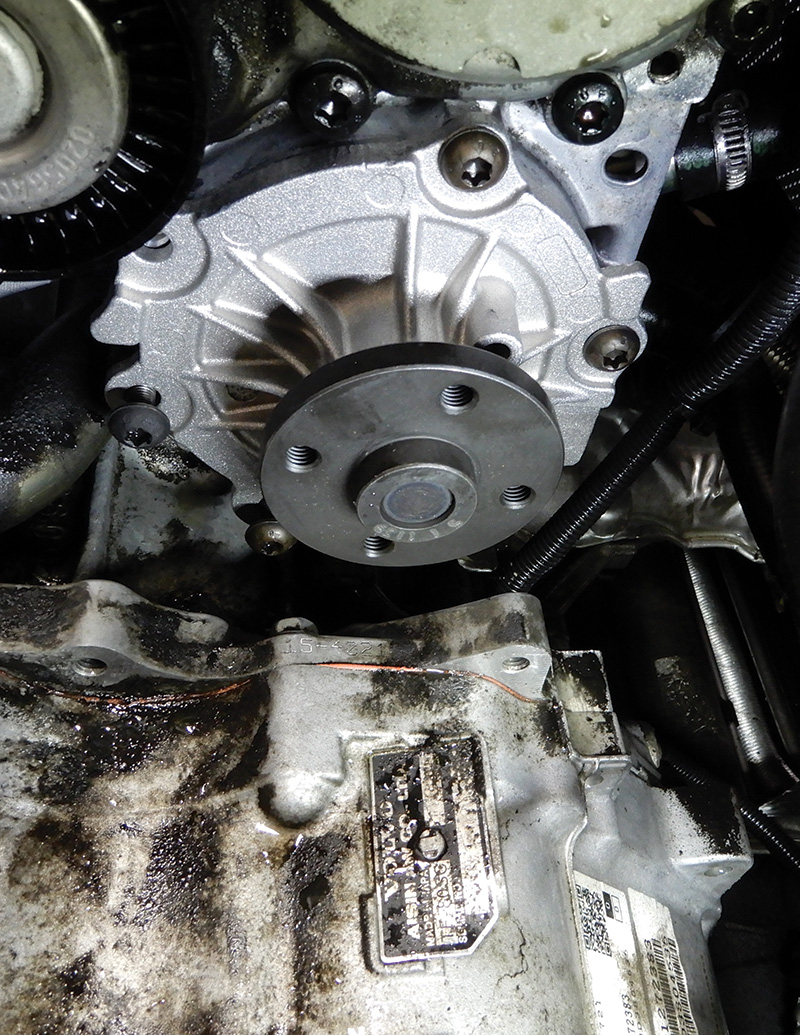
Now that the water pump is exposed we can remove the front pulley. Four 10 mm bolts hold it on; just remove all four and the pulley will come off.
There are six T40 Torx fasteners that need to be removed from the water pump in order to remove it. The one T40 Torx fastener on the bottom can be hard to reach. Use a small Torx bit and a wrench to remove this one.
Clean the surface and remove the o-ring. Make sure to always use Genuine Volvo parts. The correct part number for the water pump is 31293303. Install the new pump making sure the o-ring stays in place. It would be a good idea to use silicone, a small amount, on the o-ring so it will stay in place. Secure the six bolts for the water pump. Route the belt around the water pump and install the front pulley with the four bolts.
Replacing the drive belt, tensioner, and idler pulley would be a good idea at this point. The drive belt part number is 30757007, the tensioner is 31401286 and the idler pulley is 31401193.
Now that the belt, tensioner and pulley have been replaced, let’s set the air conditioning compressor into place and route the drive belt around the compressor. You might have to pull the tensioner back a bit to loosen tension for compressor to sit in place. Install the bolts to secure the compressor. Install the brackets for the compressor and hook up the hoses that were removed. Make sure the o-rings are good and in place, and secure the hoses.
Put the battery tray back into place and bolt down accordingly. Sometimes these battery tray bolts are very rusty and the heads are rounded off, so you might have to replace them. Once the battery tray is in place, install the battery and hook up both negative and positive connections, with the negative connection last.
Pull out the pin for the tensioner in order to tighten up the drive belt. Now that everything is in place, add new coolant to the system and fill. Once again, vacuum filling is recommended. Start the vehicle and run up to operating temperature. Make sure there are no leaks and test drive the vehicle.


0 Comments