
Since Volkswagens have always been high on the list of fun-to-drive cars, their owners often opt for manual transmissions. So, clutch work is still with us
While an automatic transmission is simpler for the driver to operate than a manual gearbox would be, it is also a lot more difficult and expensive to diagnose and repair. For instance, when there’s a shifting problem, the technician needs to isolate if it’s being caused by the electronics, or a mechanical component inside the transmission. Manual gearboxes, on the other hand, are easy to troubleshoot, require little to no maintenance, and generally last the life of the car without expensive repairs. But there is a weak link involved: the clutch. Sooner or later the friction material on the disc will wear out, springs will weaken, and other parts will deteriorate.
Don’t assume
Whenever you get a case of slippage and the car’s odometer reads high mileage, chances are the friction material on the disc is just plain worn out. But don’t jump to any unfortunate conclusions. Check that release mechanism before pulling the transmission. Depending on the year and model, Volkswagen clutches may be actuated either hydraulically, or by means of a cable. Also, the cable may be adjustable, or self-adjusting.
There’s little margin for error in release distance. It doesn’t take much in the way of worn parts, air in the hydraulics, or assembly or adjustment mistakes to cause trouble. Check everything from fork, pushrod and ball stud pivot wear surfaces to cable and automatic adjuster condition and cylinder leakage. Since it’s so easy to go wrong, look at all those parts carefully at disassembly so you’ll know exactly how they go together.
If chatter is the complaint, again don’t automatically blame the friction components. Deteriorated motor mounts or a loose torque strut could be the culprit — a quick look and a little pushing and pulling will let you know. Also, what kind of a release/engage signal is the clutch getting? If it’s jerky because of guide tube or fork roughness, you can’t expect the other components to work right.
When somebody tells you that the gnashing of transmission teeth is jarring his nerves, do a spin-down test. You should be able to engage reverse (which hasn’t got synchromesh) without clash within no more than 10 seconds after depressing the pedal. No? Then there’s excessive drag, possibly due to a dry and corroded pilot bearing. Another thing to think about is corrosion on the spline that keeps the disc in contact with the flywheel.
Then there’s the opposite situation — no engagement. Again, the release mechanism is the first place to look, and faulty assembly is the probable cause.
Do it all
In cases where you’re satisfied that the transmission has to come out for further clutch inspection and parts replacement, the steps include removing both axle shafts along with the shift linkage and gearbox/engine mounting bolts. The starter may need to be removed as well.
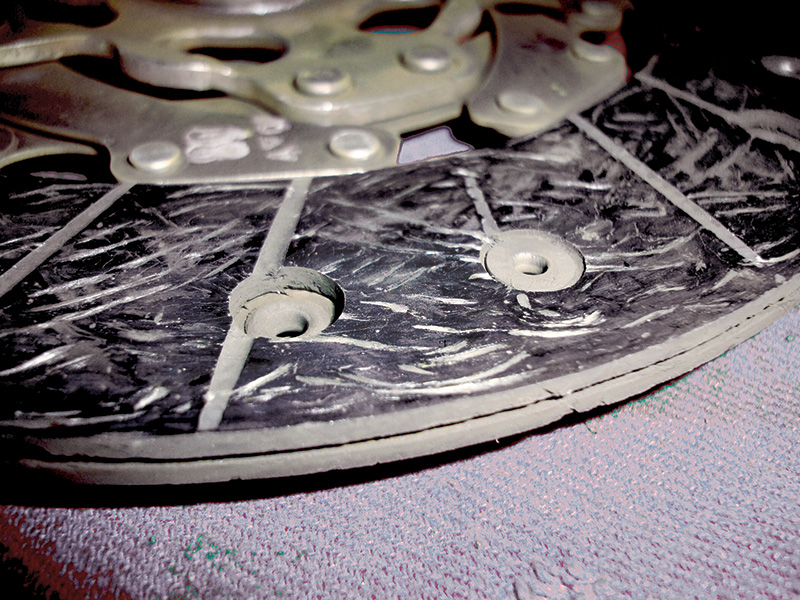
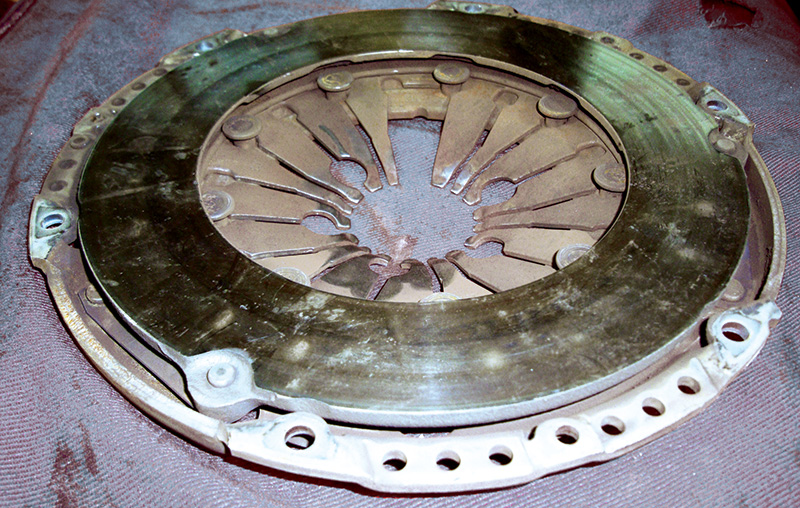
It’s unfortunate that some people believe that you only need to replace the clutch friction disc (a.k.a. fiber plate) when its linings have worn out. This is a decidedly unprofessional view. Not only do pressure plates wear, but the throw-out bearing is under load during every shift. Since it’s such an involved process to R & R the gearbox, it’s more cost-effective to replace all of these components while everything is apart.
There’s a development that’s made this job more convenient for us: the availability of clutch kits. That means you get the disc, pressure plate, release bearing, and a plastic alignment tool in one package. Some even include a pilot bearing. These kits can be purchased from your Volkswagen dealer’s parts department.
Flywheel factors
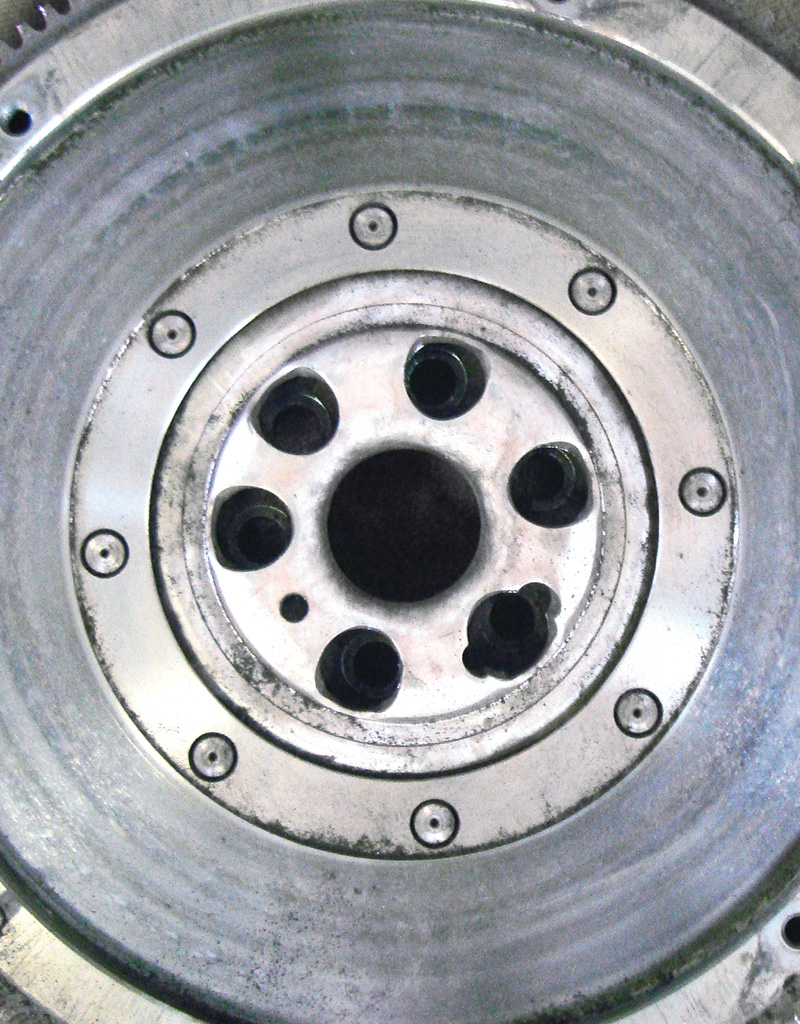
The real question you need to ask yourself is, “What do I do with the flywheel?” It is recommended that you machine the entire clutch surface to assure proper grip with the new friction material. Not attending to this may void the warranty on the new parts. This is not to say that there will never be a case where the flywheel is fine as-is. Basically, it should have no visible cracks, wear, discoloration, burned spots, grooves, or ridges. Accumulations of facing material or blued areas can be eliminated with fine sandpaper. The rule of thumb for max runout, by the way, is .003 in.
Many technicians don’t really understand the ideal surface. No, not rough as a file, although there’s a common misconception that such a finish gives lots of bite. It should be as smooth as possible because engagement power is a matter of maximum surface area.
Volkswagen uses a “stepped” flywheel design. This means if you machine the inner portion you are actually moving the pressure plate away from the flywheel. This increased gap will reduce the grip the pressure plate and flywheel will have on the fiber plate. In order to maintain the same factory specifications for flywheel depth, you will need to cut the upper step the same amount as you did the flywheel clutch surface. To do this you are going to have to remove the pressed-in alignment drive pins from the flywheel so you have a flat surface to machine. By the way, remember to mark the flywheel’s position on the crankshaft before removal.
In many cases, it makes more sense to simply replace the flywheel with a new one. Then you can be sure specifications will be met and the friction surface will be ideal. Some late-model Volkswagens may have a dual-mass flywheel, which absorbs torsional vibrations from the crankshaft. This is achieved with a primary mass bolted to the crankshaft, a secondary mass on which the clutch is mounted, and a spring and damper assembly between them. When removing the dual-mass flywheel, you must line up the bolt holes so the bolts can pass through. Do not use an impact gun to remove the bolts. Remove them only by hand.
New bolts and pilot bearings
When installing any flywheel, new mounting bolts must be used. That’s because they are of the torque-to-yield type — the threads stretch as they are tightened. They weaken and the threads will continue to stretch if used a second time, possibly causing bolt failure.
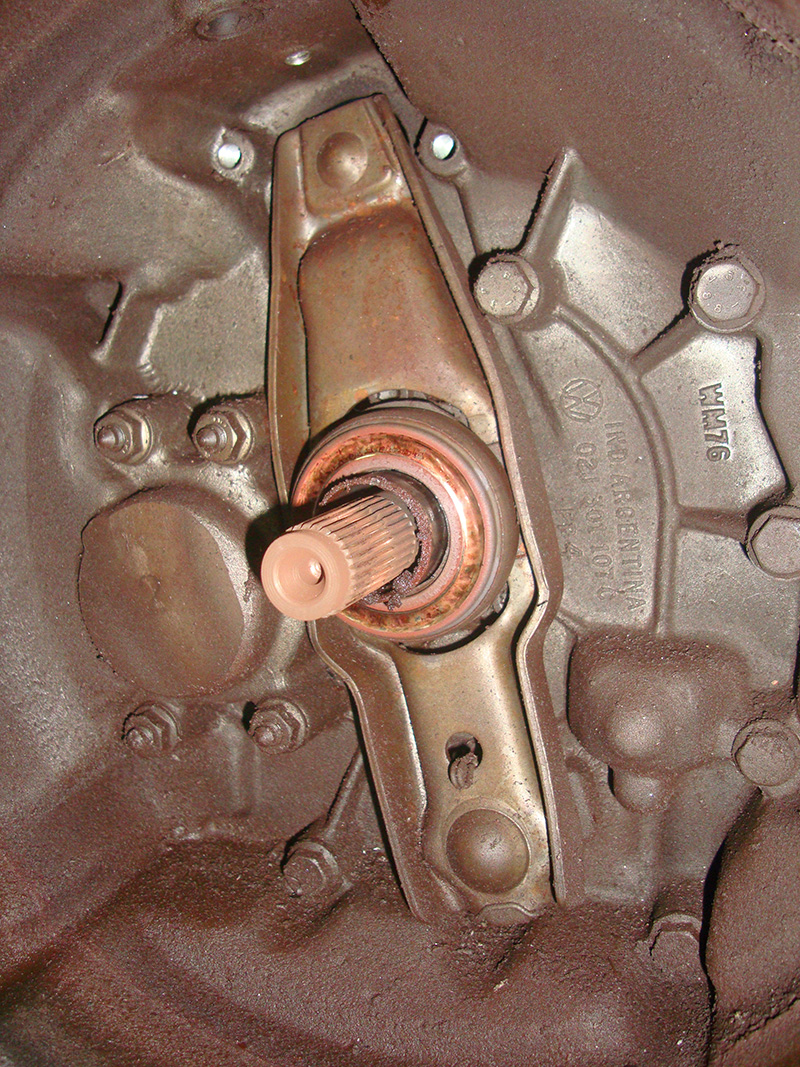
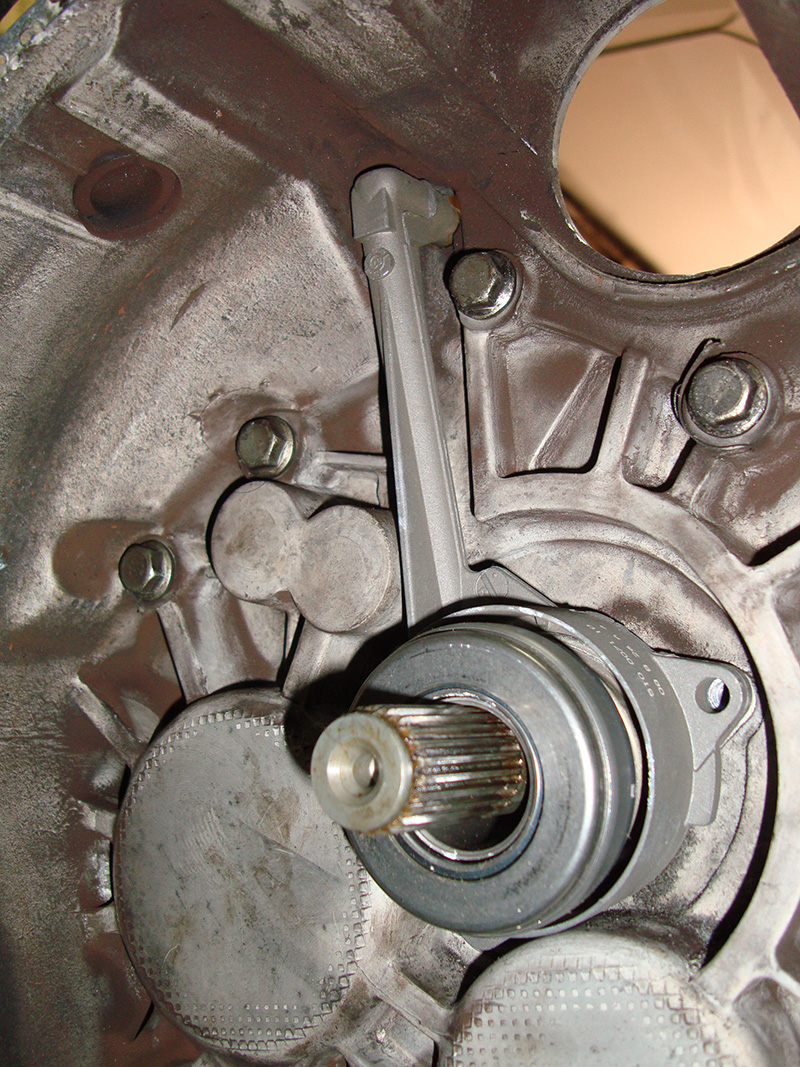
Another part that is often overlooked when doing a clutch job is the pilot bearing. It supports the input shaft of the transmission and can wear to the point that it allows the shaft to move around. This can lead to input shaft bearing wear and unusual noises during shifting. You should remove the pilot bearing with an internal puller and press in a new one with a bearing/race installer.
Armed with your new pilot bearing, flywheel mounting bolts, cut/new flywheel, pressure plate, clutch disc, and throw-out bearing, you can start the reassembly process. Apply high temperature grease to the pilot bearing. Install the flywheel using the new bolts (heed the alignment marks you made — dual-mass flywheels can go on a few different ways). Center the clutch disc using the proper tool, and bolt down the pressure plate. Now replace the throw-out bearing. Use high-temperature wheel bearing grease on the splines the friction disc rides on, and on the shaft for the throw-out bearing. DO NOT use anti-seize compound as it doesn’t have the proper anti-friction qualities, and it tends to fling off, perhaps ruining the friction material. With the throw-out bearing and the fork in the proper position, you can now install the transmission. Bolt on the axles, attach the shift linkage, and install the starter. Self-adjusting release cables should be reset, and the plain type adjusted. Bleed the hydraulics, preferably with a pressure bleeder.
Sometimes customers will worry because pedal effort is lighter after a clutch job than it was before. Explain that you’ve put things back the way they were originally, including getting rid of friction in the release system through cleaning and lubrication, and that this is how the clutch felt when it was new. They just never noticed the gradual increase in the force required.
Basic clutch service hasn’t changed much except that now there are so many small things that can get overlooked, such as new pilot bearings and flywheel bolts, and bleeding hydraulic clutches every two years. Doing it right will increase your sales and provide your customers with proper service and pain-free operation.
Download PDF


0 Comments