By Bob Freudenberger

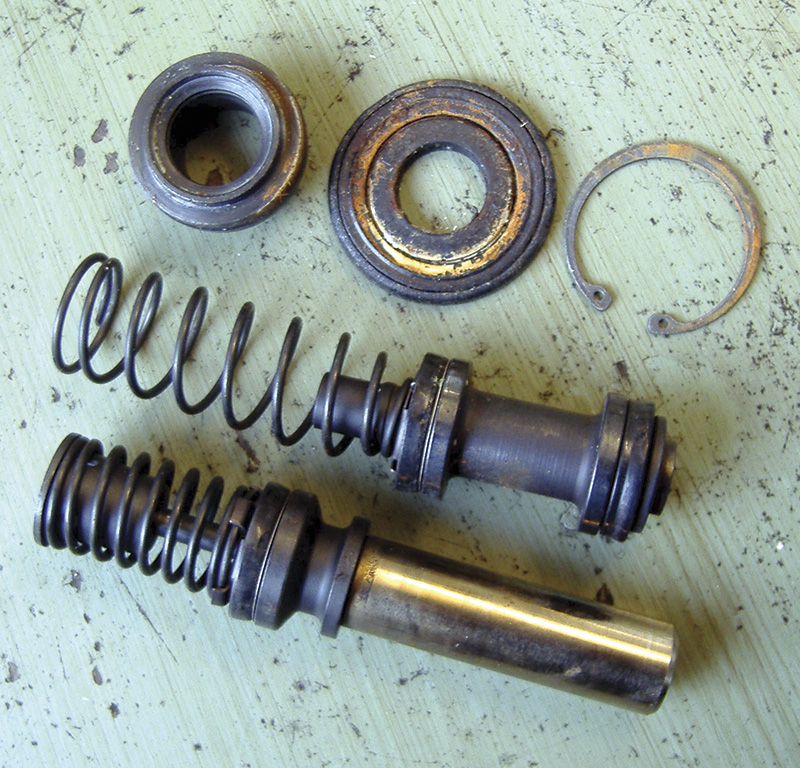
Even this gunked-up, 15-year-old master cylinder was holding fine, so why do people assume that the master’s at fault in low-pedal situations?
“I can’t believe how many low-pedal calls I get,” a brake hotline expert once told us. A training specialist in the same field said, “Our number-one tech call is for a low brake pedal.” And it looks like techs are often guilty of jumping to the wrong troubleshooting conclusion. The authorities concur that the master cylinder is frequently condemned when it’s perfectly all right. One said, “It’s often misdiagnosed as a bad master cylinder — 75% of all the masters we receive back under warranty are really okay.” Another told us, “In the majority of low pedal cases, they’re misdiagnosing air or component failure. The first thing they do is get a new master cylinder. It’s common for them to put on a second one, too, and we’ve had cases where guys have put on as many as six.”
Obviously, there’s a problem here. Given the pace of modern life, it might just be rushed diagnosis, but we tend to think there are two other factors at work: a lack of understanding, and faulty or inadequate troubleshooting procedures.
Triplets
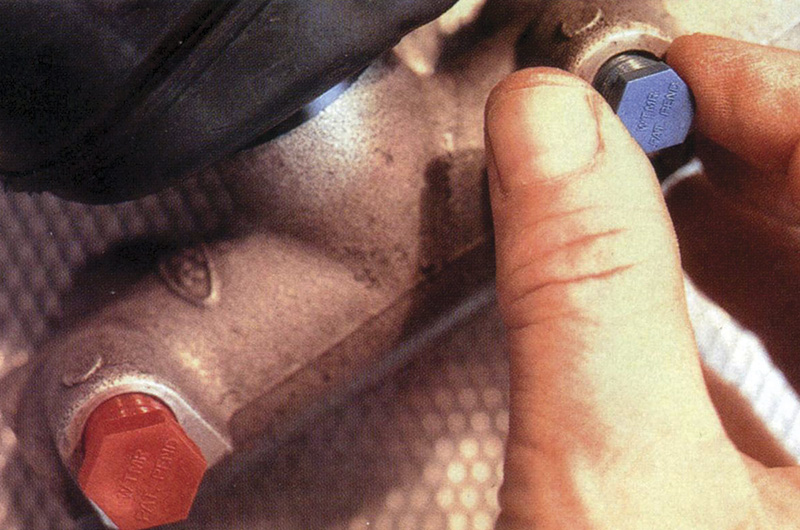
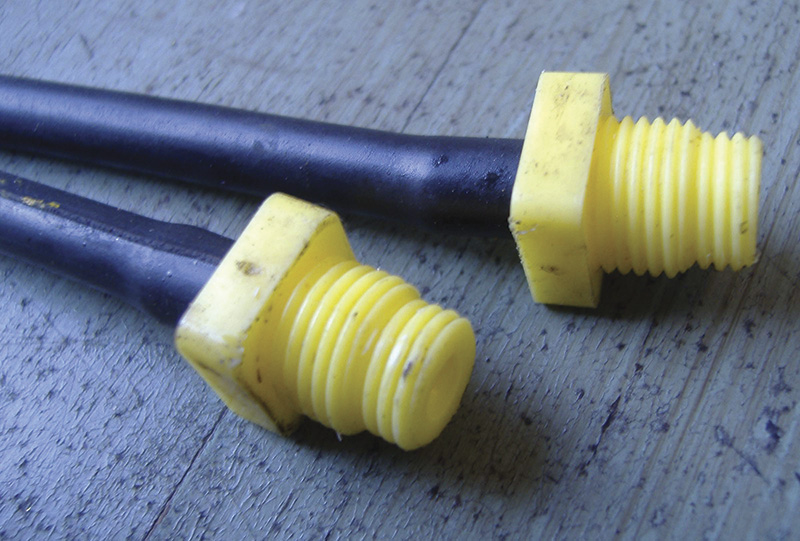
You can find out all you need to know about the master cylinder by simply screwing plugs into the outlets. If the pedal’s high and hard now, look elsewhere.
Think about it for a minute and you’ll realize that a low pedal condition can be caused by three things in particular:
- Air in the hydraulic system.
-
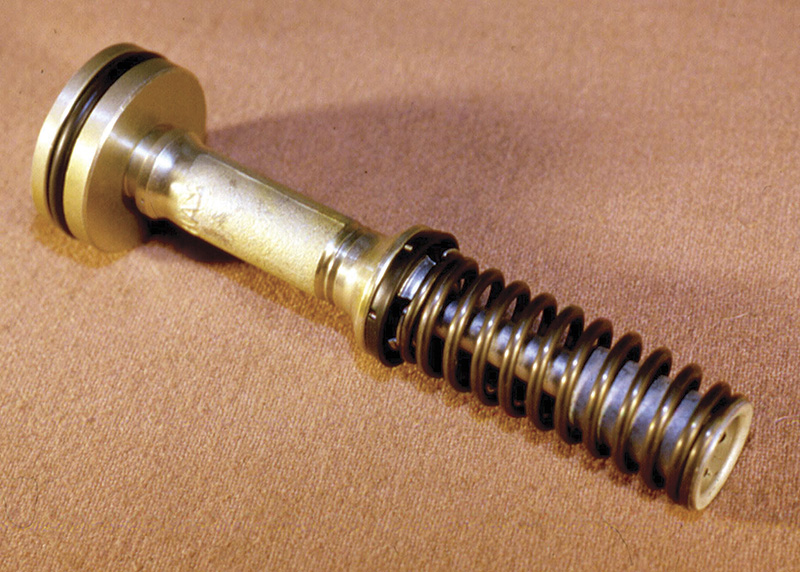
Stepped or quick take-up master cylinders were needed to make low-drag calipers work, but some early designs tended to make motorists complain about a low-pedal or poor feel. This situation has improved tremendously.
Too much space to be taken up before the linings contact the rotors or drums. This may be due to disc runout, which forces the piston back into its bore faster than the caliper can float or slide. With rear calipers that include the parking brake function, there’s a good chance they’re not screwing outward to make up for pad wear (we’ll explain). Or, on drums, there’s often a lack of self-adjustment, or sometimes an out-of-round drum will knock the wheel cylinder pistons back (of course, you’ll also feel a hitching sensation as you apply the brakes at slow speed).
- A master cylinder with leaky seals, or the wrong master for the application.
We’ve been told by people who keep track of these things that air is the culprit 90% of the time.
One simple procedure will save you from wrongfully blaming the master cylinder and embarrassing yourself. Simply remove the lines and screw in plastic or brass plugs (these often come packaged with new units to aid bench bleeding, so collect them in your brake drawer), then step on the pedal. If it’s high and hard now, you can be sure the master’s piston seals are fine. If they were leaking (“bypassing”), the pedal would sink slowly under pressure. You also know that there’s no air trapped inside, and have confirmed that the booster’s okay.
Divide and Conquer
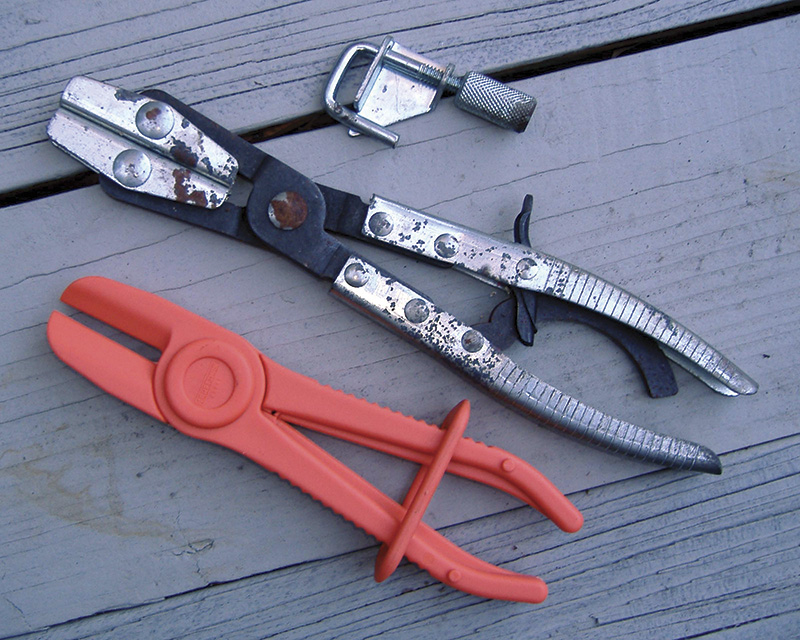
Pick your poison. We used this assortment of clamps for years to pinch off brake hoses, but now we’ve been warned that this practice can damage modern hoses.
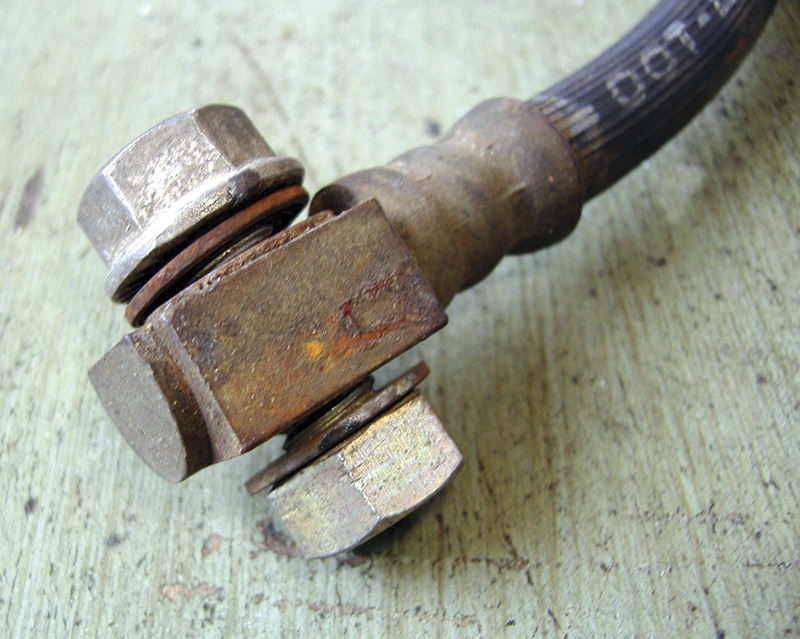
This simple set-up will block off banjo-style hoses. If you get too much leakage, just add a couple of fiber washers or O-rings.
Next, it would be nice to be able to take one wheel at a time out of the equation, which we used to do by clamping off the hoses. We’ve been warned against that procedure, however, because there’s a danger of damaging today’s relatively rigid hoses. If you’re not worried about that, at least make sure you use a proper tool with rounded jaws — no Vise-Grips, please. Otherwise, you can unscrew the hoses from the calipers or wheel cylinders, or the lines from the hoses, and cap them, although the proper caps may not be so easy to find. Some techs use small screws driven into the lines, but that’s a bit too brutal for us. For banjo connections, it’s easy enough to use a nut and bolt and two washers. Regardless of how you do it, releasing one at a time should locate the problem. Of course, there’s often only one hose that feeds both rear wheels, so in those cases you won’t be able to differentiate between the left and the right.
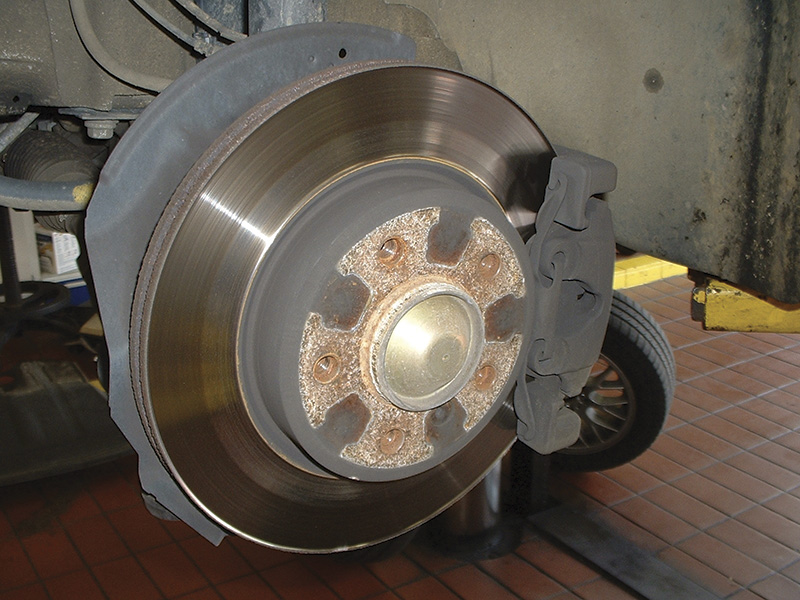
With this mini-drum design, the parking brake can be removed from the list of suspects for low pedal.
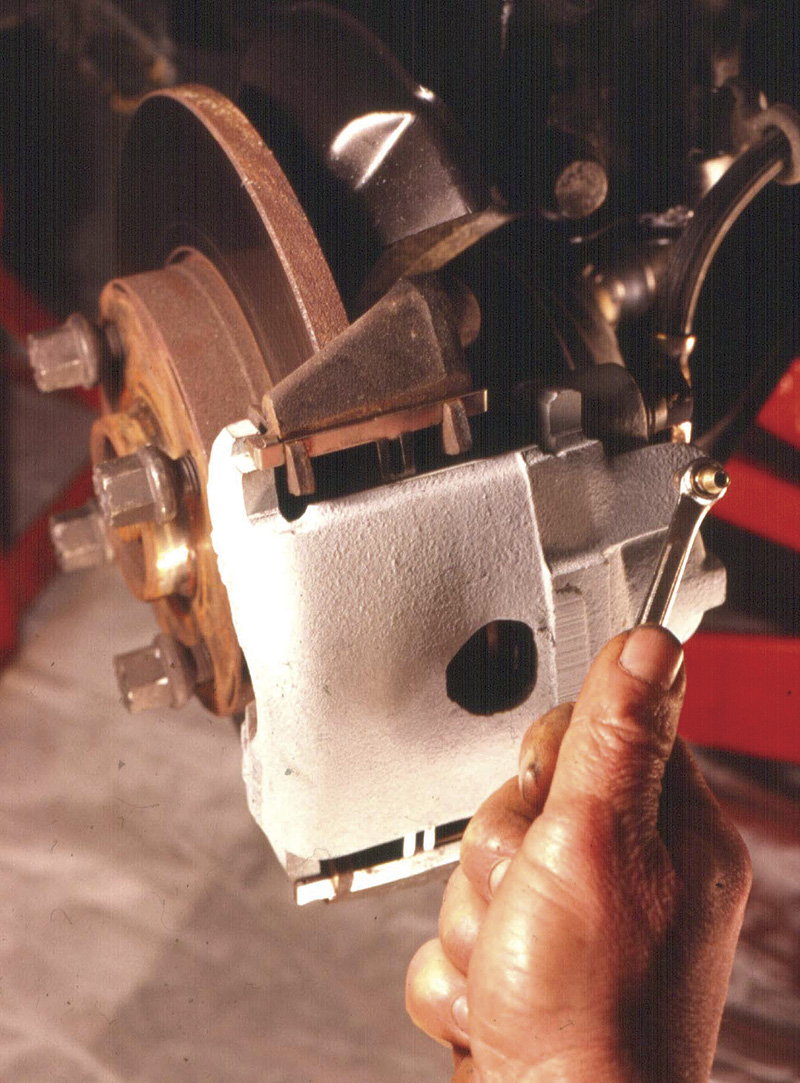
Most enlightened modern rear disc designs have a small drum brake incorporated into the rotor hat to provide the parking brake function, but there are still plenty of cars on the road that have a self-adjustment screw mechanism inside the caliper piston. These are supposed to keep the pads the proper distance from the rotor, yet this mechanism is often overlooked as a cause of excessive mechanical movement between linings and disc. If the motorist never engages this safety device, adjustment simply won’t occur, and that will eventually result in a low pedal.
A common reason self-adjustment doesn’t work is corrosion and contamination of the piston, cylinder, and screw-assembly hardware. So, this suggests two things:
-
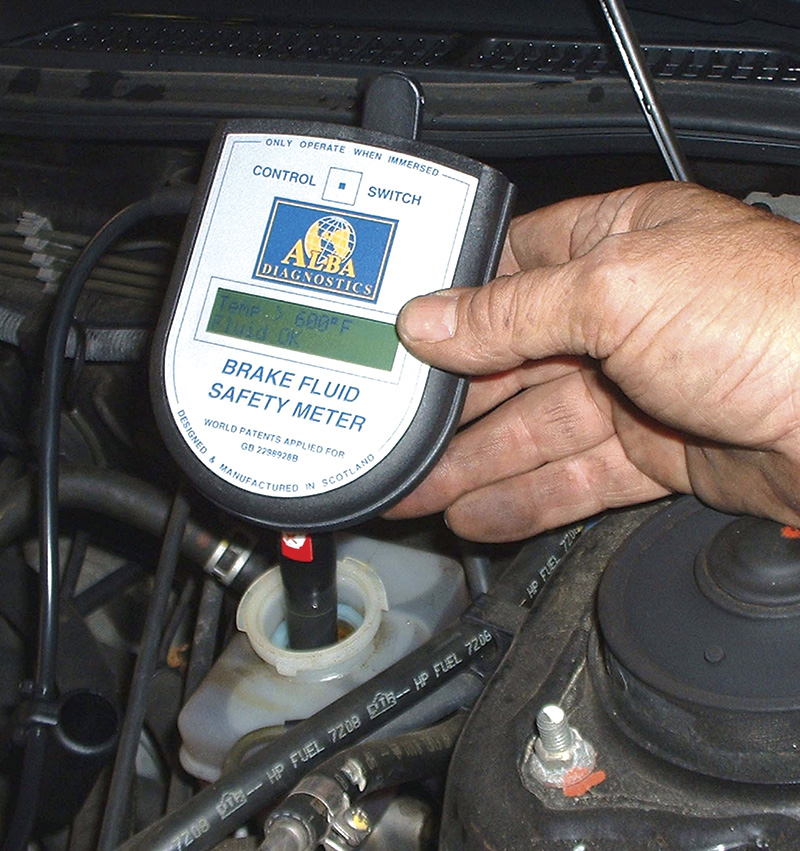
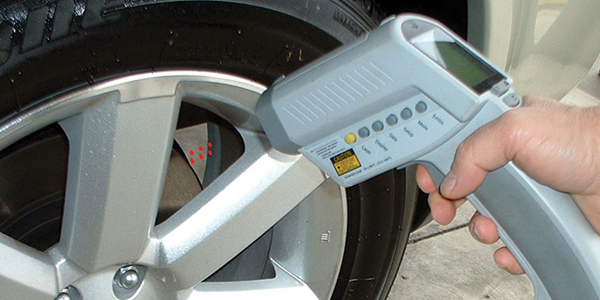
Water in the brake fluid won’t only cause corrosion. It can also result in boiling, especially at high altitudes and hot temperatures. We’re talking a profoundly low pedal and hair-raising experiences. This kind of tester actually boils the fluid to determine its moisture level.
Impress on the customer the importance of using the parking brake every time he or she leaves the vehicle. If this isn’t done regularly, that one time a parking attendant does it, there’s a good chance the brakes will lock up, perhaps requiring a tow. One hotline guru told us some years ago, “Frequently when there’s a low pedal, people will go back and adjust the parking brake by taking the lever off and putting it back on in a tighter position. Now, the parking brake will work fine, but the pedal’s still low because he hasn’t ratcheted the adjustment screw. So, he replaces the master cylinder, but, of course, that doesn’t help, so maybe he condemns the booster. Then he’ll give me a shout ‘I’ve replaced the master and the booster and I’ve still got a low pedal.’”
- This is yet another reason to recommend regular brake fluid changes, as they’ve done in Europe for decades. Maintenance should be your main focus today, after all.
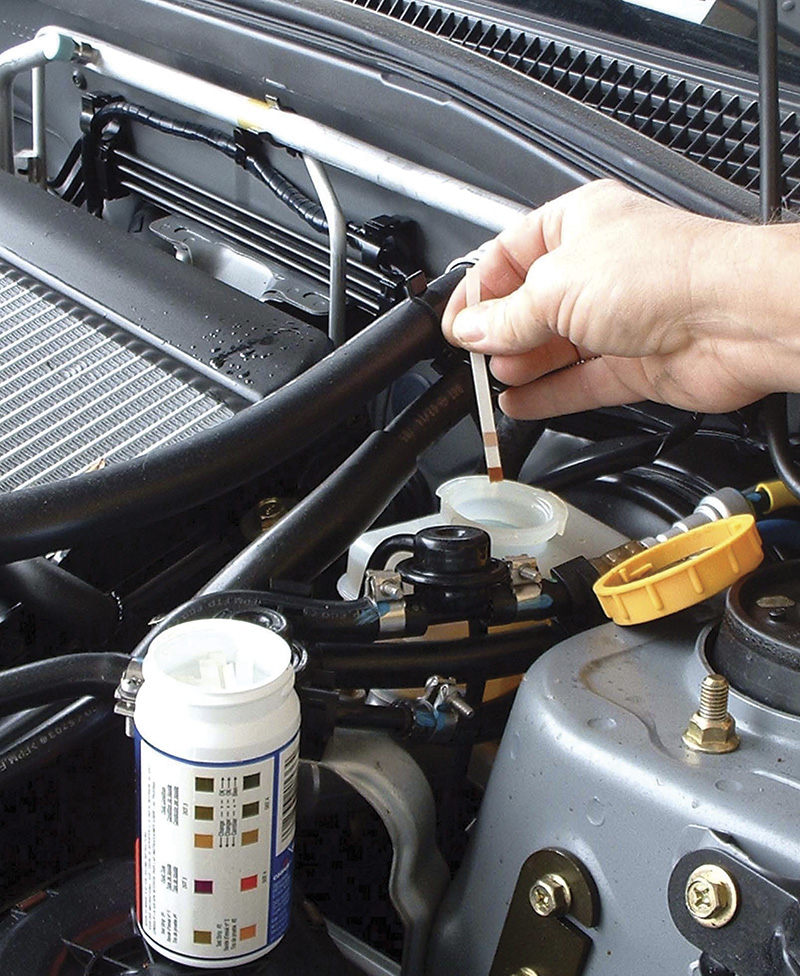
These simple test strips will also tell you the condition of the fluid, and you can staple them to the repair order.
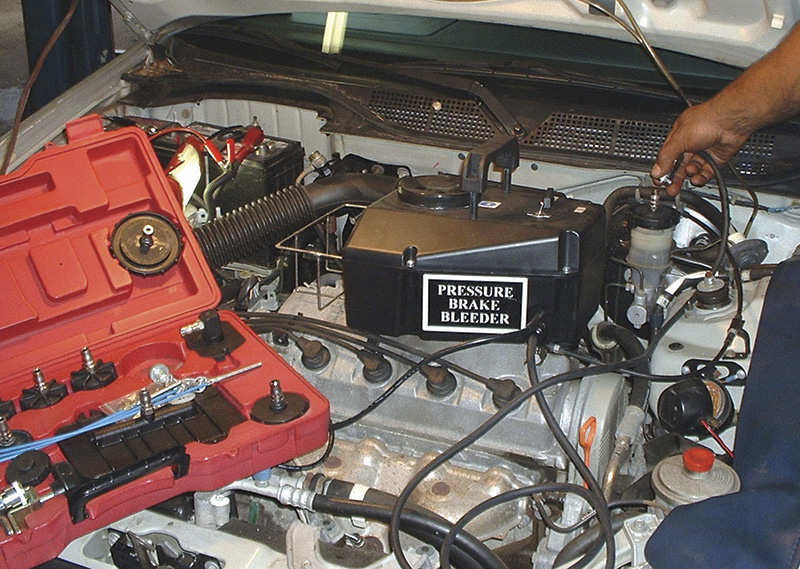
Of course, the point becomes moot if you convince your customers to have their brake fluid flushed every two years, which is a commonly recommended interval.
Rigid Calipers and Drums
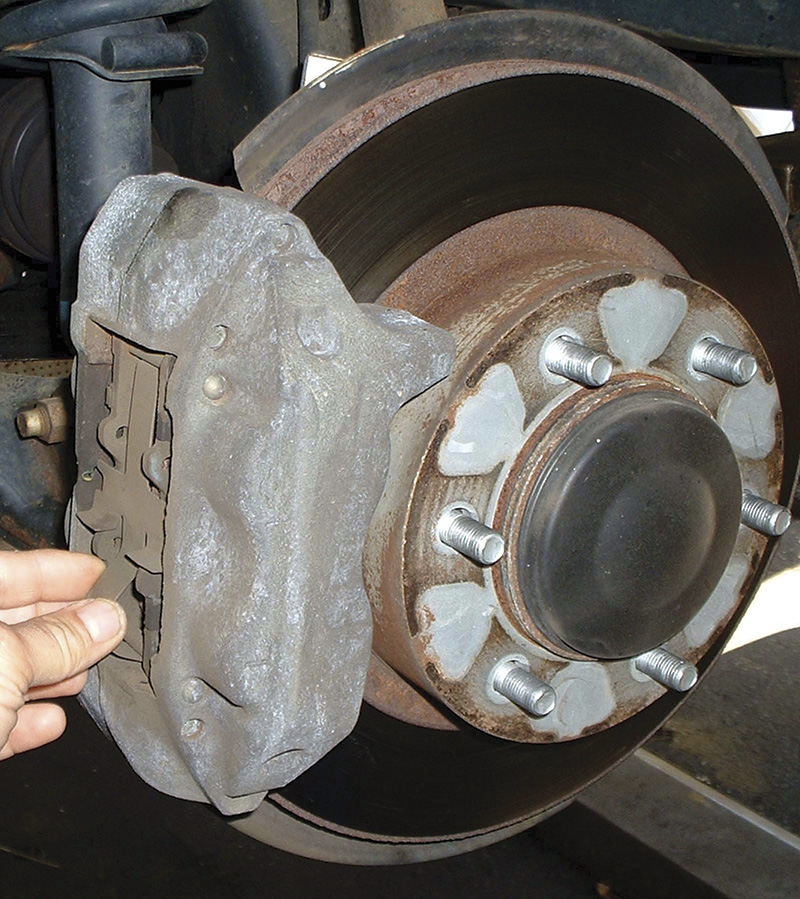
With rigidly-mounted multi-piston calipers, such as on this Toyota truck, axle end play or a warped rotor can push the pistons back and increase the distance the pads have to travel before they contact the disc.
If you can remember that far back, early disc brakes were all multi-piston in rigidly mounted calipers, and the basic idea continues today in some vehicles. Since the calipers don’t slide or float, if there’s more than about .005 in. of axle endplay you might get a low pedal because each time the axle moves in or out while driving, so does the rotor, and this pushes the pistons back so that extra fluid displacement is needed before the pads touch the rotor. A warped disc can do the same thing.
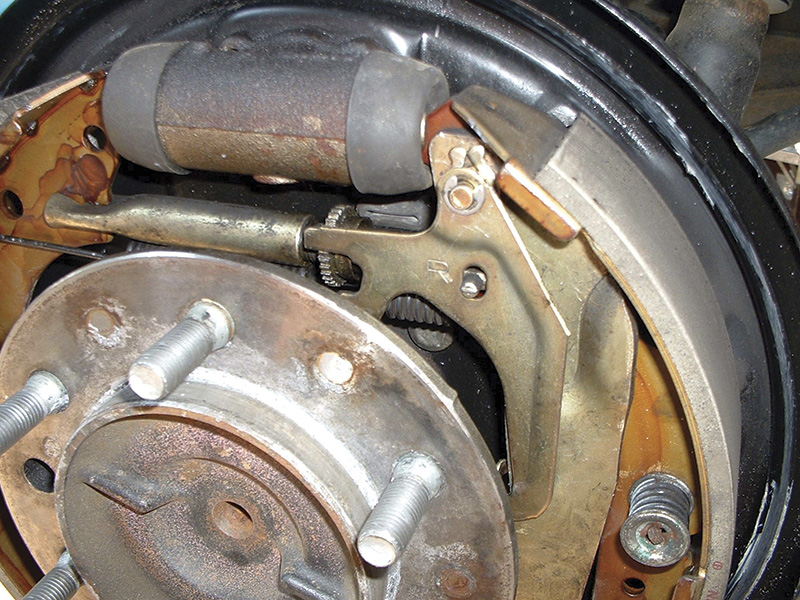
We still see lots of rear drum brakes in the bay, and they’re about the most common cause of the low pedal blues. With your generic cable or lever self-adjusting mechanism, you’ll find seized star wheel screws about as often as not, and it’s extremely common to find that the nipple of the cable guide isn’t properly seated in the hole in the trailing shoe. The best defense against a comeback is to replace the hardware during a reline. At the very least, clean the star wheel threads and treat them to a coating of anti-seize compound or grease, then take the time to assemble everything carefully.
Here’s something most people never take into account: good, smooth drivers who never stop hard enough while backing up to activate the self-adjuster. About the best you can do here is adjust them up the old-fashioned way whenever you’ve got the vehicle on the lift.
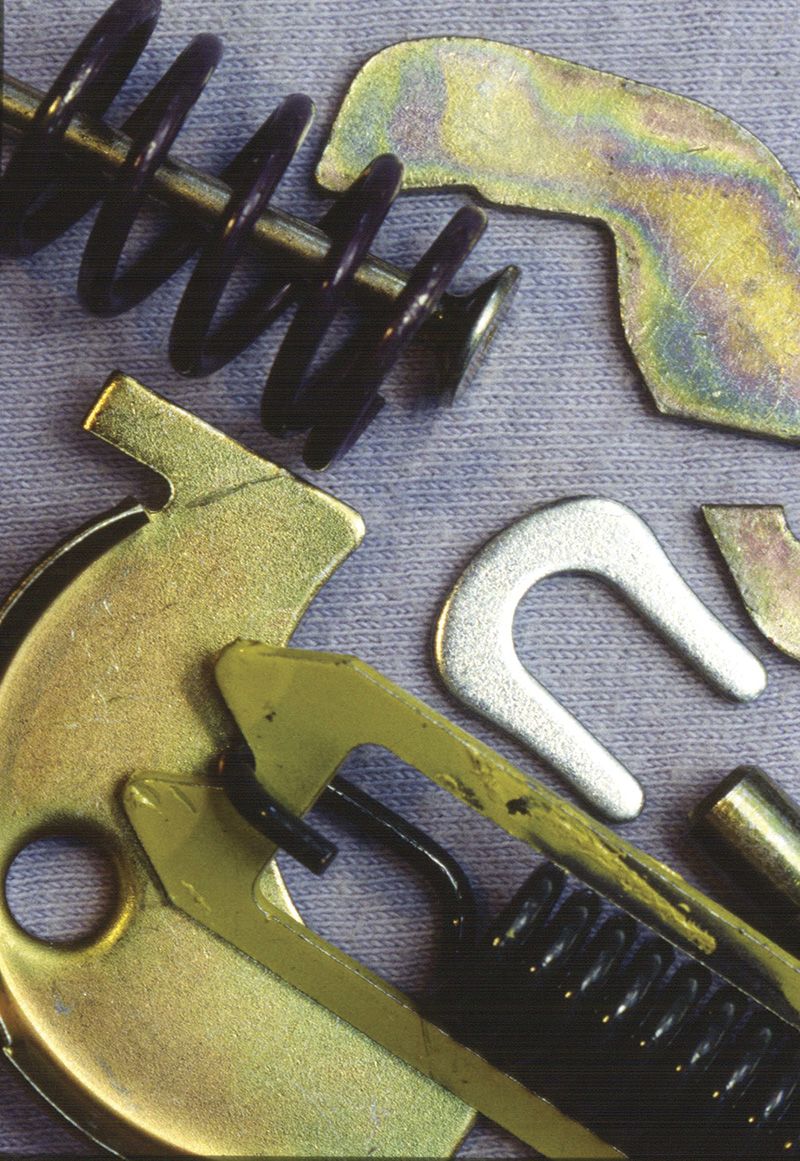
New self-adjuster hardware and careful assembly will assure that the lining-to-drum clearance doesn’t open up. That is, if the motorist makes hard enough stops in reverse to ratchet the mechanism.
Champagne Won’t Work as a Brake Fluid
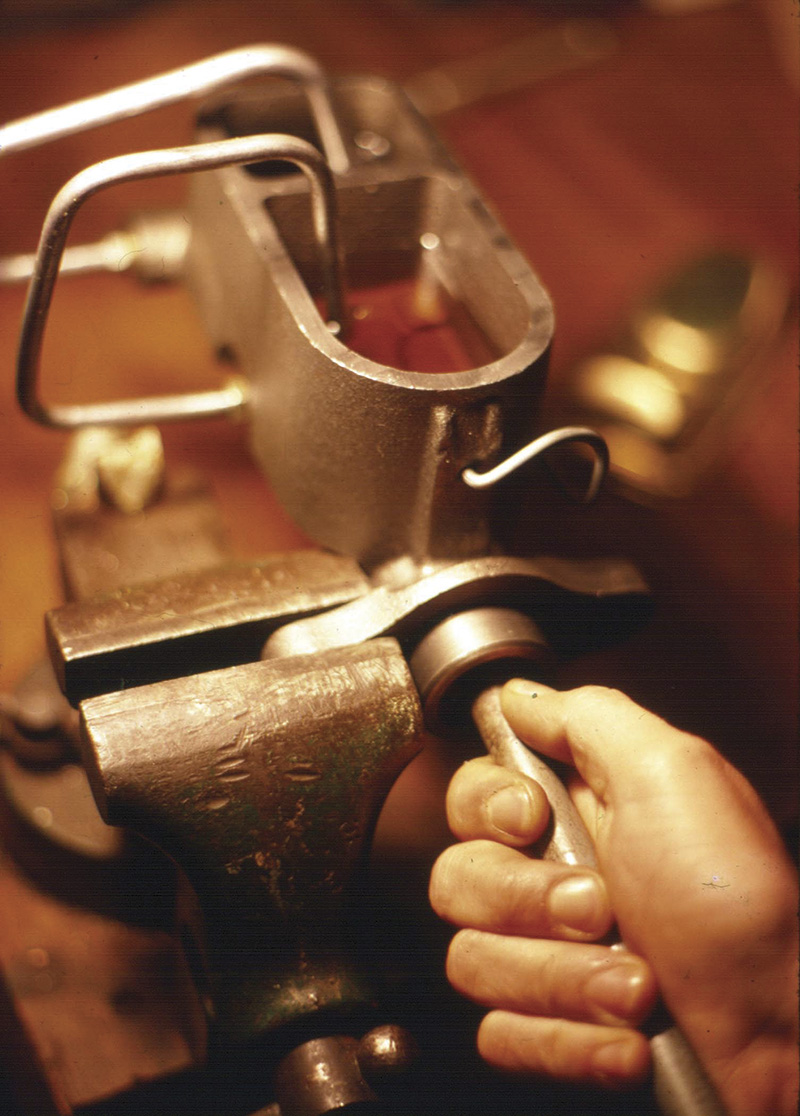
We took this picture way back in 1978 to try to emphasize the importance of bench bleeding master cylinders. Some people still don’t get it.
Air is easily compressed, but brake fluid, of course, is not. Ergo, any air trapped in the hydraulic system will make the transfer of force from the pedal to the wheel brake problematic. Another thing about air that most people don’t realize is that it promotes corrosion.
Bleeding has been a common service operation ever since Dusenberg introduced hydraulic brakes in 1921, a long lifetime ago. With the adoption of dual master cylinders in 1967, metering and proportioning valves, ABS, etc. as automotive evolution unfolded, we’ve had to learn many subtleties, but the basic idea is still to extract every possible air bubble at high points in the system.
Brake parts manufacturers have had so many years of grief over people not bench bleeding masters that they typically include fittings, hoses and instructions in the box.
Believe it or not, even though dual masters became standard 40 years ago, some people still don’t know you’re supposed to bench bleed them before installation. This has been such a problem that brake parts makers even started including plugs or fittings and tubes, instructions and warning tags with new or reman masters many years ago to try to reduce the number of product returns and disgruntled customers.
This can be done, albeit messily, by holding your fingers over the fluid outlets to keep air from being drawn back in on the return stroke, but the acquisition of a couple of plastic or brass plugs isn’t a lot to ask. You can use the traditional tube-and-fitting method where you place the tips of the tubes in the reservoir, if you prefer. The procedure is as follows:
- Clamp one of the master’s mounting ears in a vice so the cylinder is level.
- With a drift, slowly stroke the piston. Wait at least 10 seconds between strokes.
- Continue until you don’t see any more bubbles.
Nobody wants a slippery, messy floor, so when it comes to the bleeders at the wheels use a hose and bottle set-up. This will also help you ascertain what’s in the hydraulic system — pure, clean fluid, water or gunk.
Since almost all the cars you’re working on today have ABS, you can’t ignore the special bleeding procedures that some of them require. Given the amount of service info this entails and the limits of what a magazine can supply, we’re going to have to cop out here and tell you to look it up.

0 Comments