


This article will be about the care and feeding of the legendary Volvo 240 series cars.
Volvo produced over 2.8 million of these beauties worldwide from the years 1974 – 1993, and, even though the newest one of these cars you will see is over 25 years old, there are still a whole lot of these cars on the road today.
The 240 is what most non-Volvo people still think about when they see or hear the word, “Volvo.”
That’s because these cars stand out in a crowd these days, and if you look closely, they have been used in countless TV shows and movies, even today.
We will focus on later versions of the 240 (1986 – 1993) in this article, but a lot of this information can be useful for some of the very rare earlier years (1975 – 1985) of the 240.
If you get these cars coming into your shop, don’t be surprised if they have well over 150K on the odometer, and don’t make the mistake of assuming the car is worn out and should go to the junk yard just because of high mileage. It all depends on how they were taken care of over the years.
But be aware that most of the 240s that come through your door should be treated like a restoration project; let’s face it, the 240 is a classic car.
The fact is, the mighty 240’s chassis and body were built so well that the main reasons they are retired from service are usually collision damage or just slowly rusting away in cities that use a lot of salt on their roads during the winters.
The 240’s body may be still sound, but the mechanical parts do wear out and you should keep that in mind while working on these cars and giving estimates. You should also consider that some of the parts may be challenging to source.
Your local Volvo dealership may still be able to get many of the replacement parts, especially common service parts, so make sure to check with them first for availability.
No start diagnosis
When a 240 is towed into your shop with a no start symptom or even an intermittent hard start condition, there are a few things common to aging 240 Volvos that you should check first before jumping down the diagnostic rabbit hole.
Besides checking the basics, like having fuel in the tank and tight and clean battery connections, you should be checking the Volvo 240’s list of usual suspects.
The most common causes of a crank but no start condition on a 240 are…
1. Main fuel pump failure (most years)
These pumps can take a lot and there are still 240s out there with original pumps on them. When these pumps fail they will usually lock up when the car is hot and may start pumping again when the car cools down.
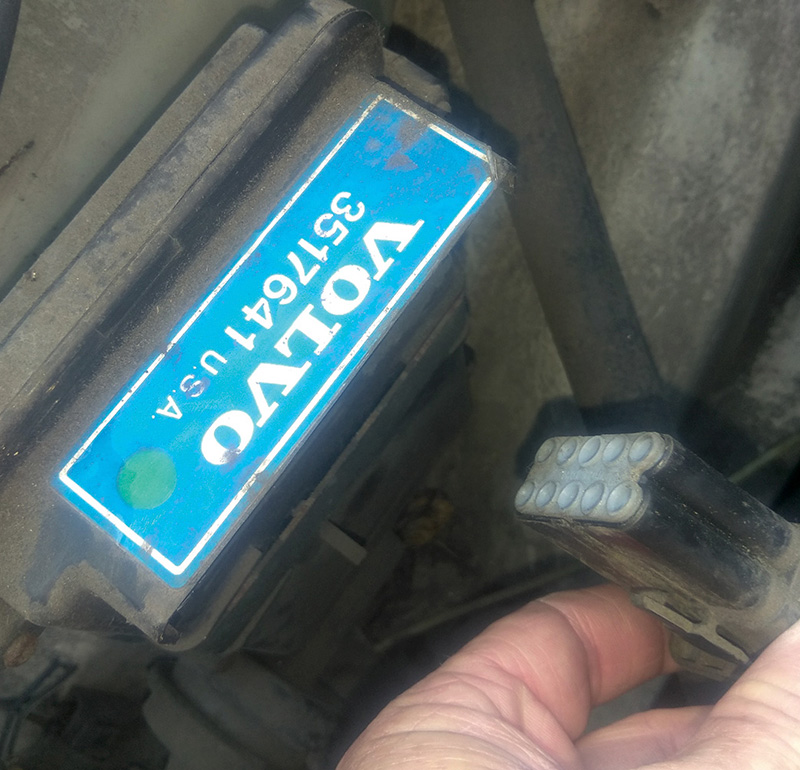
2. Fuel pump relay (most years)
The main fuel pump relay can be troublesome, causing intermittent stalls and hard starting. The most common failure is overheating of the main 12V power connection to the point that the solder joint fails. This is usually caused by a failed pre-pump in the gas tank, which in turn causes the main fuel pump to be overworked and draw excessive amperage that overheats the circuit. You can confirm this failure by popping the cover off the relay and inspecting the solder joints on the circuit board.
The fuel system relay (located behind the passenger side kick panel) is a combined function relay. It combines the fuel pump and fuel injection relay into one unit. The system relay provides current to the fuel pumps, suppressor relay, idle air valve, air mass meter, oxygen sensor pre-heating resistor, and to other ECU controlled functions or components.
The fuel injection ECU controls the relay ground connection. When ground is supplied, the system relay is activated and current can flow to all the related components. If the ground connection is interrupted, no current can reach the components. This enables the fuel injection ECU to control the fuel pump operation. The fuel pumps are activated only when the ECU receives an engine speed signal.
Should the engine stop in case of an accident or other reason, the power supply to the fuel pumps will be interrupted by the system relay, reducing the risk of fire in case of a fuel leak.
On most of the 240s that will come through your shop, you will find the main fuel pump relay located under the passenger side dash, mounted or hanging from the firewall.
If you have a no start condition, even an intermittent one, you should pay close attention to this relay; these relays are usually dated with the year and month that they were manufactured. So even if the relay is not the root cause of the symptom, if it’s over 10 years old you should replace it anyway, especially if you are replacing the main pump.
3. Fuel system fusible link near battery
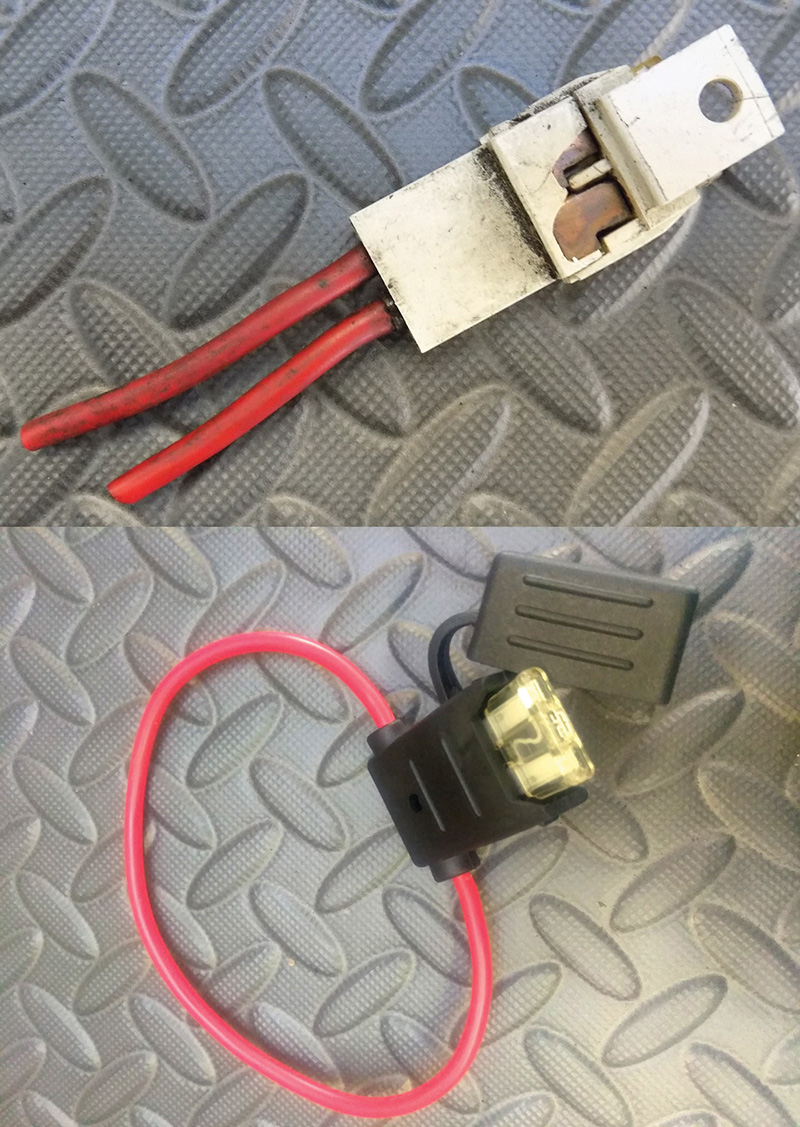
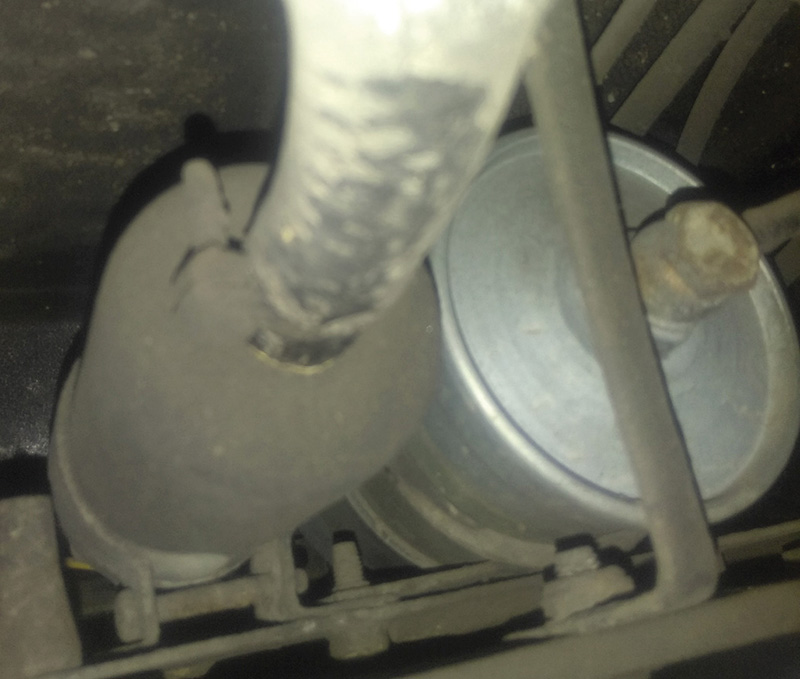
On some later 240s (1988 – 1991) with LH 2.2 Jetronic fuel injection, Volvo used a fuse holder with a 25 amp fuse, installed near the battery as a type of fusible link for the fuel system.
These fuse holders were unprotected from the elements, and over time, begin to corrode. As the contacts corrode they build resistance and heat, causing the housings to break down. This 25 amp fuse provides direct battery voltage at all times to the fuel pump relay, so check this first in a crank, no start situation.
If you can’t source a factory replacement fuse holder, you should install a good quality, water-tight fuse holder, with a new fuse in its place.
Make sure to solder and heat shrink your wire splices.
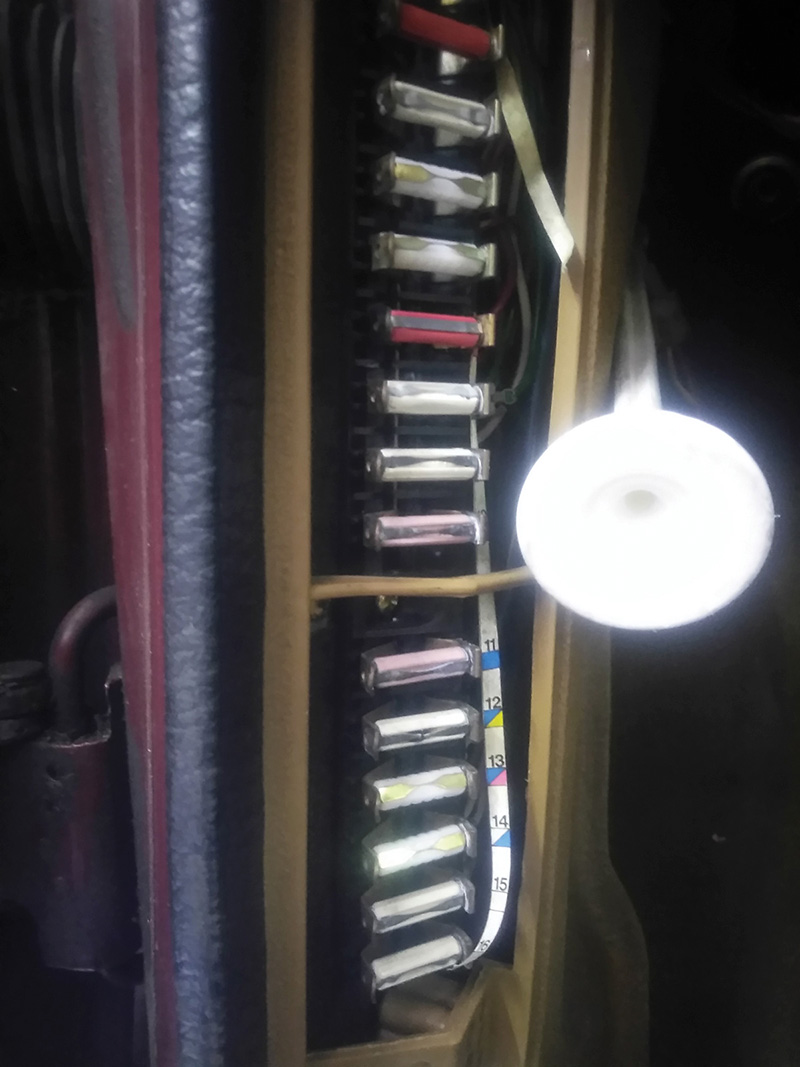
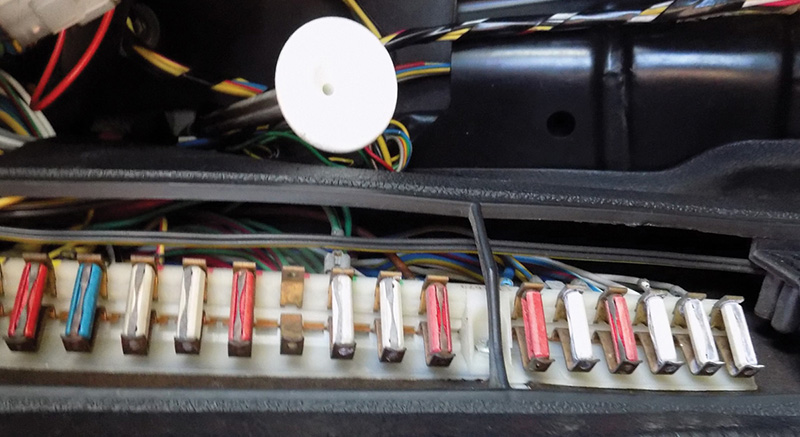
4. Corroded or cracked fuses in main fuse panel next to driver’s feet
The main fuse box is located in the driver side kick panel and suffers from a few design flaws. First, the fuse box is susceptible to corrosion from water that can enter the interior and drip directly onto the fuses. Second, the small contact area of the European ceramic-style fuses also leads to corrosion due to electrolysis. You can prevent numerous problems associated with the fuse box by pulling all fuses and cleaning them annually.
If you encounter an intermittent or no start issue on your 240, you can often get going again by simply spinning the fuses in their holders, which re-establishes electrical contact.
When checking this type of ceramic fuse, the old rules don’t always apply. Sure, they are very easy to see if they have been overloaded and are blown, but in a lot of cases the fuse that is causing a problem won’t be blown.
When inspecting these fuses, use a flashlight and look closely for cracks at the ends of the fuses and for heavy corrosion in the holders.
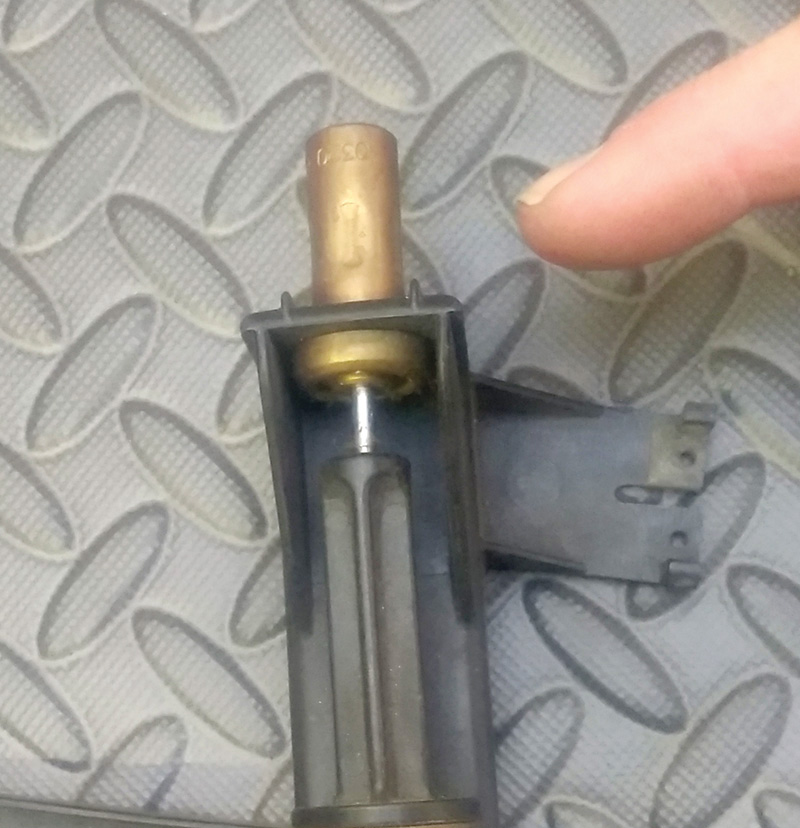
5. Open in distributor coil windings (1974 – 1988)
If you have a no spark symptom it could be caused by an open or short inside the ignition coil’s pickup windings. This is a rare condition and usually only exhibits symptoms when the engine is hot.
You can check for this on distributors with 2 terminals
by using an ohmmeter and checking resistance between the 2 terminals. The resistance should be between
950-1,250 ohms.
6. Bad connections at ignition control unit connector located in right front of the engine compartment (1986- early 1989)
If you have a (1986 – 1989) Volvo 240 in your shop with an active or intermittent crank, no start symptom and you suspect a no spark condition, make sure to inspect the connector and pins on the ignition control unit located in the right front of the engine compartment next to the washer tank.
You can use a spark tester or a timing light to see if the spark comes back. If it does, pull off the main connector and clean and tighten the pin connectors.
Common issues with the 240
Oil leaks
Oil leaks can be common on an old 240, but you should make sure that you are recommending the correct repair when talking to the customer. A lot of techs will mistake a leaking oil pan gasket or leaking rear cam plug seal for a rear main seal leak.
To confirm that you are not looking at a rear crank seal leak, you can just remove the 6 bolts that hold on the lower support bracket at the bottom rear of the engine and look right at the rear main seal with a flashlight and small mirror.
Cracked brake hoses and rusted brake lines
When performing brake inspections on these 240s, always keep in mind the age of these cars.
Look closely at the soft brake hoses and check for cracks near the fittings. In states where they use salt on roads, you should pay special attention to the steel brake lines that run from the front to the rear of these cars. If the lines are heavily rusted, it is time to recommend replacement.
Air box thermostat
Since the early years of emission control, most manufacturers used some sort of intake air cold start warm up system; the Volvo 240 is no exception.
The Volvo 240 uses a thermostatically controlled shutter valve in the air filter box. This thermostat regulates the flow of fresh and pre-heated air into the intake system. Pre-heated air comes into the air filter box through the aluminum pre-heat hose that is connected between the air filter box and the exhaust manifold or downpipe.
It is common for the thermostatic valve to fail in the pre-heated air (open) position. This routes superheated air through the Mass Air Flow sensor (air mass meter) at all times.
If this condition is allowed to continue for a long period of time, it will cause premature failure of the air mass sensor. It will also cause the engine to run very inefficiently as the engine management system will excessively lean out the fuel mixture in response to the hot air.
The engine management systems were never designed to run with an ambient air charge that can be in excess of 400 degrees F at all times.
Check your system on a day when the ambient temperature is above 50 degrees F. The valve should be fully open to fresh air (not pre-heated). If it is open to the pre-heat side, then you should replace the thermostat. Also, if the valve fails to reach full extension at hot and cold extremes, replace it.
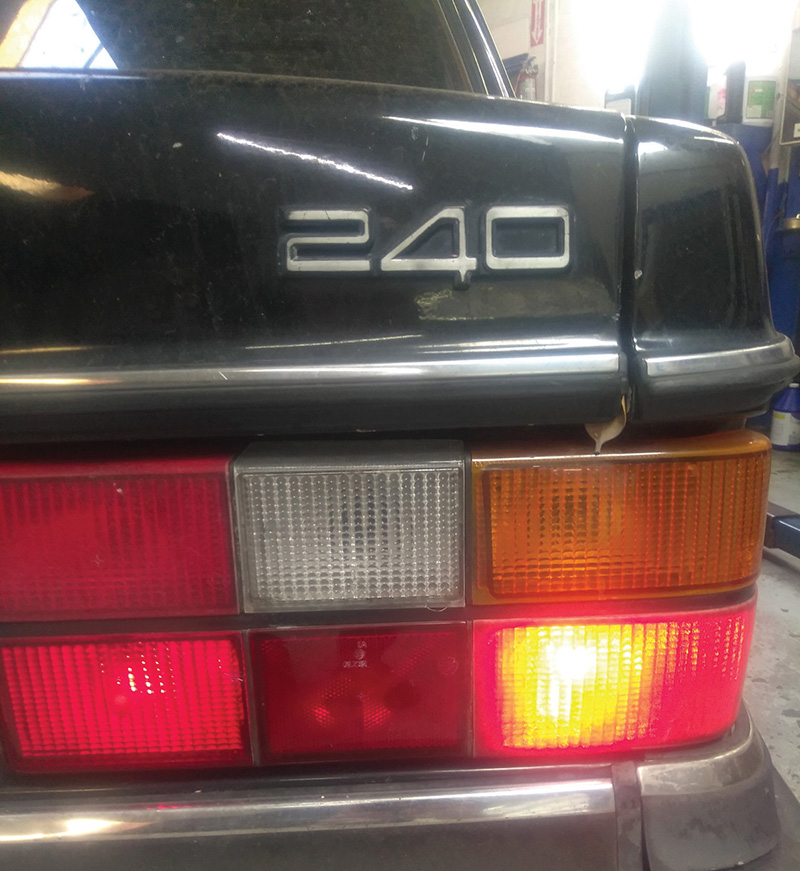
If you have had the pleasure of working on a 240 Volvo’s tail lights, especially a 240 sedan’s tail lights, you will know it can be challenging to get them to work reliably.
These tail lights are unique in that they use individual bulb sockets that get their power and ground from a flexible plastic circuit card that is embedded with copper.
When these cars were new, this system worked very well and was very reliable. But over the years, being subjected to conditions like dust, vibration, heat and especially moisture intrusion, the tail lights can become tricky to keep working all the time.
Luckily most of the 240 sedan’s tail light problems can be easily fixed by cleaning and tightening the connections at the main circuit card connector or just cleaning the contact surface of the card itself.
Service
Valve adjustment
It’s a good idea to check and adjust the valves on these cars every 90K miles, and here is how to do it.
Incorrect valve adjustment can result in low performance, poor economy, and noisy engine operation.
The replacement shims come in increments of 0.05 mm.
- Start by positioning the camshaft at TDC for cylinder 1.
- Cam lobes for cylinder 1 must point obliquely upwards and the ignition mark on the crank pulley must be at 0 degrees BTDC.
- Measure and note the valve clearance for cylinder 1.
NOTE: It’s the same clearance for intake and exhaust valves.
Clearance when checking. Allowable clearances are:
- Cold engine: 0.30 – 0.40 mm (0.012 – 0.016 in)
- Hot engine: 0.35 – 0.45 mm (0.014 – 0.018 in)
Check and note the valve clearance of the remaining cylinders:
- Turn the crankshaft 180 degrees clockwise and check cylinder 3.
- Turn the crankshaft another 180 degrees clockwise and check cylinder 4.
- Turn the crankshaft yet another 180 degrees clockwise and check cylinder 2.
ADJUST VALVE CLEARANCE
Clearance when adjusting. Note that the tolerances are closer than when checking valve clearances:
- Cold engine: 0.35 – 0.40 mm (0.014 – 0.016 in)
- Hot engine: 0.40 – 0.45 mm (0.016 – 0.018 in)
1. Turn camshaft to “clearance checking” position.
2. Remove adjustment shim:
- Rotate the tappets so that the groove is completely to the side.
- Use Volvo press tool 999 5022 (or equivalent) to depress tappets.
- Use pliers 999 5026 (or equivalent) to remove valve shim.
3. Select an adjustment washer of the correct thickness:
- Valve shims are available in thicknesses of 3.30 – 4.50 mm (0.130 – 0.180 in) at increments of 0.05 mm (0.002 in).
- Only use new valve shims if available.
- Use micrometer to measure the thickness of the old shim.
- Oil and install the new valve shim.
- Turn the shim with marking pointing downwards.
- Remove press tool 999 5022.
- Turn the engine over a few times with the starter motor.
- Then check clearance again.
- Adjust if necessary.
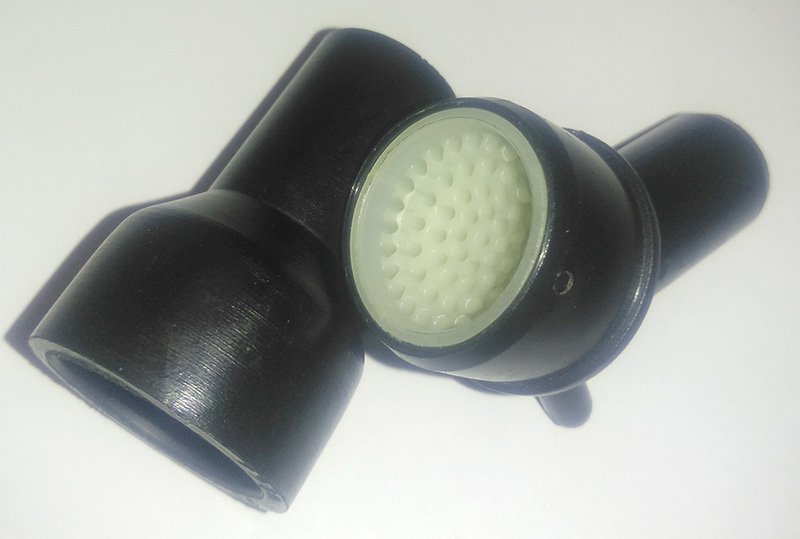
The Volvo 240 uses a simple yet effective design to recirculate the engine’s excess crankcase vapors. Instead of the typical PCV valve used in most cars, the 240 uses a fitting with a screen and a vacuum fitting to draw crankcase gases back into the intake manifold.
These flame trap screens can clog up with carbon over the years and miles and cause excess pressure to start to push out oil seals and cause the engine to burn excess oil.
The flame trap should be changed and the vacuum fittings cleared every 30K miles.
Download PDF


0 Comments