


How to replace the radiator and A/C condenser on a second generation Volvo S80 with B6324S engine (MY 2007-2012).
Replacement of the radiator and/or air conditioning condenser on these cars can be challenging for some technicians because of the number of hidden bolts and screws that have to be removed when performing this job.
You will have to remove the front bumper cover and trim, so care needs to be taken so no damage to the paint finish is done while doing this job.
In most cases, you will be replacing only one of these components at a time. But in some cases, such as collision damage repairs, you may be replacing both the radiator and the A/C condenser at the same time.

In this article, we will cover the replacement of both at the same time.
To start, you will have to drain the engine coolant and remove the plastic cover under the bumper cover by removing the eight screws and three plastic clips.
On the left side of the radiator assembly, there is a drain plug at the bottom. You should loosen the filler cap on the coolant reservoir tank before you drain the engine coolant so that the coolant won’t form a vacuum at the top of the cooling system, causing the coolant not to drain completely.
You won’t be able to drain the cooling system completely this way, so use a drain pan to catch remaining coolant when you disconnect the radiator hoses.
Since you will be disconnecting and working around a lot of engine electrical systems, it’s always a good idea to disconnect the negative battery terminal before you start disassembly.
Next, since you are going to remove the A/C condenser, you will have to recover the refrigerant from the system using an A/C service machine that is set up for R134A refrigerant.
You will need someone to help you remove the front bumper cover and lower the radiator assembly. You could do it by yourself with a lifting stand, but it will be awkward when you remove and replace the bumper cover. It’s much easier to line up when you have someone help you.
Volvo’s instructions on radiator and condenser replacement start with removing the electric fan assembly first by removing the air box, intake pipe assembly, A/C compressor bolts, power steering pipe brackets, battery, and tray.
After all that, they want you to remove the auxiliary fan assembly by pulling it up and out.
Well, that’s one way to do it, but as they say, there is more than one way to skin a cat!
If you have replaced a radiator on an earlier Volvo such as a 2001 XC70, you know that the radiator, A/C condenser, and the intercooler assembly are all sandwiched together. So even if you are just replacing the radiator, it’s usually easier and safer to remove all three components at the same time and disassemble and reassemble them on the ground. Even though you will have to recover and recharge the refrigerant, it’s still the best way to go with the earlier Volvos.
Well, even though the late S80 is a different body type, you can take out the radiator, fan, and condenser through the bottom of the car and save yourself a lot of labor time.
You will have to be careful when lowering the radiator, condenser, and fan assembly because there is just barely enough room to drop all of it out the bottom of the engine bay. But, by doing the job this way, you will save yourself a lot of knuckle-busting work in tight spaces.
Remove both headlamp assemblies by pulling up on the retainer pins and disconnecting each of their main electrical connectors.
Be careful not to drop the headlamp assemblies because it can be easy to damage them internally, especially if the car you are working on has active adaptive beam headlights.
Disconnect the electrical connectors from the auxiliary fan assembly and release any clips that attach the fan’s wire harness to the top of the fan shroud.
Next, you will have to remove the front bumper cover.
Remove the plastic clips at the upper lip of the bumper cover first; if you are careful, you can reuse these clips.
There are usually a few broken or missing clips, so make sure to order some new ones from your Volvo dealer parts department to have on hand.
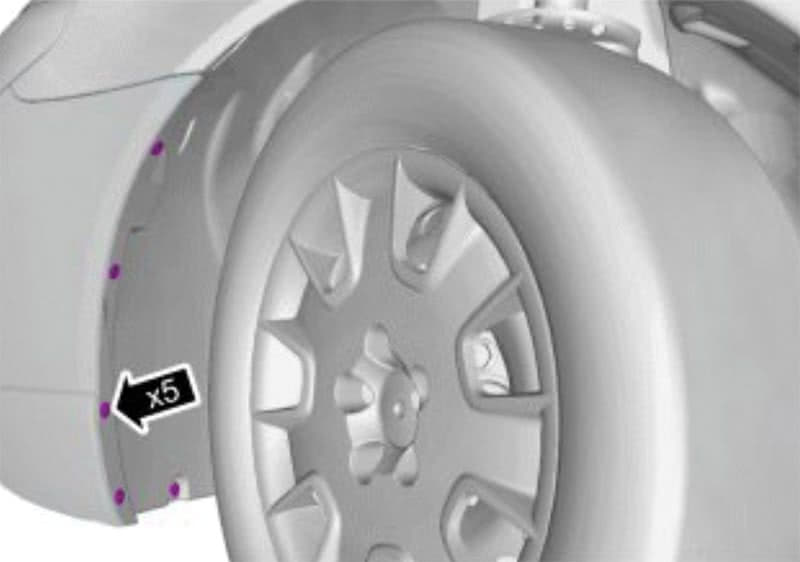
Next, remove the screws from the bottom lip of the spoiler and the T25 Torx screws from the inner fender liners that attach to the bumper.
Now it’s time to disconnect the fog light connectors from under the bumper cover.
If the car you are working on is equipped with high pressure headlamp washer jets, you will have to disconnect the hoses from the washer pump and use a pan to catch the washer fluid that will start pouring out of the washer reservoir. If the reservoir is full, it can hold over a gallon of fluid; so if you don’t catch it, it can make a big mess.
If the car you are working on is equipped with parking sensors in the front bumper, you will next have to disconnect the main harness connector for the sensors in the front bumper.

Once all the connectors and hoses are disconnected from the front bumper cover, you can have someone help you remove it by pulling it forward and out.
Check to see if you forgot to disconnect anything before removing it completely.
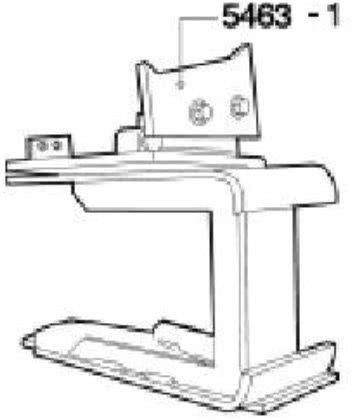
Put the bumper cover in a safe place so the paint won’t get damaged while it’s off the car. Using a bumper stand if you have one is best.
Now with the bumper cover removed, you can get access to the A/C condenser pipes and fittings. (You should have already removed the refrigerant from the system prior to removing any of the A/C condenser fittings.)
On the right side of the radiator support you will see the screws for the A/C condenser high pressure fittings.
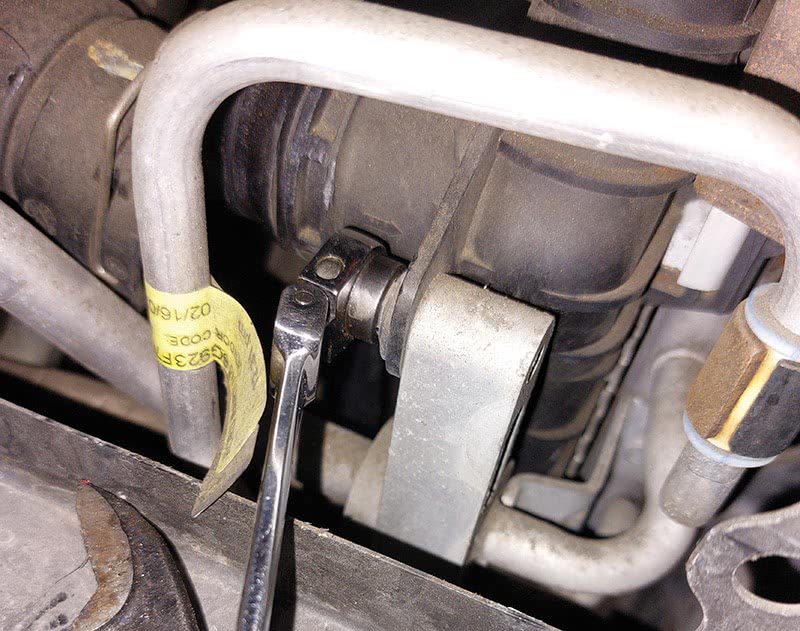
There are two 10 mm bolts that hold the high and low side A/C pipes into the condenser on the right side; you can access them through the opening in the right side headlight bucket. (Make sure to use plugs in any open refrigerant fittings to keep contaminants out of the A/C system.)
The lower one is a little tight, but you should have no trouble removing it with a deep ¼ inch drive socket.

Remember, even if you have evacuated the refrigerant from the system, you may still have some residual pressure when the pipes are removed from the condenser.
When you are ordering new A/C O-rings, you can make sure you get the right size ones by using Volvo’s Service, Parts and Diagnostic Application VIDA (Vehicle Information and Diagnostics for Aftersales) to look up parts diagrams. These are the same diagrams that your local Volvo dealerships parts department uses to look up parts for you when you call.
Radiator Hoses
The radiator hoses on this car are the bonded plastic and rubber type that use formed plastic connections that are secured in place by spring clips.
Now is a good time to replace these hoses with new ones, especially if the Volvo you are working on has over 75K miles on the odometer.
The hoses only go on one way due to a guide slot and ridge that are formed into the hose end connections.
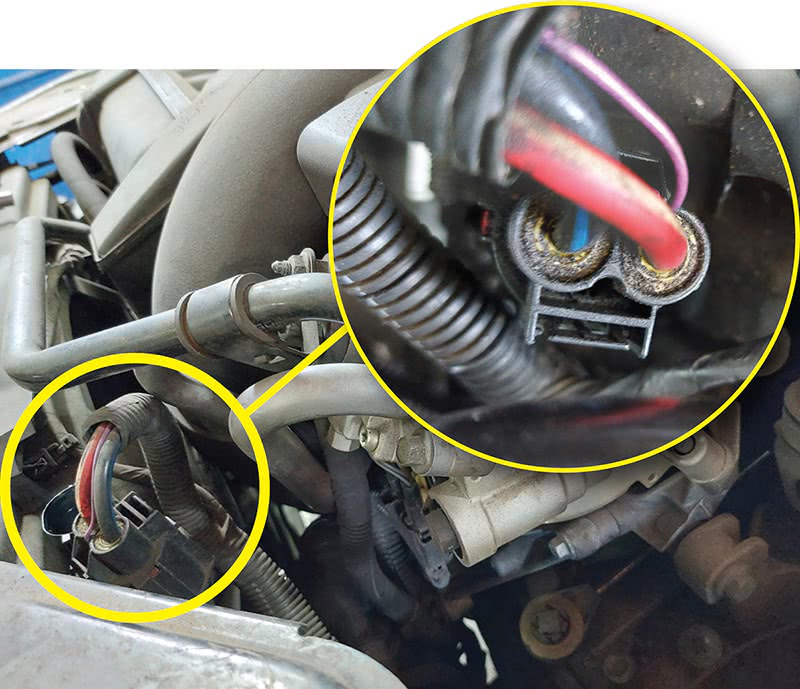
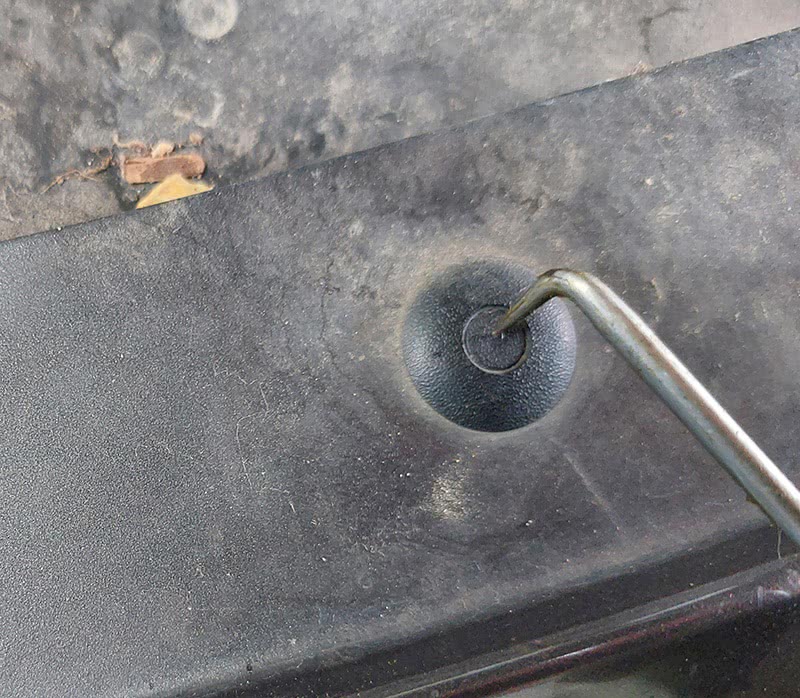
When it comes time to disconnect the radiator hoses, you will need a pick to pull up and disengage the spring clip.
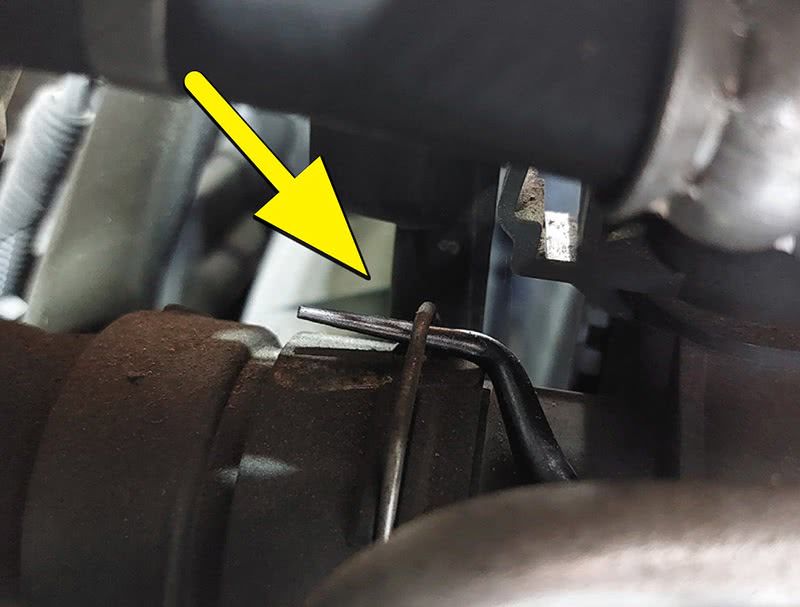
The hose ends can be stuck on and hard to remove, but with a little twist and pull action, you should be able to get them to release.
In some cases, you may have to use a small pry bar or flat tip screwdriver to get the hose end moving, so be careful. You will be applying force to old plastic engine parts that may crack or just break off. You don’t want to cause more work for yourself if you can avoid it.
The upper radiator hose is connected to the thermostat assembly by a plastic fitting, so if the car has a lot of miles on it, now may be the time to replace the thermostat assembly while you have the radiator out.
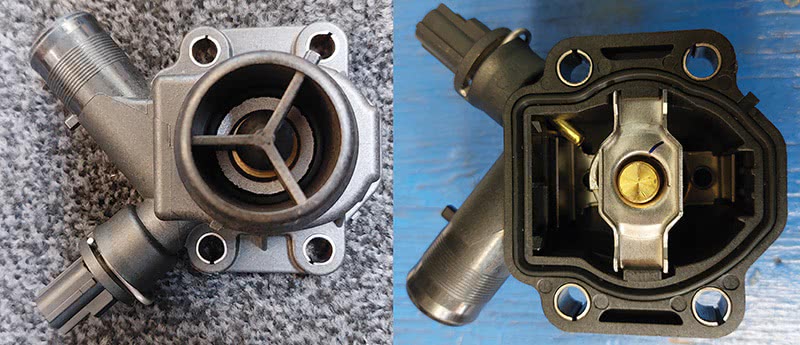
The thermostats on these cars come as a complete assembly with the thermostat, gasket, and coolant temp sensor included.
Pay attention to the direction and routing of the radiator hoses when they are being removed; you may want to use your phone to take a picture before you start disassembly. Doing this will save you time and aggravation.
There is a small coolant reservoir return hose at the right top of the radiator that will have to be disconnected. You can reach the clamp through the opening in the right headlight bucket.
Next, remove and hang the power steering cooler assembly out of the way; this will stay in the car when removing and replacing the radiator, condenser and fan assemblies.

Use a couple of bungee cords or mechanic’s wire to loosely hang the power steering cooler out in front of the condenser; it needs to be loose so you can move the attached hard lines out of the way while lowering out and raising the radiator, condenser, and fan assembly in and out of the engine bay.
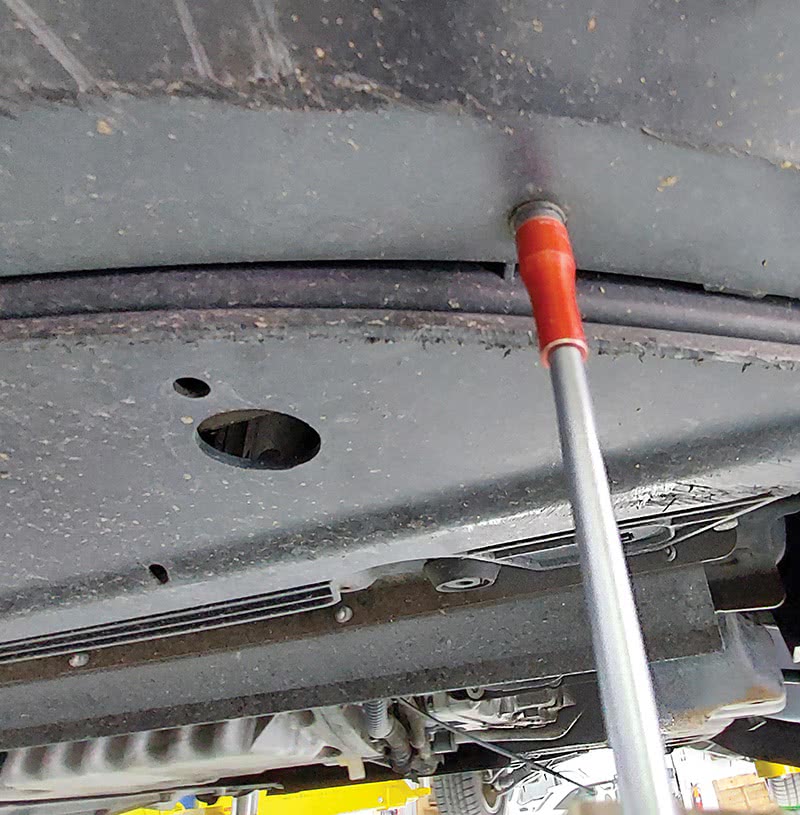
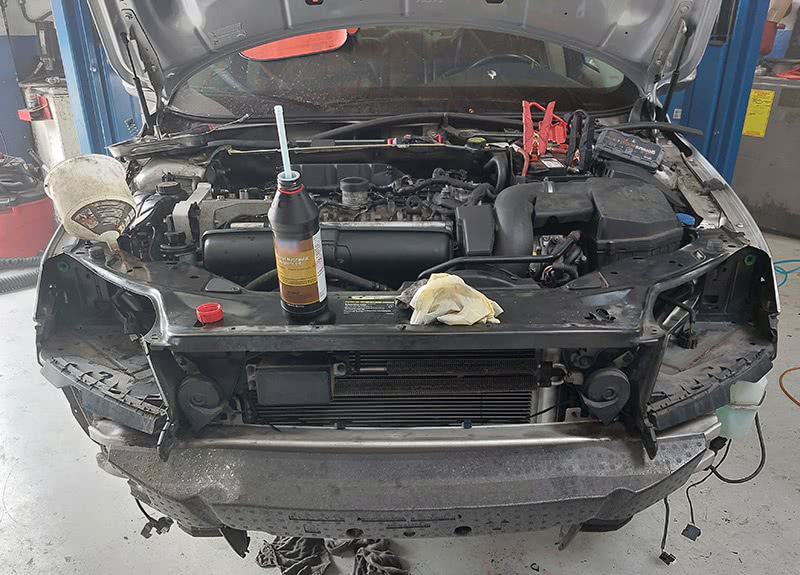
Now that the radiator “sandwich” is disconnected from the hoses, pipes and electrical connectors, it’s time to put the car about midway up on the lift and get someone to help you lower the radiator out.
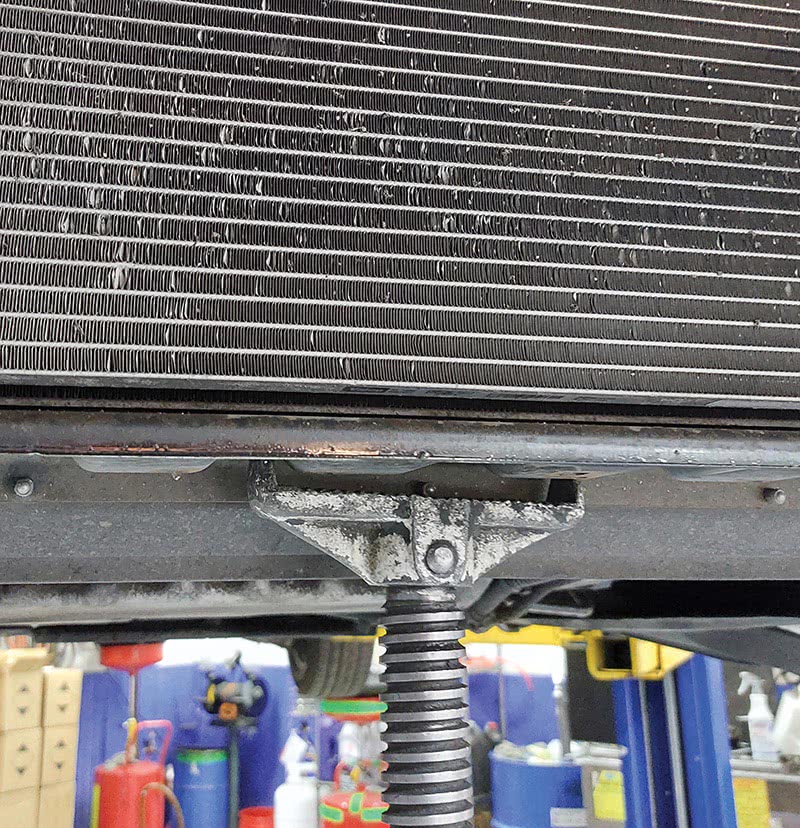
By this time, the only thing holding the radiator, condenser, and fan assembly in should be the four bolts at the bottom bracket of the radiator support.
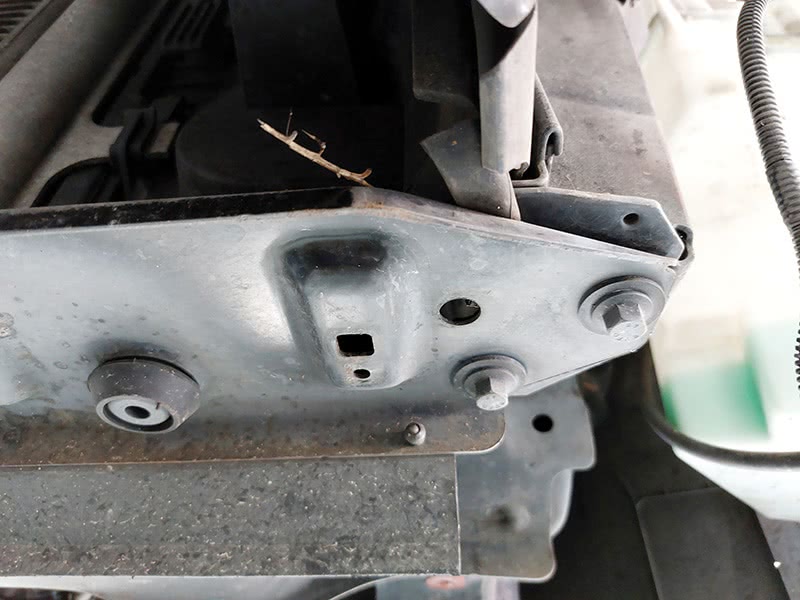
Once you have removed the last four bolts that are holding the radiator “sandwich,” carefully lower it out of the car. You may have to have someone hold some of the pipes out of the way. Make sure not to scrape the condenser fins on the way down.
Of course, this is less important if you are replacing the A/C condenser at this time.
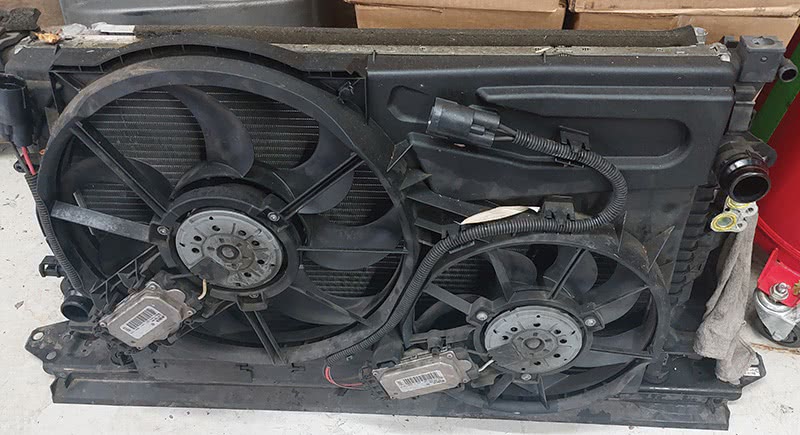
Use a sheet of old cardboard or a radiator box to lay the radiator, A/C condenser, and fan unit on while you disassemble and transfer parts.
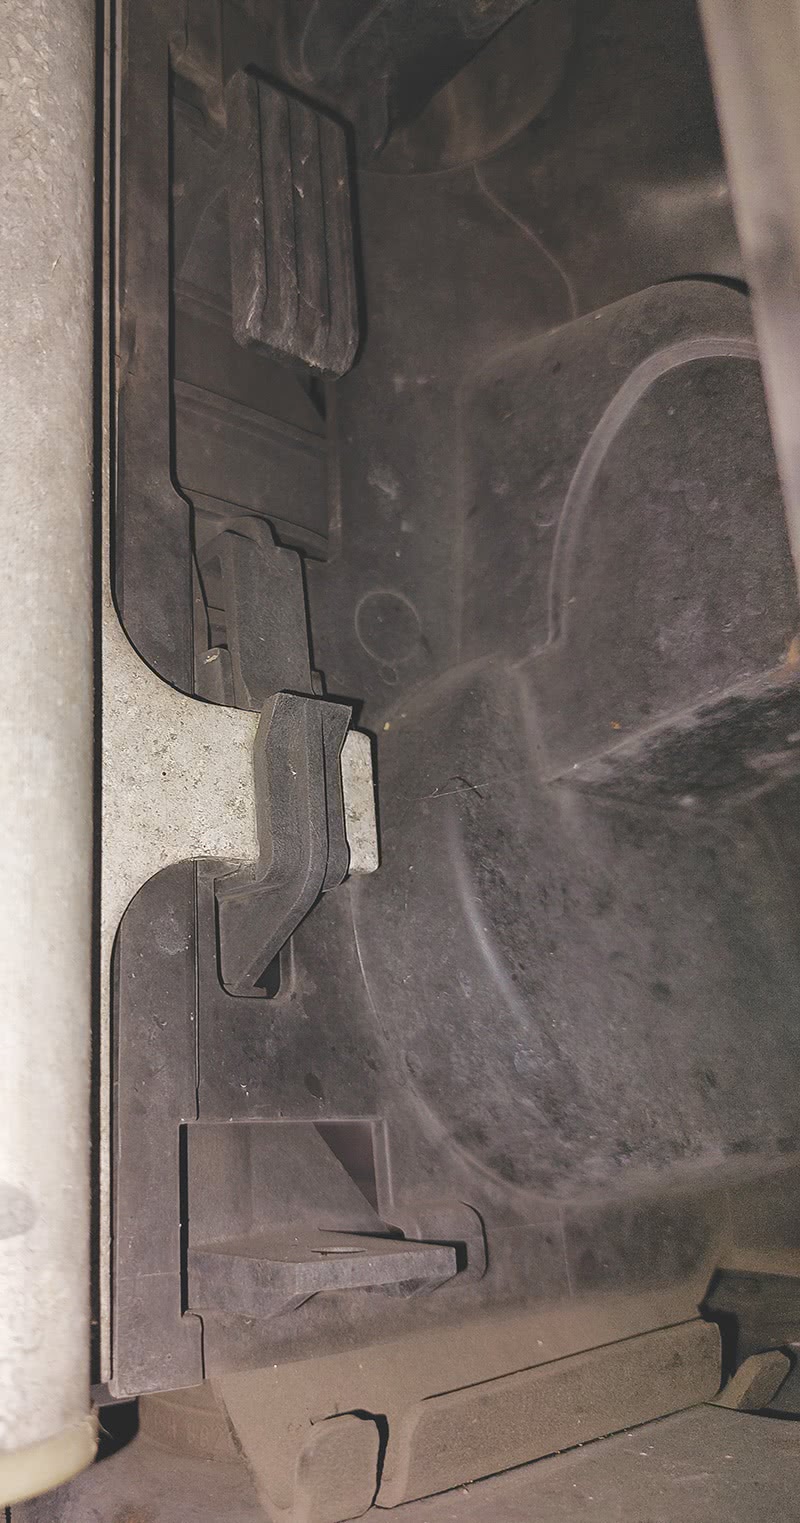
Be careful of the plastic clips on the new or old radiator; they can break very easily and are needed to hold the A/C condenser assembly securely to the radiator frame. This is also the case with the clips to which the power steering cooler is mounted.
Even if you are just replacing one of these three components, you should take this time to clean and inspect the other two.
Check the fan blades for cracks and check for play in the fan motor bearings.
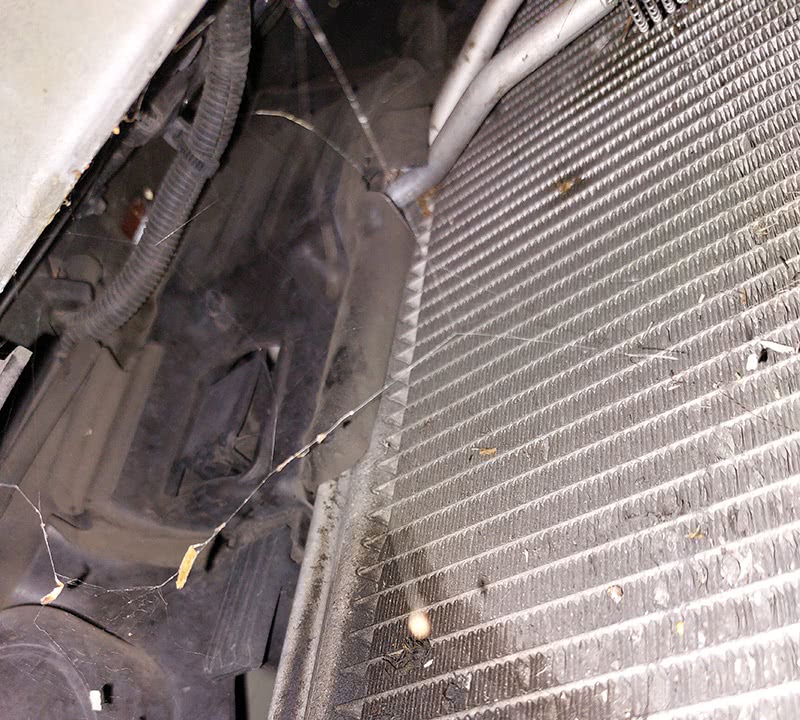
Over the miles and years, a lot of bugs and dirt can build up and may cause reduced performance of the cooling system components. You can use low pressure shop air to blow out the cooling fins on the radiator and the A/C condenser. If the bugs and dirt are really stuck on, you can use some mild soap and water and a soft brush to get the parts clean.
After you assemble the radiator sandwich back together with the new parts, you can reassemble in reverse order.
Refill and bleed the cooling system with Volvo OE coolant and check for leaks.
Charge the A/C system to the proper level and check for function and leaks.
Be sure to check the rest of the fluids, like the transmission fluid level, because you will lose some during this job.
Test drive and check the headlight washer function if equipped, and check that the fog lights are working.
After the test drive, let the car sit for a while and recheck coolant level before delivery.


0 Comments